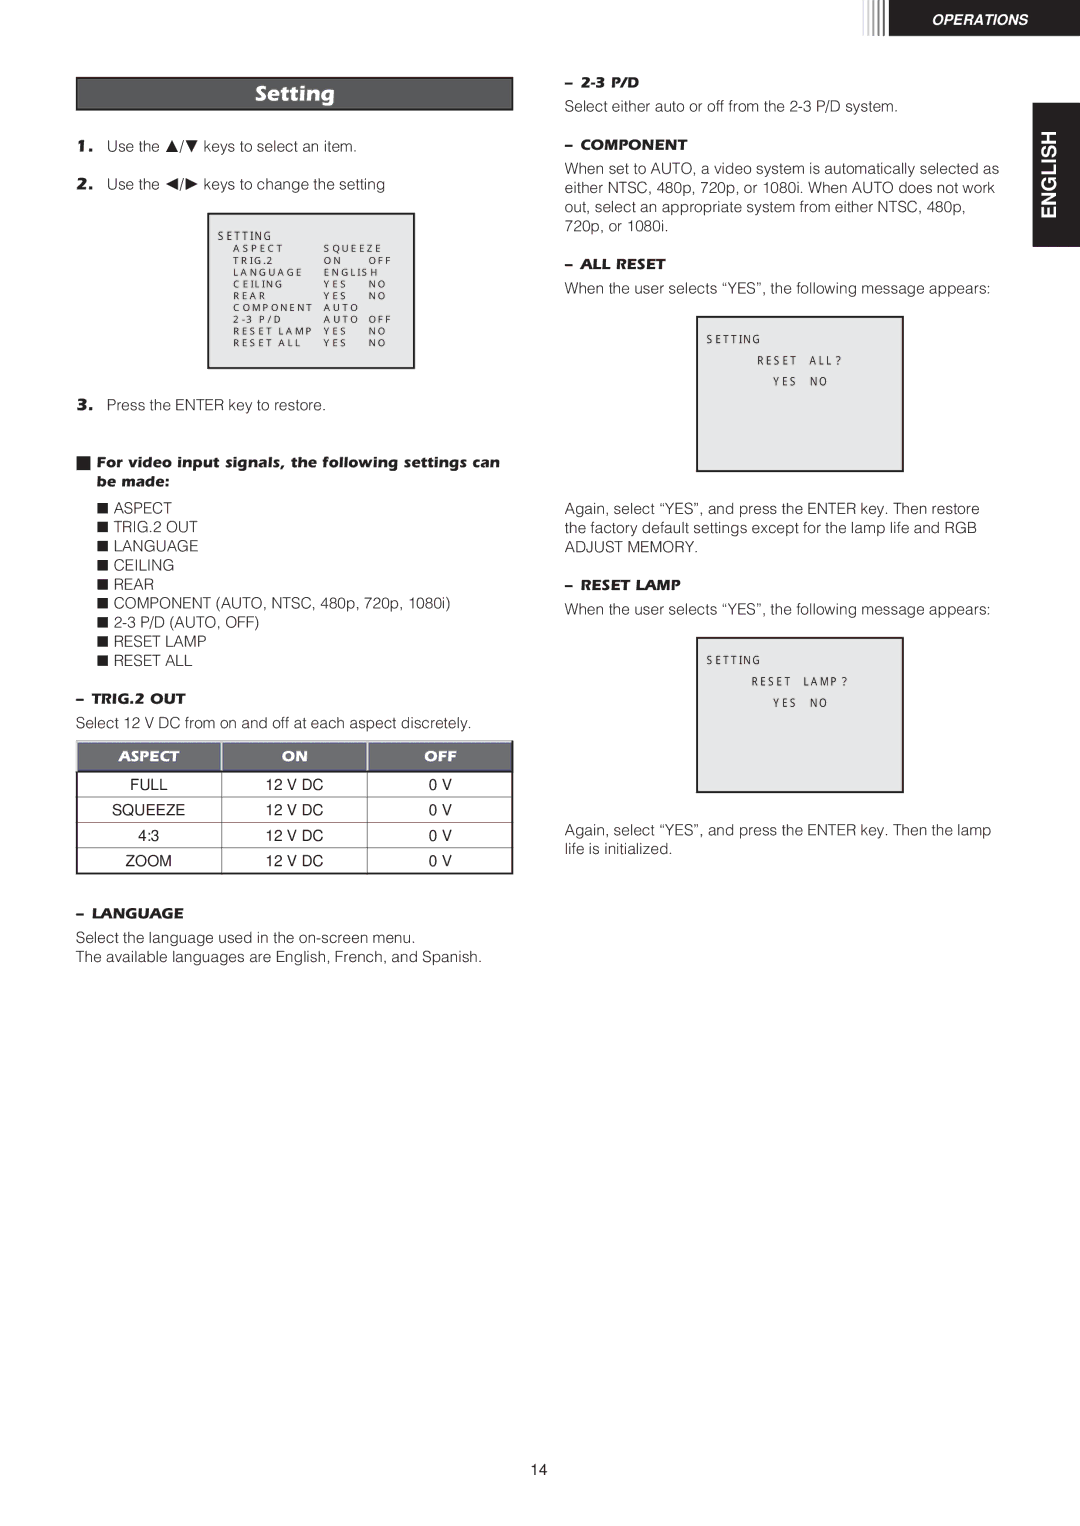
Setting
1. Use the M/N keys to select an item. |
OPERATIONS
–
Select either auto or off from the
– COMPONENT
2. Use the O/P keys to change the setting |
SETTING� | � |
|
|
ASPECT |
| SQUEEZE� | |
TRIG.2 |
| ON | OFF� |
LANGUAGE |
| ENGLISH� | |
CEILING |
| YES | NO� |
REAR |
| YES | NO� |
COMPONENT | AUTO� | ||
| AUTO | OFF� | |
RESET LAMP | YES | NO� | |
RESET ALL |
| YES | NO |
|
|
|
|
3.Press the ENTER key to restore.
NFor video input signals, the following settings can be made:
L ASPECT
L TRIG.2 OUT L LANGUAGE L CEILING L REAR
L COMPONENT (AUTO, NTSC, 480p, 720p, 1080i) L
L RESET LAMP L RESET ALL
– TRIG.2 OUT
Select 12 V DC from on and off at each aspect discretely.
ASPECT | ON | OFF |
|
|
|
FULL | 12 V DC | 0 V |
|
|
|
SQUEEZE | 12 V DC | 0 V |
|
|
|
4:3 | 12 V DC | 0 V |
|
|
|
ZOOM | 12 V DC | 0 V |
|
|
|
– LANGUAGE
Select the language used in the
The available languages are English, French, and Spanish.
When set to AUTO, a video system is automatically selected as either NTSC, 480p, 720p, or 1080i. When AUTO does not work out, select an appropriate system from either NTSC, 480p, 720p, or 1080i.
– ALL RESET
When the user selects “YES”, the following message appears:
SETTING �
RESET ALL?�
YES NO
Again, select “YES”, and press the ENTER key. Then restore the factory default settings except for the lamp life and RGB ADJUST MEMORY.
– RESET LAMP
When the user selects “YES”, the following message appears:
SETTING �
RESET LAMP?�
YES NO
Again, select “YES”, and press the ENTER key. Then the lamp life is initialized.
ENGLISH
14
