VIDEO DOORPHONE specifications
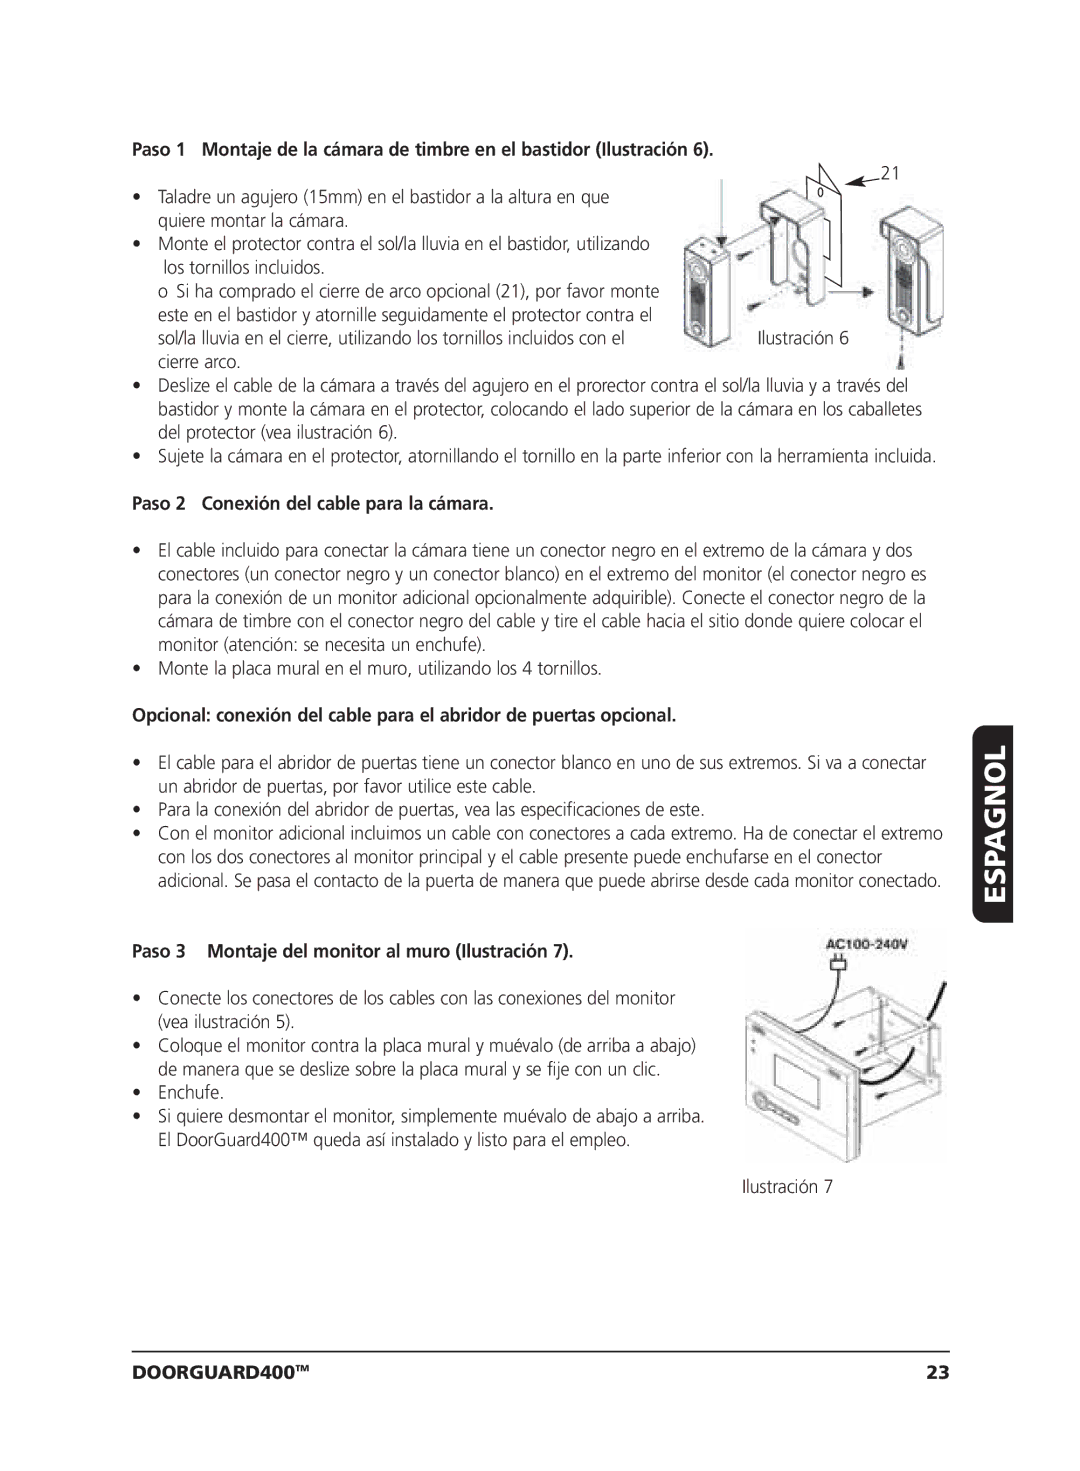
The Marmitek VIDEO DOORPHONE is an advanced home communication and security solution designed to enhance the convenience and safety of everyday life. This innovative device allows homeowners to see and interact with visitors at their door from the comfort of their home, ensuring peace of mind and improved home management.One of the standout features of the Marmitek VIDEO DOORPHONE is its high-resolution video display. The crystal-clear screen provides users with a detailed view of who is at the door, allowing for accurate identification of visitors. Additionally, the doorphone is equipped with a wide-angle camera, offering a larger field of vision, which minimizes blind spots and ensures comprehensive coverage of the entry area.
The unit also includes two-way audio communication, enabling real-time conversations between the homeowner and visitors. This feature is essential for verifying the identity of guests or delivery personnel without needing to open the door. The audio quality is optimized to ensure clarity, making conversations seamless and effortless.
Equipped with infrared night vision capabilities, the Marmitek VIDEO DOORPHONE ensures reliable performance in low-light conditions. This feature adds an extra layer of security by enabling homeowners to see visitors clearly, even during the night, thereby maintaining peace of mind around the clock.
Moreover, the device supports advanced connectivity options. It can be easily integrated with home automation systems, offering compatibility with various smart home technologies. This allows users to control and monitor their doorphone remotely from their smartphones or tablets, providing convenience and enhancing security features.
The Marmitek VIDEO DOORPHONE also includes customizable features, such as adjustable ringtones and volume settings, tailoring the experience to individual preferences. The installation process is user-friendly, designed for both DIY enthusiasts and professional installers, which ensures a hassle-free setup.
In terms of durability, the materials used in the construction of the video doorphone are weather-resistant, providing full protection against outdoor elements. This durability makes the device suitable for various climates, ensuring that it remains functional and aesthetically pleasing over time.
Overall, the Marmitek VIDEO DOORPHONE combines cutting-edge technology with essential security features, making it an excellent choice for homeowners looking to enhance their property’s safety and convenience. With its user-friendly interface, high-definition video capabilities, and compatibility with smart home systems, it represents a modern solution for today’s security needs.

