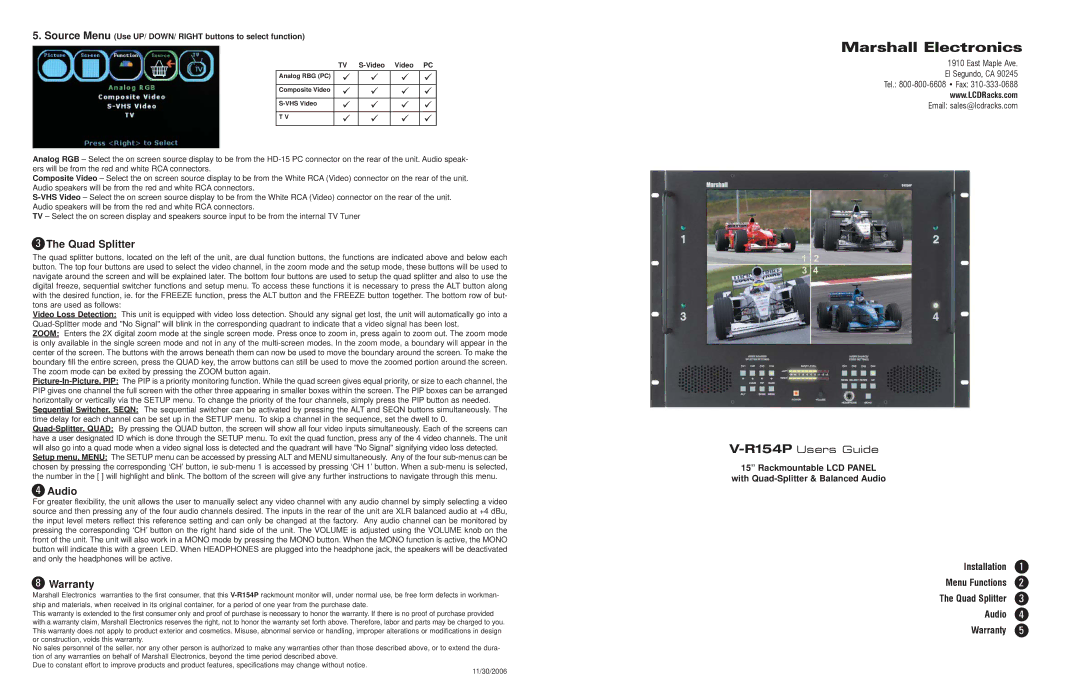
5. Source Menu (Use UP/ DOWN/ RIGHT buttons to select function)
| TV | Video | PC | |
Analog RBG (PC) | 9 | 9 | 9 | 9 |
Composite Video | 9 | 9 | 9 | 9 |
9 | 9 | 9 | 9 | |
T V | 9 | 9 | 9 | 9 |
Analog RGB – Select the on screen source display to be from the
Composite Video – Select the on screen source display to be from the White RCA (Video) connector on the rear of the unit. Audio speakers will be from the red and white RCA connectors.
TV – Select the on screen display and speakers source input to be from the internal TV Tuner
3The Quad Splitter
The quad splitter buttons, located on the left of the unit, are dual function buttons, the functions are indicated above and below each button. The top four buttons are used to select the video channel, in the zoom mode and the setup mode, these buttons will be used to navigate around the screen and will be explained later. The bottom four buttons are used to setup the quad splitter and also to use the digital freeze, sequential switcher functions and setup menu. To access these functions it is necessary to press the ALT button along with the desired function, ie. for the FREEZE function, press the ALT button and the FREEZE button together. The bottom row of but- tons are used as follows:
Video Loss Detection: This unit is equipped with video loss detection. Should any signal get lost, the unit will automatically go into a
ZOOM: Enters the 2X digital zoom mode at the single screen mode. Press once to zoom in, press again to zoom out. The zoom mode is only available in the single screen mode and not in any of the
Sequential Switcher, SEQN: The sequential switcher can be activated by pressing the ALT and SEQN buttons simultaneously. The time delay for each channel can be set up in the SETUP menu. To skip a channel in the sequence, set the dwell to 0.
Setup menu, MENU: The SETUP menu can be accessed by pressing ALT and MENU simultaneously. Any of the four
4Audio
For greater flexibility, the unit allows the user to manually select any video channel with any audio channel by simply selecting a video source and then pressing any of the four audio channels desired. The inputs in the rear of the unit are XLR balanced audio at +4 dBu, the input level meters reflect this reference setting and can only be changed at the factory. Any audio channel can be monitored by pressing the corresponding ‘CH’ button on the right hand side of the unit. The VOLUME is adjusted using the VOLUME knob on the front of the unit. The unit will also work in a MONO mode by pressing the MONO button. When the MONO function is active, the MONO button will indicate this with a green LED. When HEADPHONES are plugged into the headphone jack, the speakers will be deactivated and only the headphones will be active.
8Warranty
Marshall Electronics warranties to the first consumer, that this
This warranty is extended to the first consumer only and proof of purchase is necessary to honor the warranty. If there is no proof of purchase provided with a warranty claim, Marshall Electronics reserves the right, not to honor the warranty set forth above. Therefore, labor and parts may be charged to you. This warranty does not apply to product exterior and cosmetics. Misuse, abnormal service or handling, improper alterations or modifications in design or construction, voids this warranty.
No sales personnel of the seller, nor any other person is authorized to make any warranties other than those described above, or to extend the dura- tion of any warranties on behalf of Marshall Electronics, beyond the time period described above.
Due to constant effort to improve products and product features, specifications may change without notice.
11/30/2006
Marshall Electronics
1910 East Maple Ave.
El Segundo, CA 90245
Tel.:
www.LCDRacks.com
Email: sales@lcdracks.com
15” Rackmountable LCD PANEL
with Quad-Splitter & Balanced Audio
Installation | 1 |
Menu Functions | 2 |
The Quad Splitter | 3 |
Audio | 4 |
Warranty | 5 |