SafetyInstructions

r followingsafety instructions have been \r6luded in compliance with safety standard regulations.Please read them carefully.

1.Read Instructions - All the safety and operating instructionsshould be read before the appliance is operated.

2.Retain instructions - The safety and operating instructionsshould be retained lor future reference.

3.Heed Warnings - All warnings on the appliance and in the operating instructions should be adhered.

4.Follow lnstructions - All operatingand use instructionsshould be followed.

5.Water and Moisture - The appliance should not be used near water - for

. example,near a bathtub,washbowl,

,kitchen sink, laundry tub, in a wet

8.Ventilation- The applianceshould be situated so that its locationor position does not interferewith its proper ventilation.For example,the appliance should not be situated on a bed, sofa, rug or similar surface that may block the ventilationopenings;or placed in a built-in installation,such as a bookcase or cabinet that may impedethe flow of air through the ventilationopenings.

9.Heat - The applianceshould be situated away from heat sources such as radiators, heat registers,stoves,or other appliances (includingamplifiers)which produce heat.

1O.PowerSources - The applianceshould be

connectedto a power supply only of the type described in the operating instructionsor as marked on the appliance.

1l.Grounding or Polarization- Precautions

l3.Cleaning- The applianceshouldbe cleaned only as recommendedby the manufacturer.

'1- power

4.Nonuse Periods The cord of the applianceshouldbe unplugged from the outlet when left unused for a long period of time.

1S.Objectand Liquid Entry - Care should be taken so that objects do not fall and liquids are not spilled into the enclosure through openings.

16.DamageRequiringService- The applianceshould be serviced by qualified service personnelwhen:

A. The power-supplycord or the plug has

been damaged;or,

B. Objects have fallen,or liquid has been

spilledinto the appliance;or,

C. The appliance has been exposed to

rain; or,

arbasement,

or near a swimming pool,etc.

should be taken so that the groundingor polarizationmeans of an applianceis not

D. The appliance does not appear to

operate normallyor exhibits a marked

6.Carts and Stands - The applianceshould be used only with a cart or stand that is recommendedby the manufacturer.

7.Wall or Ceiling Mounting - The appliance shouldbe mountedto a wall or ceilingonly as recommendedby the manufacturer.

defeatdd.

12.Power-Cord Protection - Power-supply cords should be routed so that they are not likely to be walked on or pinched by items placed upon or against them, paying particularattentionto cords at plugs, conveniencereceptacles,and the point where they exit from the appliance.

change in performance;or,

E. The appliance has been dropped,or the

enclosure damaged

lT.Servicing- The user'shouldnot attempt to service the appliancebeyond that described in the operatinginstruction.All other servicing should be referred to qualifiedservice personnel.

On CassetteTapes

Precautions

1. C-120 cassettes(playingtimeone hour per side) containextremelythin tape

1, which breaksor snarls easily,is Vsometimes subject to stretchingand also

is of low sensitivity.Therefore,C-120 cassettes are not recommendedfor high{idelity recording.

2.Do not pull out the tape from the cassette housing.

3.Be careful not to turn the cassettereels with the fingers,causingtape slackening.

4.Store cassette tapes away from heat, high humidity,dust, and magneticfields such as caused by speakers,TV sets etc.

CassetteTabs

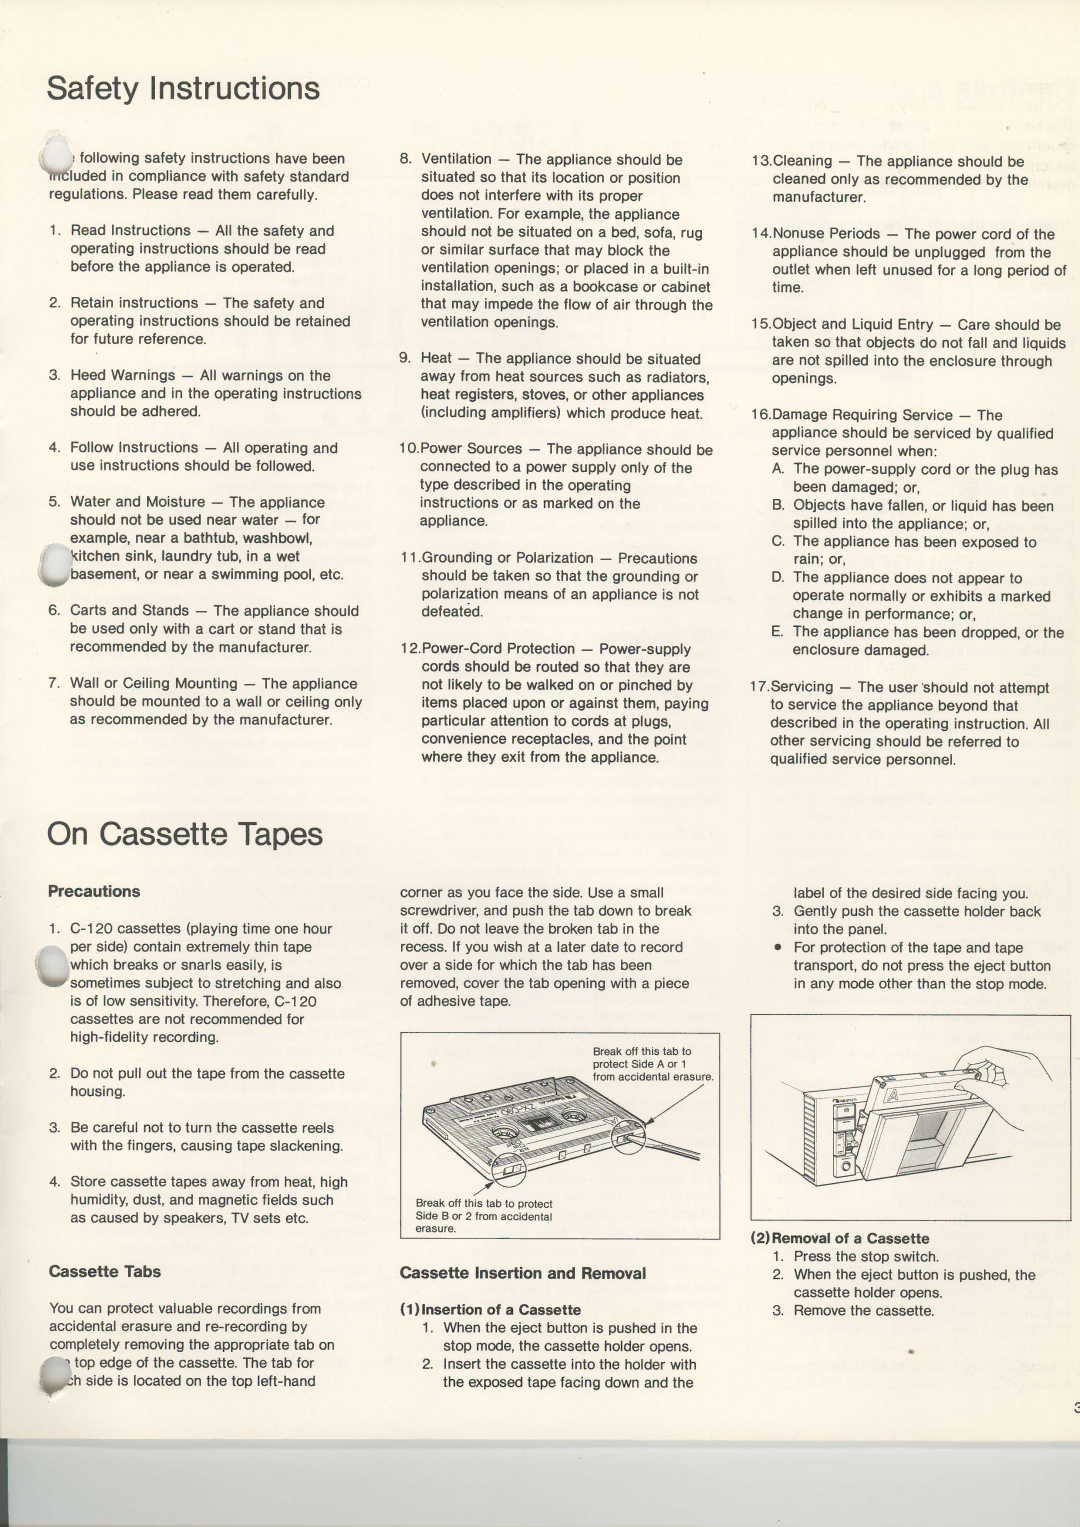
You can protectvaluablerecordingsfrom accidentalerasureand re-recordingby completelyremovingthe appropriatetab on

/r top edge of the cassette. The tab for

pn

.io" is locatedon the top left-hand

corner as you face the side. Use a small screwdriver,and push the tab down to break it off. Do not leavethe brokentab in the recess. lf you wish at a later date to record over a side for which the tab has been removed,coverthe tab openingwith a piece of adhesivetape.

Break off this tab to protect Side A or 1 trom accidental erasure

Break off this tab to protect Side B or 2 from accidental erasure.

Cassette Insertion and Removal

(1)lnsertion of a Gassette

1.Whenthe eject buttonis pushedin the stop mode,the cassette holder opens.

2.Insertthe cassetteinto the holderwith the exposedtape facing down and the

labelof the desiredside facing you. Gently push the cassetteholderback into the panel.

For protection of the tape and tape transport, do not press the eject button in any modeother than the stop mode.

(2)Removalof a Cassette

1.Pressthe stop switch.

2.Whenthe eject button is pushed,the cassette holder opens.

3.Removethe cassette.

L

Page 3
Image 3
Maxell IBX-2 manual SafetyInstructions, On CassetteTapes, CassetteTabs

IBX-2 specifications

The Maxell IBX-2 represents a significant advancement in the realm of high-quality audio equipment, especially aimed at audiophiles and recording professionals. This innovative audio interface merges cutting-edge technology with user-friendly features, making it an essential tool for both studio production and live performances.

One of the standout features of the Maxell IBX-2 is its robust connectivity options. It supports multiple input and output configurations, including balanced XLR, TRS sockets, and USB-C connectivity. This versatility allows for seamless integration with various devices, from microphones to computers, promoting easy setup and optimized workflow for any audio project.

The device boasts high-resolution audio processing, with support for sample rates up to 192 kHz. This ensures that every nuance of sound is captured accurately, appealing to those who demand exceptional fidelity in their recordings. The IBX-2 is equipped with advanced A/D and D/A converters that render rich and detailed audio, making it ideal for professional use.

Another impressive feature of the Maxell IBX-2 is its low-latency performance. This is particularly advantageous for live recordings and real-time processing, where delays can hinder performance. Musicians can rely on the IBX-2 to deliver audio without noticeable lag, enabling a more natural and immersive experience.

Durability is also a hallmark of the Maxell IBX-2’s design. Constructed from high-quality materials, this audio interface is built to withstand the rigors of both studio settings and mobile applications. The rugged chassis ensures long-lasting performance, making it a worthwhile investment for professionals.

The IBX-2’s user-friendly interface includes illuminated controls and intuitive software, allowing users to adjust settings with ease. The included software suite offers additional features such as effects processing and recording options, extending the versatility of the unit even further.

Incorporating features like MIDI I/O, phantom power for condenser microphones, and a dedicated headphone output with its own level control, the Maxell IBX-2 is truly a comprehensive solution for modern audio needs. It caters to the requirements of podcasters, musicians, and sound engineers alike, reinforcing Maxell's commitment to innovation and excellence in audio technology. Whether for home studios or professional environments, the Maxell IBX-2 is poised to elevate the quality of sound production to new heights.