Q
Installation Manual
Congratulations!
By purchasing an amplifier from MB Quart, you have decided on a product of the highest technical quality. MB Quart wishes you great enjoyment with your amplifier. Should you have any questions about this system or other MB Quart products, please email us at info@maxxsonics.com
System Design
The success of any car stereo system relies on several factors, such as the system design, execution of the installation, and system setup. Please remember that any system is only as good as its weakest link.
Please remember that higher power systems are not necessarily useful purely for high sound pressure levels, but also to establish a headroom capability, to reproduce musical peaks cleanly without distortion.
Lower power amplifiers will clip earlier than their more powerful cousins, and cause loudspeaker failure when overdriven, due to the harmonics generated by a clipped signal, thus overheating voice coils.
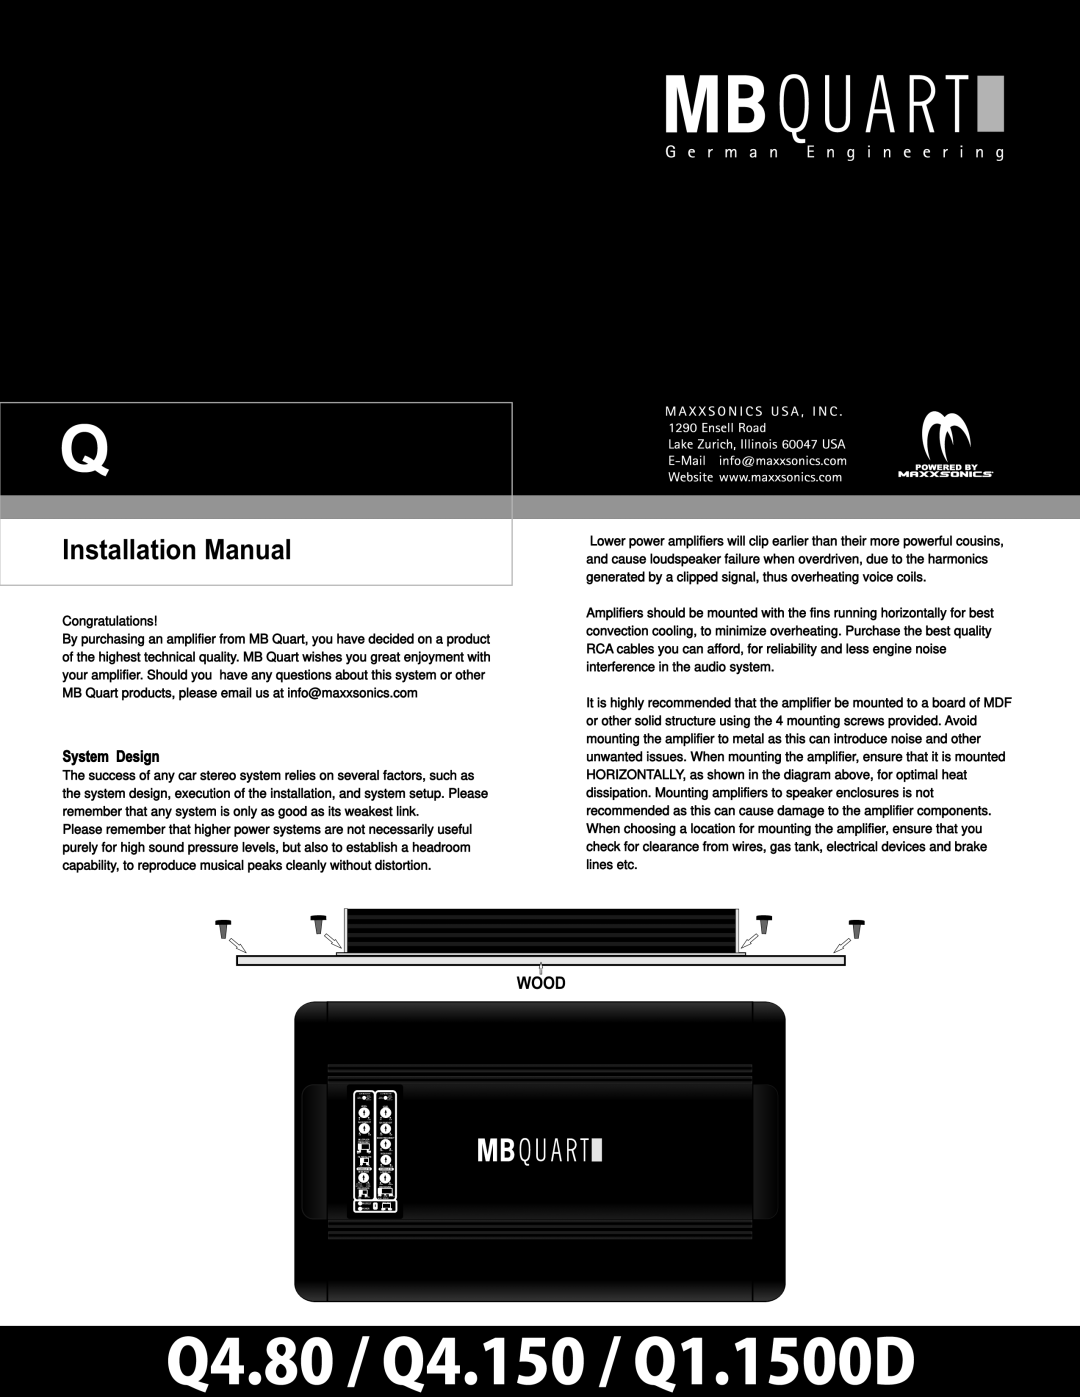
Amplifiers should be mounted with the fins running horizontally for best convection cooling, to minimize overheating. Purchase the best quality RCA cables you can afford, for reliability and less engine noise interference in the audio system.
It is highly recommended that the amplifier be mounted to a board of MDF or other solid structure using the 4 mounting screws provided. Avoid mounting the amplifier to metal as this can introduce noise and other unwanted issues. When mounting the amplifier, ensure that it is mounted HORIZONTALLY, as shown in the diagram above, for optimal heat dissipation. Mounting amplifiers to speaker enclosures is not recommended as this can cause damage to the amplifier components. When choosing a location for mounting the amplifier, ensure that you check for clearance from wires, gas tank, electrical devices and brake lines etc.
WOOD
LEVELLEVEL
BASS BOOST | BASS BOOST |
MULTIPLIER FREQUENCY
BASS FREQUENCY
FILTER SLOPE
HIGH PASS
CHANNELS 1&2 | CHANNELS 3&4 |
HIGH PASS | LOW PASS |
CROSSOVER
CROSSOVER
![]() PROTECT
PROTECT
![]() POWER
POWER
