
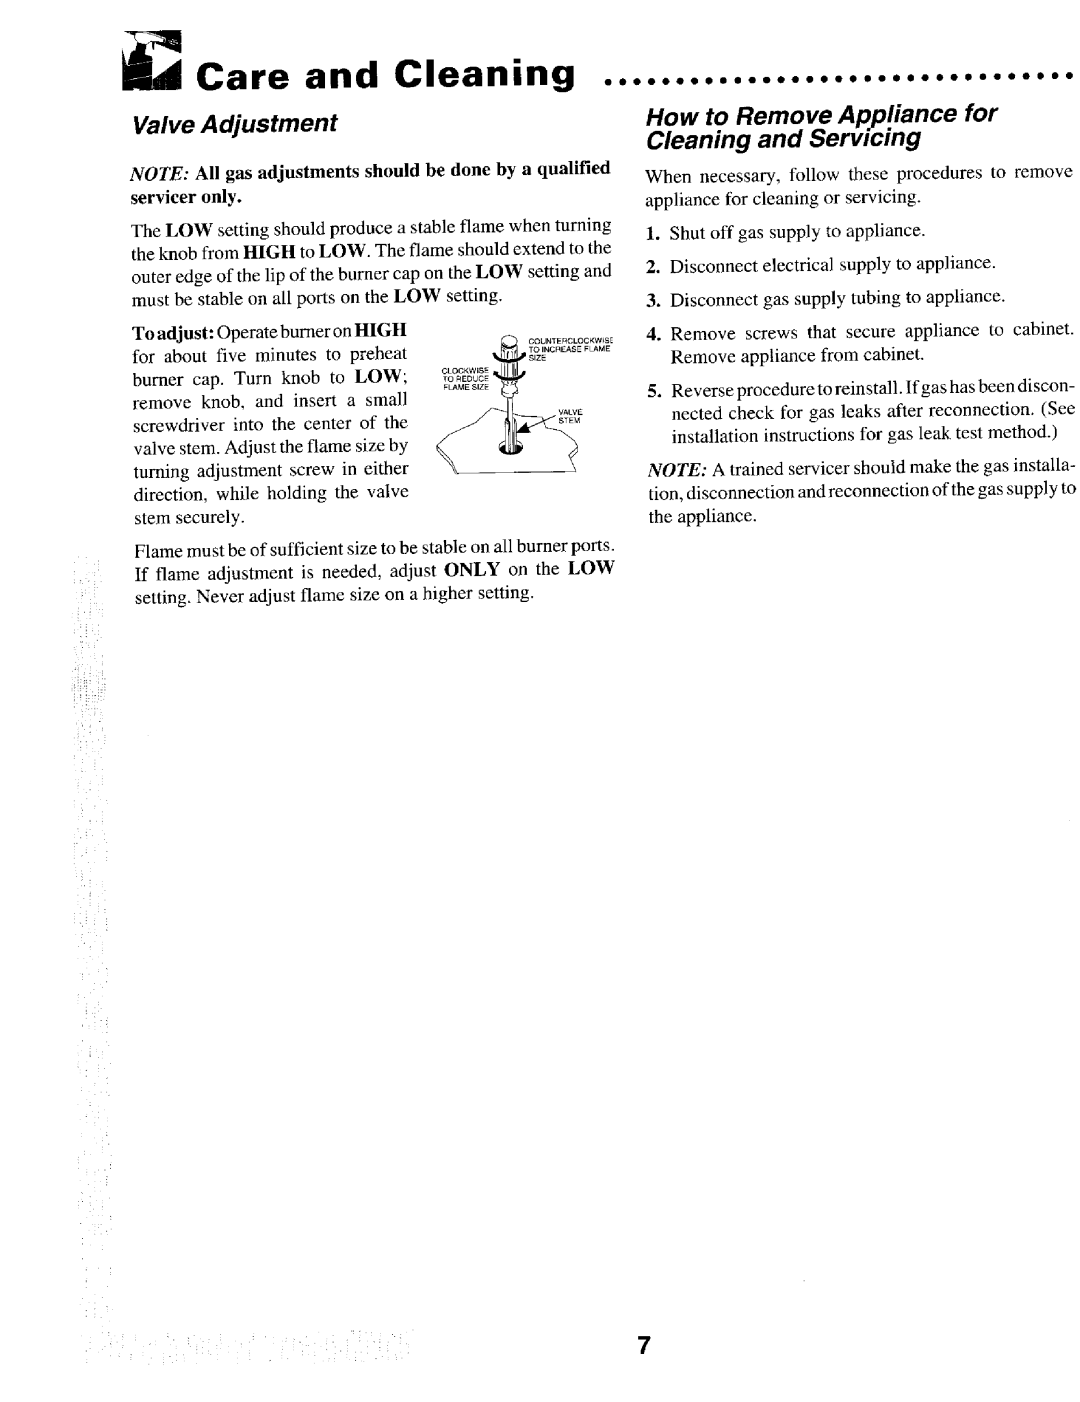
MGC5430 specifications
The Maytag MGC5430 is a powerful and efficient gas cooktop designed to enhance your cooking experience. Boasting a sleek and modern design, it effortlessly fits into any kitchen decor while providing a range of features that cater to home chefs of all levels. The cooktop is made from durable stainless steel, ensuring long-lasting performance and resistance to wear and tear over time.One of the standout features of the Maytag MGC5430 is its five burners, which offer multiple cooking options. The burners vary in size and output, allowing you to sauté, simmer, boil, and stir-fry with ease. The high-output burner delivers an impressive heat of up to 15,000 BTUs, perfect for searing meats, while the simmer burner operates at a lower 5,000 BTUs, ideal for gentle cooking tasks like melting chocolate or preparing delicate sauces.
The cooktop also incorporates Maytag's innovative technology, including the Power Preheat feature that reduces preheating time for faster culinary results. With a precise control knob design, adjusting the heat is seamless, enabling you to achieve the perfect cooking temperature for every dish. Additionally, the cooktop includes a robust cast-iron grate system that provides stability and support for pots and pans while promoting even heat distribution across the surface.
For safety and convenience, the Maytag MGC5430 features electronic ignition that ensures a quick and dependable start each time you use it. This not only eliminates the hassle of using a match or lighter but also enhances safety in the kitchen. The grates are dishwasher-safe, making cleanup a breeze after cooking.
Ergonomically designed, the cooktop's controls are positioned at the front, allowing easy access without reaching over hot surfaces. This thoughtful placement enhances safety and usability, making it suitable for families and anyone who enjoys cooking.
Overall, the Maytag MGC5430 gas cooktop encapsulates the essence of reliable performance and user-friendly features, making it a valuable addition to any kitchen. Its combination of powerful burners, advanced technologies, and thoughtful design ensures that home chefs can create culinary masterpieces with confidence and ease. Whether you’re a novice cook or a seasoned professional, the MGC5430 brings both efficiency and style to your cooking routine.