
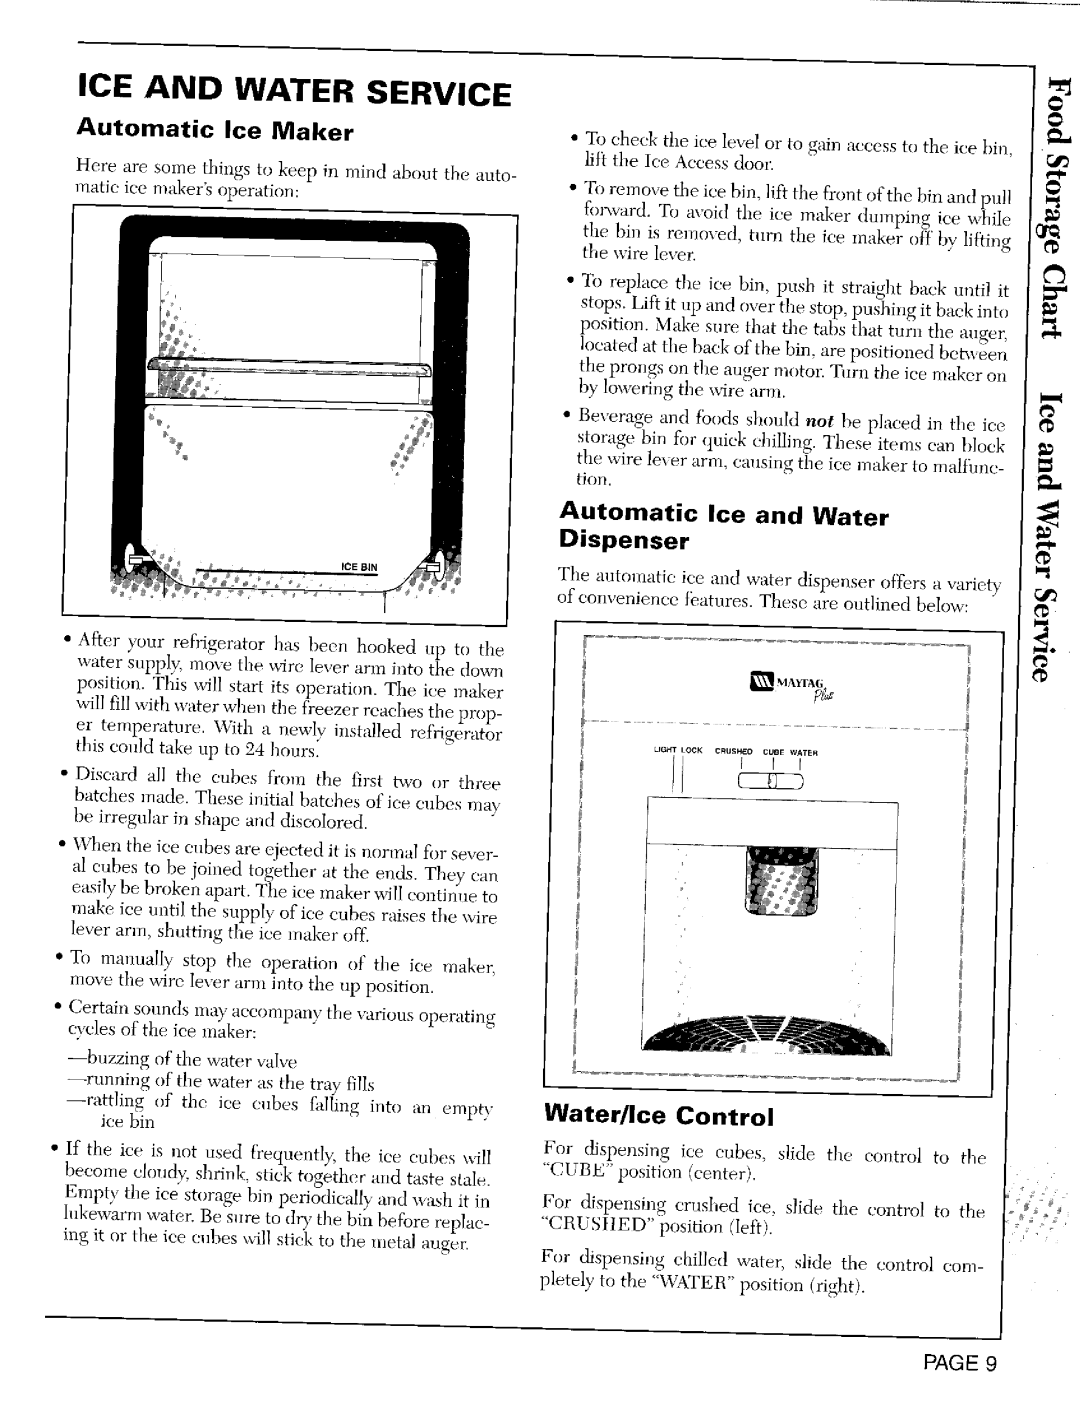
RSW2700, RSW2200, RSW2400 specifications
The Maytag RSW2400, RSW2200, and RSW2700 are a series of top-tier, reliable washing machines designed to meet the needs of modern households. Each model is equipped with advanced features and technologies that enhance performance, efficiency, and user experience.The Maytag RSW2400 is known for its robust construction and powerful cleaning capabilities. This model comes with a large capacity, which allows users to tackle big laundry loads, saving time and energy in the process. One of its standout features is the PowerWash cycle, designed to deliver concentrated cleaning and pre-treat tough stains. This feature ensures that even the most stubborn spots are eliminated without the need for additional treatments. The RSW2400 also includes an energy-efficient design, utilizing less water and electricity compared to traditional machines, which is environmentally friendly and economically beneficial for the user.
The RSW2200 offers similar great features but with a focus on user convenience. It features an easy-to-use interface with clear settings, allowing users to select their preferred wash cycle effortlessly. With the Extra Rinse option, users can ensure that all detergent is completely rinsed out of the fabric, making it a great choice for those with sensitive skin. The RSW2200 also utilizes Maytag's Advanced Vibration Control technology, which minimizes noise and movement during operation, making it suitable for homes where laundry is done at any time of the day or night.
The RSW2700 stands out as the most technologically advanced of the three models. It incorporates a Smart Dispense system that automatically measures and dispenses the right amount of detergent for each load. This feature not only ensures optimal cleaning performance but also helps prevent detergent waste. The model also supports a variety of wash cycles and options, catering to all fabric types and soil levels. It features a high-efficiency design, promoting water conservation without compromising on cleaning power.
Overall, the Maytag RSW series offers a range of washing machines that combine durability, advanced technology, and user-friendly features. Each model addresses different consumer needs, making them excellent choices for families and individuals alike. With their commitment to quality and performance, Maytag continues to be a trusted name in home appliances.