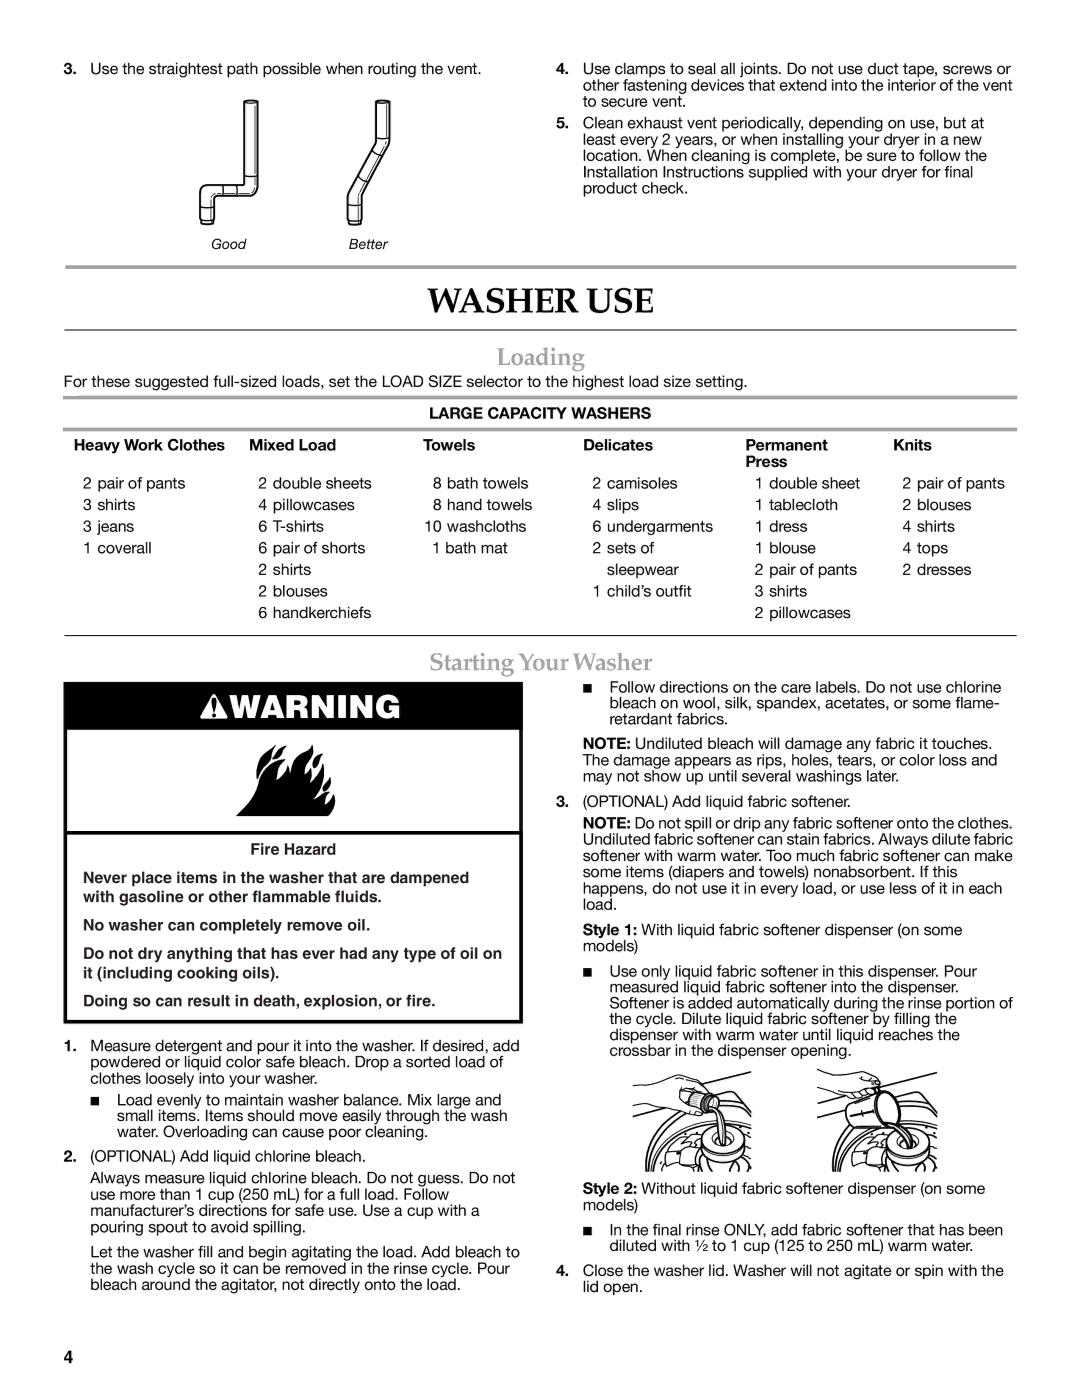
3.Use the straightest path possible when routing the vent.
GoodBetter
4.Use clamps to seal all joints. Do not use duct tape, screws or other fastening devices that extend into the interior of the vent to secure vent.
5.Clean exhaust vent periodically, depending on use, but at least every 2 years, or when installing your dryer in a new location. When cleaning is complete, be sure to follow the Installation Instructions supplied with your dryer for final product check.
WASHER USE
Loading
For these suggested
LARGE CAPACITY WASHERS
Heavy Work Clothes | Mixed Load | Towels | Delicates | Permanent | Knits |
|
|
|
| Press |
|
2 pair of pants | 2 double sheets | 8 bath towels | 2 camisoles | 1 double sheet | 2 pair of pants |
3 shirts | 4 pillowcases | 8 hand towels | 4 slips | 1 tablecloth | 2 blouses |
3 jeans | 6 | 10 washcloths | 6 undergarments | 1 dress | 4 shirts |
1 coverall | 6 pair of shorts | 1 bath mat | 2 sets of | 1 blouse | 4 tops |
| 2 shirts |
| sleepwear | 2 pair of pants | 2 dresses |
| 2 blouses |
| 1 child’s outfit | 3 shirts |
|
| 6 handkerchiefs |
|
| 2 pillowcases |
|
|
|
|
|
|
|
Starting Your Washer
![]() WARNING
WARNING
Fire Hazard
Never place items in the washer that are dampened with gasoline or other flammable fluids.
No washer can completely remove oil.
Do not dry anything that has ever had any type of oil on it (including cooking oils).
Doing so can result in death, explosion, or fire.
1.Measure detergent and pour it into the washer. If desired, add powdered or liquid color safe bleach. Drop a sorted load of clothes loosely into your washer.
■Load evenly to maintain washer balance. Mix large and small items. Items should move easily through the wash water. Overloading can cause poor cleaning.
2.(OPTIONAL) Add liquid chlorine bleach.
Always measure liquid chlorine bleach. Do not guess. Do not use more than 1 cup (250 mL) for a full load. Follow manufacturer’s directions for safe use. Use a cup with a pouring spout to avoid spilling.
Let the washer fill and begin agitating the load. Add bleach to the wash cycle so it can be removed in the rinse cycle. Pour bleach around the agitator, not directly onto the load.
■Follow directions on the care labels. Do not use chlorine bleach on wool, silk, spandex, acetates, or some flame- retardant fabrics.
NOTE: Undiluted bleach will damage any fabric it touches. The damage appears as rips, holes, tears, or color loss and may not show up until several washings later.
3.(OPTIONAL) Add liquid fabric softener.
NOTE: Do not spill or drip any fabric softener onto the clothes. Undiluted fabric softener can stain fabrics. Always dilute fabric softener with warm water. Too much fabric softener can make some items (diapers and towels) nonabsorbent. If this happens, do not use it in every load, or use less of it in each load.
Style 1: With liquid fabric softener dispenser (on some models)
■Use only liquid fabric softener in this dispenser. Pour measured liquid fabric softener into the dispenser. Softener is added automatically during the rinse portion of the cycle. Dilute liquid fabric softener by filling the dispenser with warm water until liquid reaches the crossbar in the dispenser opening.
Style 2: Without liquid fabric softener dispenser (on some models)
■In the final rinse ONLY, add fabric softener that has been diluted with ¹⁄₂ to 1 cup (125 to 250 mL) warm water.
4.Close the washer lid. Washer will not agitate or spin with the lid open.
4
