To use a Sensor Dry Cycle
■Press POWER.
■Turn the knob to desired Sensor Dry Cycle.
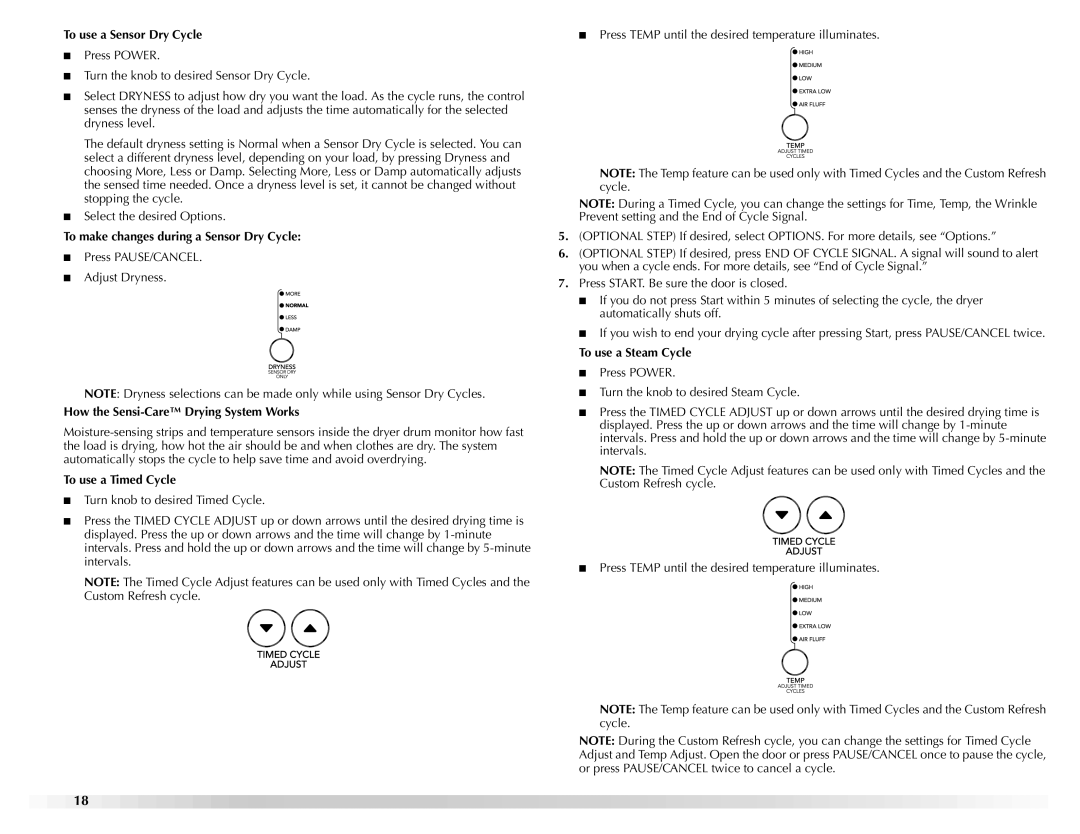
■Select DRYNESS to adjust how dry you want the load. As the cycle runs, the control senses the dryness of the load and adjusts the time automatically for the selected dryness level.
The default dryness setting is Normal when a Sensor Dry Cycle is selected. You can select a different dryness level, depending on your load, by pressing Dryness and choosing More, Less or Damp. Selecting More, Less or Damp automatically adjusts the sensed time needed. Once a dryness level is set, it cannot be changed without stopping the cycle.
■Select the desired Options.
To make changes during a Sensor Dry Cycle:
■Press PAUSE/CANCEL.
■Adjust Dryness.
NOTE: Dryness selections can be made only while using Sensor Dry Cycles.
How the Sensi-Care™ Drying System Works
To use a Timed Cycle
■Turn knob to desired Timed Cycle.
■Press the TIMED CYCLE ADJUST up or down arrows until the desired drying time is displayed. Press the up or down arrows and the time will change by
NOTE: The Timed Cycle Adjust features can be used only with Timed Cycles and the Custom Refresh cycle.
■Press TEMP until the desired temperature illuminates.
NOTE: The Temp feature can be used only with Timed Cycles and the Custom Refresh cycle.
NOTE: During a Timed Cycle, you can change the settings for Time, Temp, the Wrinkle Prevent setting and the End of Cycle Signal.
5.(OPTIONAL STEP) If desired, select OPTIONS. For more details, see “Options.”
6.(OPTIONAL STEP) If desired, press END OF CYCLE SIGNAL. A signal will sound to alert you when a cycle ends. For more details, see “End of Cycle Signal.”
7.Press START. Be sure the door is closed.
■If you do not press Start within 5 minutes of selecting the cycle, the dryer automatically shuts off.
■If you wish to end your drying cycle after pressing Start, press PAUSE/CANCEL twice.
To use a Steam Cycle
■Press POWER.
■Turn the knob to desired Steam Cycle.
■Press the TIMED CYCLE ADJUST up or down arrows until the desired drying time is displayed. Press the up or down arrows and the time will change by
NOTE: The Timed Cycle Adjust features can be used only with Timed Cycles and the Custom Refresh cycle.
■Press TEMP until the desired temperature illuminates.
NOTE: The Temp feature can be used only with Timed Cycles and the Custom Refresh cycle.
NOTE: During the Custom Refresh cycle, you can change the settings for Timed Cycle Adjust and Temp Adjust. Open the door or press PAUSE/CANCEL once to pause the cycle, or press PAUSE/CANCEL twice to cancel a cycle.
18
