Maytag W10175486A installation instructions Changing the Light Bulb, To Clean Your Refrigerator

Models: W10175486A

1 64
Download 64 pages 60.03 Kb
Page 15
Image 15

IMPORTANT: Because air circulates between both sections, any odors formed in one section will transfer to the other. You must thoroughly clean both sections to eliminate odors. To avoid odor transfer and drying out of food, wrap or cover foods tightly.

To Clean Your Refrigerator:

NOTE: Do not use abrasive or harsh cleaners such as window sprays, scouring cleansers, flammable fluids, cleaning waxes, concentrated detergents, bleaches or cleansers containing petroleum products on plastic parts, interior and door liners or gaskets. Do not use paper towels, scouring pads, or other harsh cleaning tools.

1.Unplug refrigerator or disconnect power.

2.Hand wash, rinse, and dry removable parts and interior surfaces thoroughly. Use a clean sponge or soft cloth and a mild detergent in warm water.

3.Wash stainless steel and painted metal exteriors with a clean sponge or soft cloth and a mild detergent in warm water.

To keep your stainless steel refrigerator looking like new and to remove minor scuffs or marks, it is suggested that you use the manufacturer’s approved Stainless Steel Cleaner and Polish, Part Number 20000008. To order the cleaner, call 1-877-232-6771U.S.A. or 1-800-807-6777Canada.

IMPORTANT: This cleaner is for stainless steel parts only!

Do not allow the Stainless Steel Cleaner and Polish to come into contact with any plastic parts such as the trim pieces, dispenser covers or door gaskets. If unintentional contact does occur, clean plastic part with a sponge and mild detergent in warm water. Dry thoroughly with a soft cloth.

4.There is no need for routine condenser cleaning in normal home operating environments. If the environment is particularly greasy or dusty, or there is significant pet traffic in the home, the condenser should be cleaned every 2 to

3 months to ensure maximum efficiency. If you need to clean the condenser:

Remove the base grille.

Use a vacuum cleaner with a soft brush to clean the grille, the open areas behind the grille and the front surface area of the condenser.

Replace the base grille when finished.

5.Plug in refrigerator or reconnect power.

Changing the Light Bulb

NOTE: Not all appliance bulbs will fit your refrigerator. Be sure to replace the bulb with an appliance bulb of the same size, shape, and wattage (no greater than 40 watts).

1.Unplug the refrigerator or disconnect power.

2.Remove the light shield, if necessary.

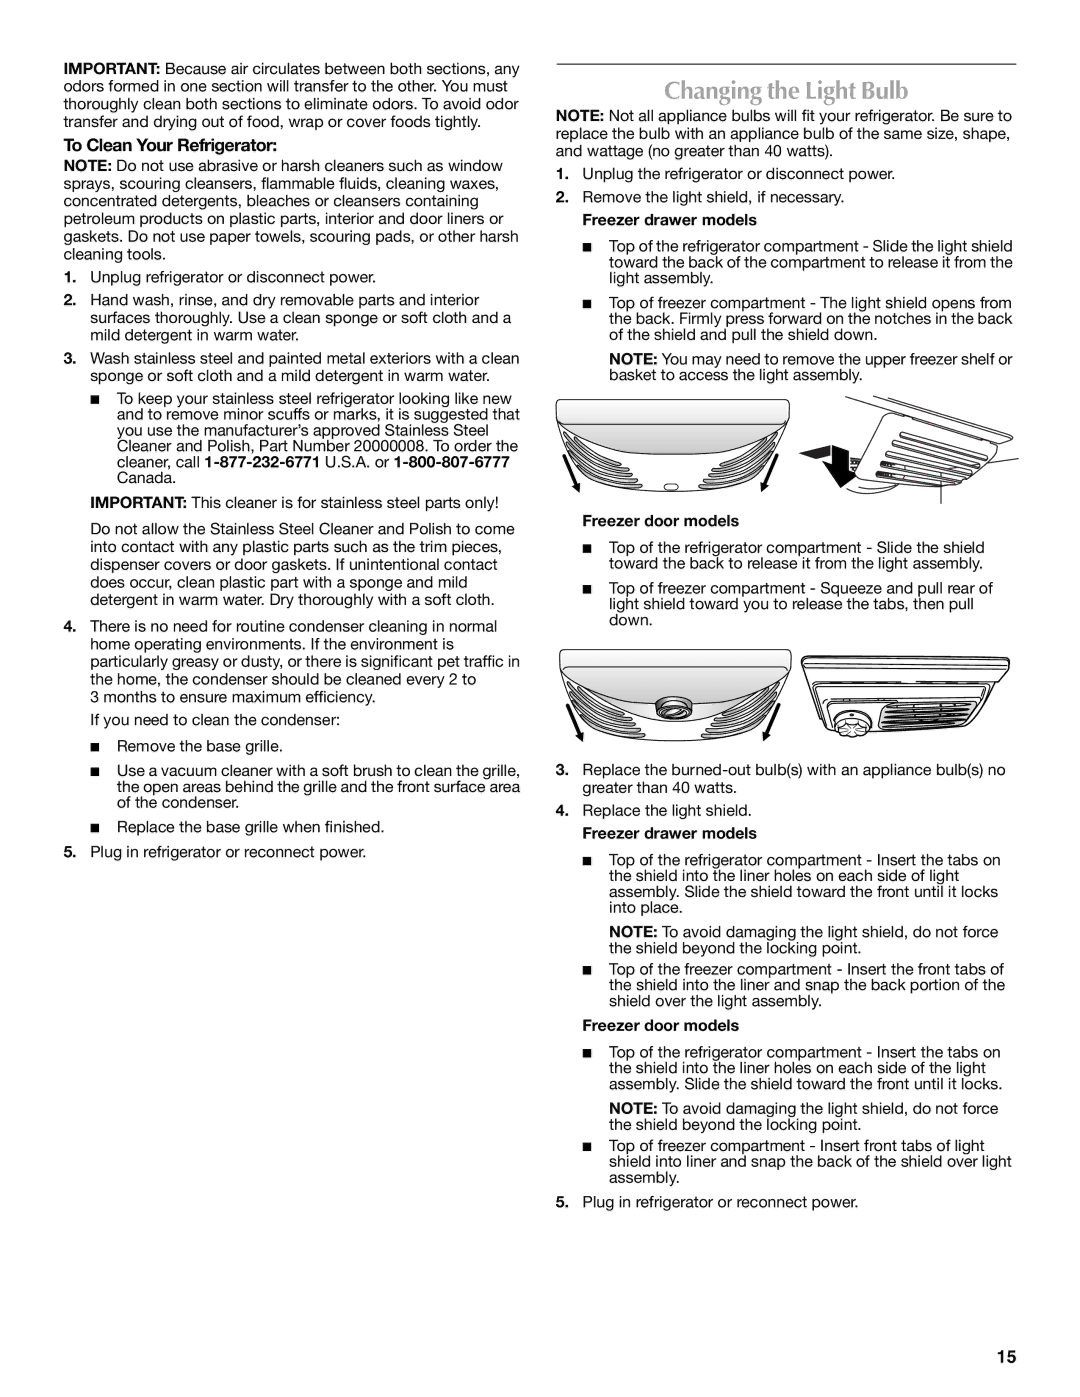
Freezer drawer models

Top of the refrigerator compartment - Slide the light shield toward the back of the compartment to release it from the light assembly.

Top of freezer compartment - The light shield opens from the back. Firmly press forward on the notches in the back of the shield and pull the shield down.

NOTE: You may need to remove the upper freezer shelf or basket to access the light assembly.

Freezer door models

Top of the refrigerator compartment - Slide the shield toward the back to release it from the light assembly.

Top of freezer compartment - Squeeze and pull rear of light shield toward you to release the tabs, then pull down.

3.Replace the burned-out bulb(s) with an appliance bulb(s) no greater than 40 watts.

4.Replace the light shield.

Freezer drawer models

Top of the refrigerator compartment - Insert the tabs on the shield into the liner holes on each side of light assembly. Slide the shield toward the front until it locks into place.

NOTE: To avoid damaging the light shield, do not force the shield beyond the locking point.

Top of the freezer compartment - Insert the front tabs of the shield into the liner and snap the back portion of the shield over the light assembly.

Freezer door models

Top of the refrigerator compartment - Insert the tabs on the shield into the liner holes on each side of the light assembly. Slide the shield toward the front until it locks.

NOTE: To avoid damaging the light shield, do not force the shield beyond the locking point.

Top of freezer compartment - Insert front tabs of light shield into liner and snap the back of the shield over light assembly.

5.Plug in refrigerator or reconnect power.

15

Page 15
Image 15
Maytag W10175486A installation instructions Changing the Light Bulb, To Clean Your Refrigerator

W10175486A specifications

The Maytag W10175486A is a high-quality replacement part designed specifically for Maytag appliances, particularly focused on enhancing the performance of dishwashers. This part, often referred to as a dishwasher door latch, plays a crucial role in ensuring that the dishwasher door securely closes during operation, thus preventing leaks and ensuring that the cleaning process is efficient.

One of the main features of the Maytag W10175486A is its robust construction. Made from durable materials, it is designed to withstand the rigors of regular use without succumbing to wear and tear. This durability translates into longevity, making it a worthwhile investment for homeowners looking to maintain the functionality of their dishwashers.

The W10175486A incorporates a user-friendly installation design. This ease of installation means that homeowners can replace their dishwasher door latch without needing to hire a professional, which can save both time and money. With just a few simple steps, users can ensure their dishwasher operates safely and efficiently once again.

In terms of technology, the Maytag W10175486A is designed to meet rigorous safety and performance standards. It is engineered to work with a variety of Maytag dishwasher models, ensuring compatibility and seamless integration into existing systems. This versatility is a significant advantage, as it means that many Maytag users can benefit from this quality part without worrying about compatibility issues.

Another important characteristic of the W10175486A is its role in enhancing the overall efficiency of the dishwasher. A properly functioning door latch ensures that the door remains sealed during wash cycles, which is vital for effective cleaning. This sealing prevents water leaks, thus improving the machine's energy efficiency and reducing water wastage.

Additionally, the Maytag W10175486A is backed by Maytag's reputation for quality and reliability. As a brand known for its robust and dependable appliances, Maytag ensures that every part meets high standards, providing consumers with peace of mind. In summary, the Maytag W10175486A is an essential part that combines durability, ease of installation, and superb compatibility, making it a smart choice for anyone looking to repair or maintain their Maytag dishwasher.