Replace Door and Hinges

Style 1–Standard Door

NOTE: Graphics may be reversed if door swing is reversed.

Freezer drawer models

1.Replace the parts for the bottom hinge as shown. Tighten screws.

NOTE: Provide additional support for the door while the hinges are being moved. Do not depend on the door gasket magnets to hold the door in place while you are working.

2.Assemble the parts for the top hinge as shown in Top Hinge graphic. Do not tighten screws completely.

3.Adjust the door so that the bottom of the refrigerator door is aligned with the top of the freezer drawer. Tighten all screws.

Freezer door models

1.Replace the parts for the bottom hinge as shown. Tighten screws. Replace the freezer door.

NOTE: Provide additional support for the door while the hinges are being moved. Do not depend on the door gasket magnets to hold the door in place while you are working.

2.Assemble the parts for the center hinge as shown in the Center Hinge graphic, and tighten all the screws. Replace the refrigerator door.

3.Assemble the parts for the top hinge as shown in the Top Hinge graphic. Do not tighten the screws completely.

4.Adjust the doors so that the bottom of the refrigerator door is aligned with the top of the freezer door. Tighten all screws.

Style 2–French Doors

1.Assemble the parts for the top hinges as shown in Top Hinge graphic. Do not tighten the screws completely.

2.Replace the parts for the bottom hinges as shown in Bottom Hinge graphic. Tighten screws. Replace the refrigerator doors.

NOTE: Provide additional support for the refrigerator doors while the hinges are being moved. Do not depend on the door gasket magnets to hold the doors in place while you are working.

3.Align each door so that the bottom of the refrigerator door aligns evenly with the top of the freezer drawer. Tighten all screws.

4.Reconnect the wiring plug on top of the left-hand side refrigerator door.

5.Replace the top hinge covers.

Remove and Replace Freezer Drawer

IMPORTANT:

Two people may be required to remove and replace the freezer drawer.

All graphics are included later in this section after “Final Steps.”

Remove and Replace Drawer Handle

Metal Handles

Using a ³⁄₃₂" Allen wrench, loosen the two set screws located on the side of each handle. Pull the handle straight out from the drawer. Make sure you keep the screws for reattaching the handles. See Metal Handle graphic 2.

To replace the handle, reverse the directions.

Plastic Handles

To remove the handle, grasp the handle firmly, slide the handle to the left and pull the handle straight out from the drawer. See Plastic Handle graphic 2.

To replace the handle, position the handle so that the large holes in the mounting clips are to the right and align the holes with the door studs. Rotate the handle so that the mounting clips are flat against the drawer and slide the handle to the right to engage. See Plastic Handle graphic 2.

Remove Drawer Front

1.Open the freezer drawer to full extension.

2.Loosen the four screws attaching the drawer glides to the drawer front. See Drawer Front Removal graphic.

NOTE: Loosen screws three to four turns. Keep the screws in the drawer front.

3.Lift drawer front upward and off the screws. See Drawer Front Removal graphic.

Replace Drawer Front

1.Slide the drawer glides out of the freezer compartment. Insert the screws in the top of the drawer front into the slots in the drawer brackets. See Drawer Front Replacement graphic.

2.Pull the drawer brackets toward you to insert the two screws in the bottom of the drawer front into the brackets. See Drawer Front Replacement graphic.

3.Completely tighten the four screws.

Final Steps

1.Check all holes to make sure that hole plugs and screws are in place. Reinstall top hinge cover as shown in Top Hinge graphic.

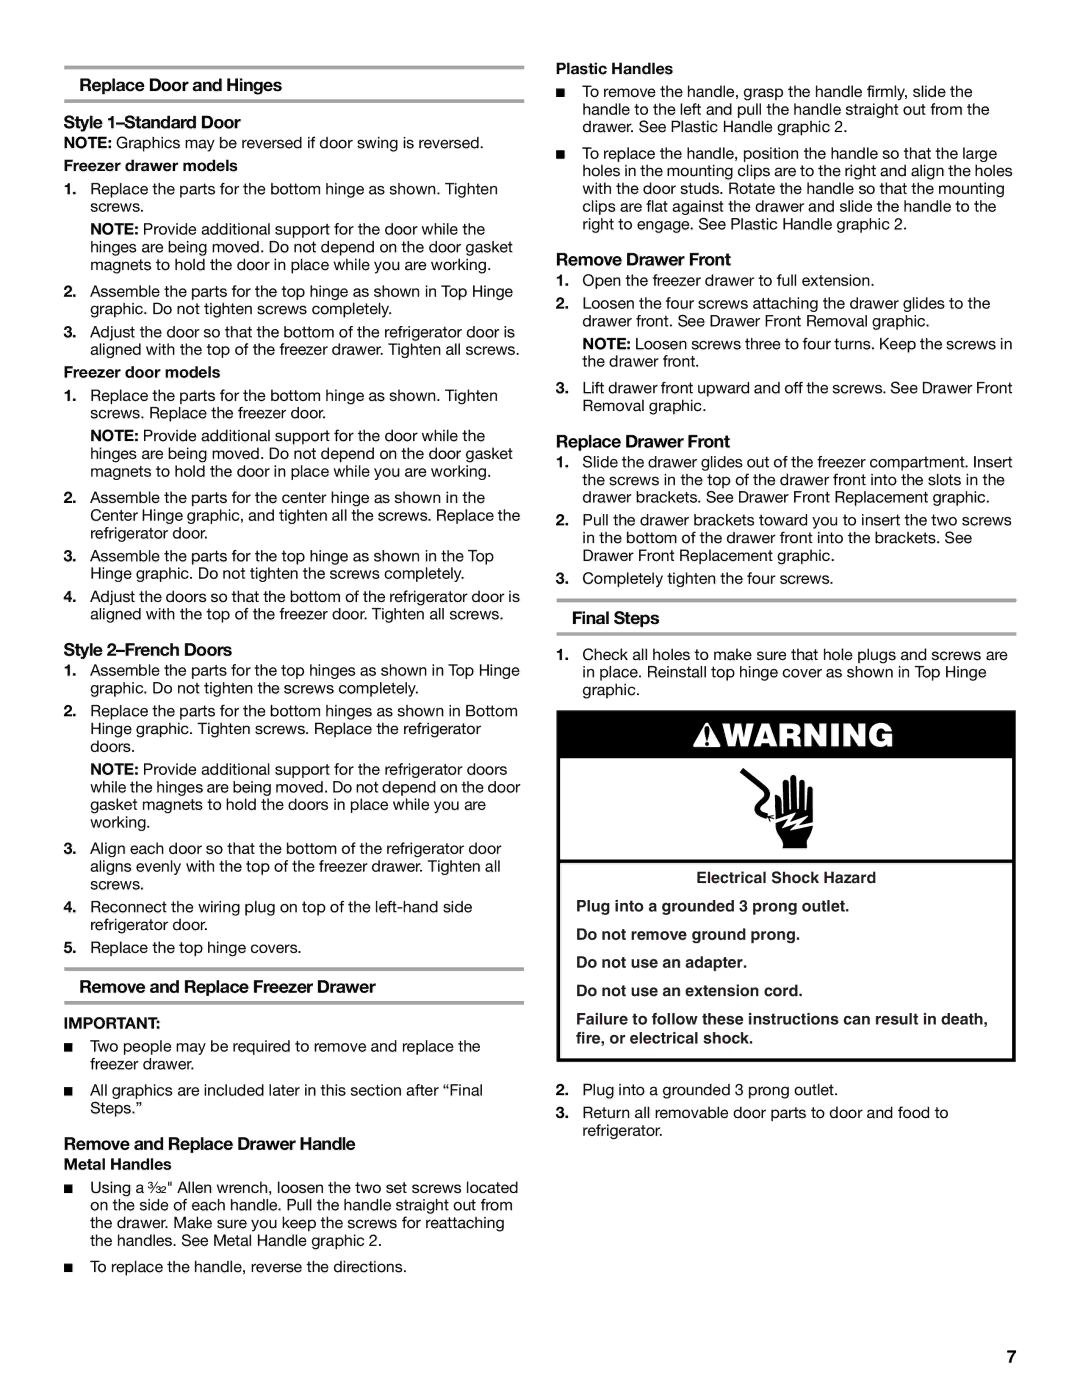
WARNING

Electrical Shock Hazard

Plug into a grounded 3 prong outlet.

Do not remove ground prong.

Do not use an adapter.

Do not use an extension cord.

Failure to follow these instructions can result in death, fire, or electrical shock.

2.Plug into a grounded 3 prong outlet.

3.Return all removable door parts to door and food to refrigerator.

7

Page 7
Image 7
Maytag W10175486A Replace Door and Hinges Style 1-Standard Door, Remove and Replace Freezer Drawer, Remove Drawer Front

W10175486A specifications

The Maytag W10175486A is a high-quality replacement part designed specifically for Maytag appliances, particularly focused on enhancing the performance of dishwashers. This part, often referred to as a dishwasher door latch, plays a crucial role in ensuring that the dishwasher door securely closes during operation, thus preventing leaks and ensuring that the cleaning process is efficient.

One of the main features of the Maytag W10175486A is its robust construction. Made from durable materials, it is designed to withstand the rigors of regular use without succumbing to wear and tear. This durability translates into longevity, making it a worthwhile investment for homeowners looking to maintain the functionality of their dishwashers.

The W10175486A incorporates a user-friendly installation design. This ease of installation means that homeowners can replace their dishwasher door latch without needing to hire a professional, which can save both time and money. With just a few simple steps, users can ensure their dishwasher operates safely and efficiently once again.

In terms of technology, the Maytag W10175486A is designed to meet rigorous safety and performance standards. It is engineered to work with a variety of Maytag dishwasher models, ensuring compatibility and seamless integration into existing systems. This versatility is a significant advantage, as it means that many Maytag users can benefit from this quality part without worrying about compatibility issues.

Another important characteristic of the W10175486A is its role in enhancing the overall efficiency of the dishwasher. A properly functioning door latch ensures that the door remains sealed during wash cycles, which is vital for effective cleaning. This sealing prevents water leaks, thus improving the machine's energy efficiency and reducing water wastage.

Additionally, the Maytag W10175486A is backed by Maytag's reputation for quality and reliability. As a brand known for its robust and dependable appliances, Maytag ensures that every part meets high standards, providing consumers with peace of mind. In summary, the Maytag W10175486A is an essential part that combines durability, ease of installation, and superb compatibility, making it a smart choice for anyone looking to repair or maintain their Maytag dishwasher.