70AZ-ADS specifications
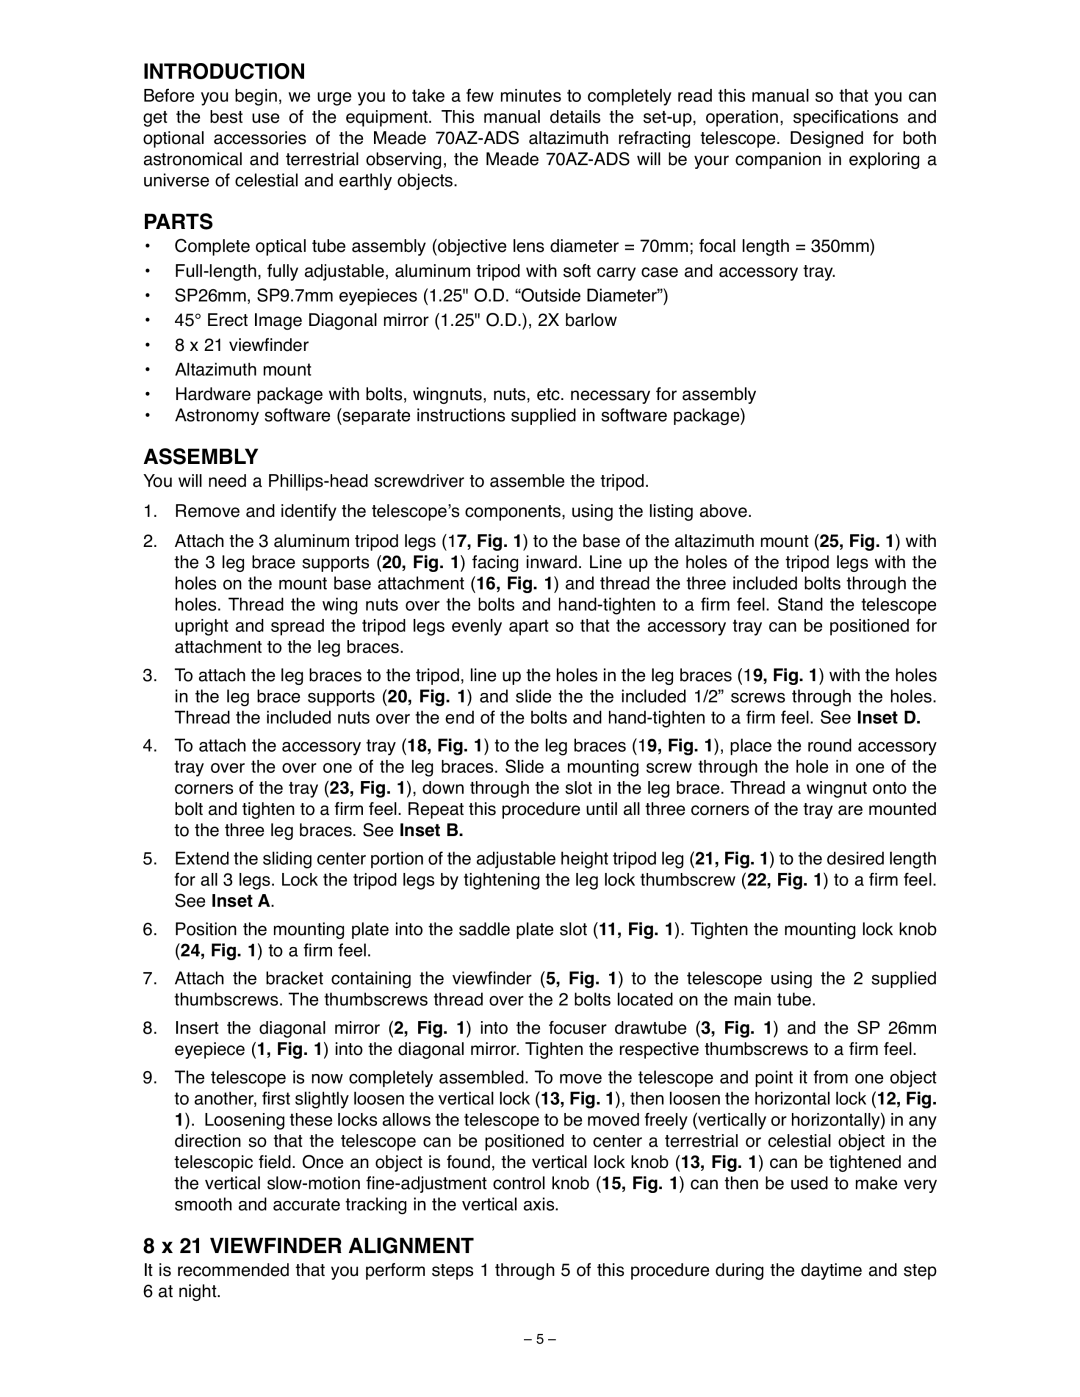
The Meade 70AZ-ADS telescope is an innovative entry-level instrument designed to provide budding astronomers with a user-friendly experience while delivering impressive performance. With its 70mm aperture, the telescope allows for bright, clear views of celestial objects, making it a great choice for beginners eager to explore the night sky.One of the main features of the Meade 70AZ-ADS is its Altazimuth mount. This mount enables smooth and straightforward movements in both the horizontal and vertical planes, allowing users to easily locate and track objects in the sky. The sturdy construction of the mount ensures stability, which is crucial for maintaining focus on celestial subjects. The telescope’s lightweight design also contributes to its portability, making it easy to take on trips or stargazing outings.
Equipped with high-quality optics, the Meade 70AZ-ADS ensures that users can enjoy sharp and detailed views of various celestial targets, including planets, star clusters, and the Moon. The telescope comes with two eyepieces, providing different magnification options that enhance the overall viewing experience. This versatility allows users to switch between lower and higher magnifications according to their preferences and the specific targets they are observing.
Another remarkable aspect of the Meade 70AZ-ADS is the inclusion of a smartphone adapter. This feature allows users to attach their smartphones to the telescope, enabling them to capture stunning images of the night sky. The combination of the telescope's optics and the smartphone's camera capabilities opens up new avenues for astrophotography, allowing enthusiasts to document their observations.
The telescope also features a finderscope, which assists users in locating objects more efficiently. The easy alignment and targeting provided by the finderscope make it simpler for beginners to explore the wonders of astronomy without feeling overwhelmed.
In terms of build quality, the Meade 70AZ-ADS showcases a durable design that is built to withstand regular use. The telescope is also designed to be easy to assemble, meaning that users can quickly set it up and get started in no time.
Overall, the Meade 70AZ-ADS telescope combines user-friendly features with quality optics and innovative technology, making it an ideal choice for anyone new to astronomy. With its portability, ease of use, and the ability to capture images, this telescope serves as an excellent gateway for those looking to deepen their appreciation for the cosmos.