To toggle between 12 and 24 hours displays, move the LCD arrow to 12/24HR and press ENTER. To return to the original setting, press ENTER again.
5)HELP: The HELP menu selection of the TELESCOPE file is an electronic mini-manual that briefly describes the function of each command key on the CDS Keypad.
To use this menu, move the LCD arrow with the PREV or NEXT key to HELP and press ENTER. To read the lines of text, use the PREV and NEXT keys. To exit, press MODE.
6)REVERSE NS: The REVERSE NS menu selection of the TELESCOPE file reverses the direction of the telescope in North and South movements (e.g. pressing the N key moves the telescope South, or down, instead of North, or up). This is especially useful during some guiding applications.
To use the REVERSE NS menu, move the LCD arrow to REVERSE NS and press ENTER. To return the direction commands to the original setting, press ENTER again.
7)REVERSE EW: The REVERSE EW menu selection of the TELESCOPE file reverses the direction of the telescope in East and West movements (e.g. when the W key is pressed, the telescope moves East). This is particularly useful during some guiding applications.
To use the REVERSE EW menu, move the LCD arrow to REVERSE EW and press ENTER. To return the direction commands to the original setting, press ENTER again.
8)BALANCING: When adding optional equipment to the telescope, like a heavy camera or Dewshield, it is often necessary to rebalance the telescope using Tube Balance Weight Systems.
Selecting option #8 from the TELESCOPE menu moves the telescope rapidly up and down in Declination. This provides an easy way to determine when the telescope is balanced in the Declination axis.
When the telescope is out of balance, the instrument will draw more current when slewing in the “heavy” direction. Also, the Declination motor will sound different.
After selecting option #8, watch the Ammeter and listen to the Declination motor to determine when the telescope is balanced. If needed, make the appropriate adjustments to the optical tube assembly and counterweights until the telescope is properly balanced.
9)High-Precision Pointing: The High-Precision Pointing feature of the CDS allows for very precise pointing of the telescope. By incorporating a unique Coordinate Match process with the 0.3 arc-sec resolution encoders and high-speed DC servo motors, observers can now place objects in the telescope’s field of view with high accuracy, making critical image placement applications, such as CCD imaging, possible.
a) Pointing Accuracy
Normal telescope pointing accuracy is better than a few arc- minutes when doing a casual alignment, such as the polar alignment procedure discussed in the telescope's instruction manual. A casual alignment is more than accurate enough for many observing applications.
A “refined” alignment will improve the pointing accuracy of the telescope. This type of alignment requires:
—Entering accurate SITE information, time, and date.
—Proper selection of the two alignment stars.
—A reticle eyepiece (to exactly center the alignment stars.)
In addition, the High Precision Pointing feature requires the refined alignment procedure described in the "Align" section on page 11. Together, these alignment procedures will yield the best pointing accuracy possible, placing images of objects onto the active area of even the smallest CCD cameras available.
It should be stressed that for most applications, using the High Precision Pointing feature is NOT required to get maximum enjoyment out of the telescope. For an evening of simple visual observations, a “casual” alignment is all that is required. Don’t let the pointing precision of the telescope become more important than the fun of observing the night sky!
b) Using High Precision Pointing
The High-Precision Pointing mode requires the “refined” alignment, described above, to maximize the telescope’s pointing ability. The CDS default condition is with High Precision Pointing disabled. To activate the High Precision Pointing mode, select the “high-precision” option from the TELESCOPE menu (option #9). When selected, “HIGH- PRECISION” will change to all upper case letters.
When the High Precision Pointing is activated, the following procedure is used to locate an object:
(1)Choose an object from the Object Library. With the object's information displayed, press GO TO.
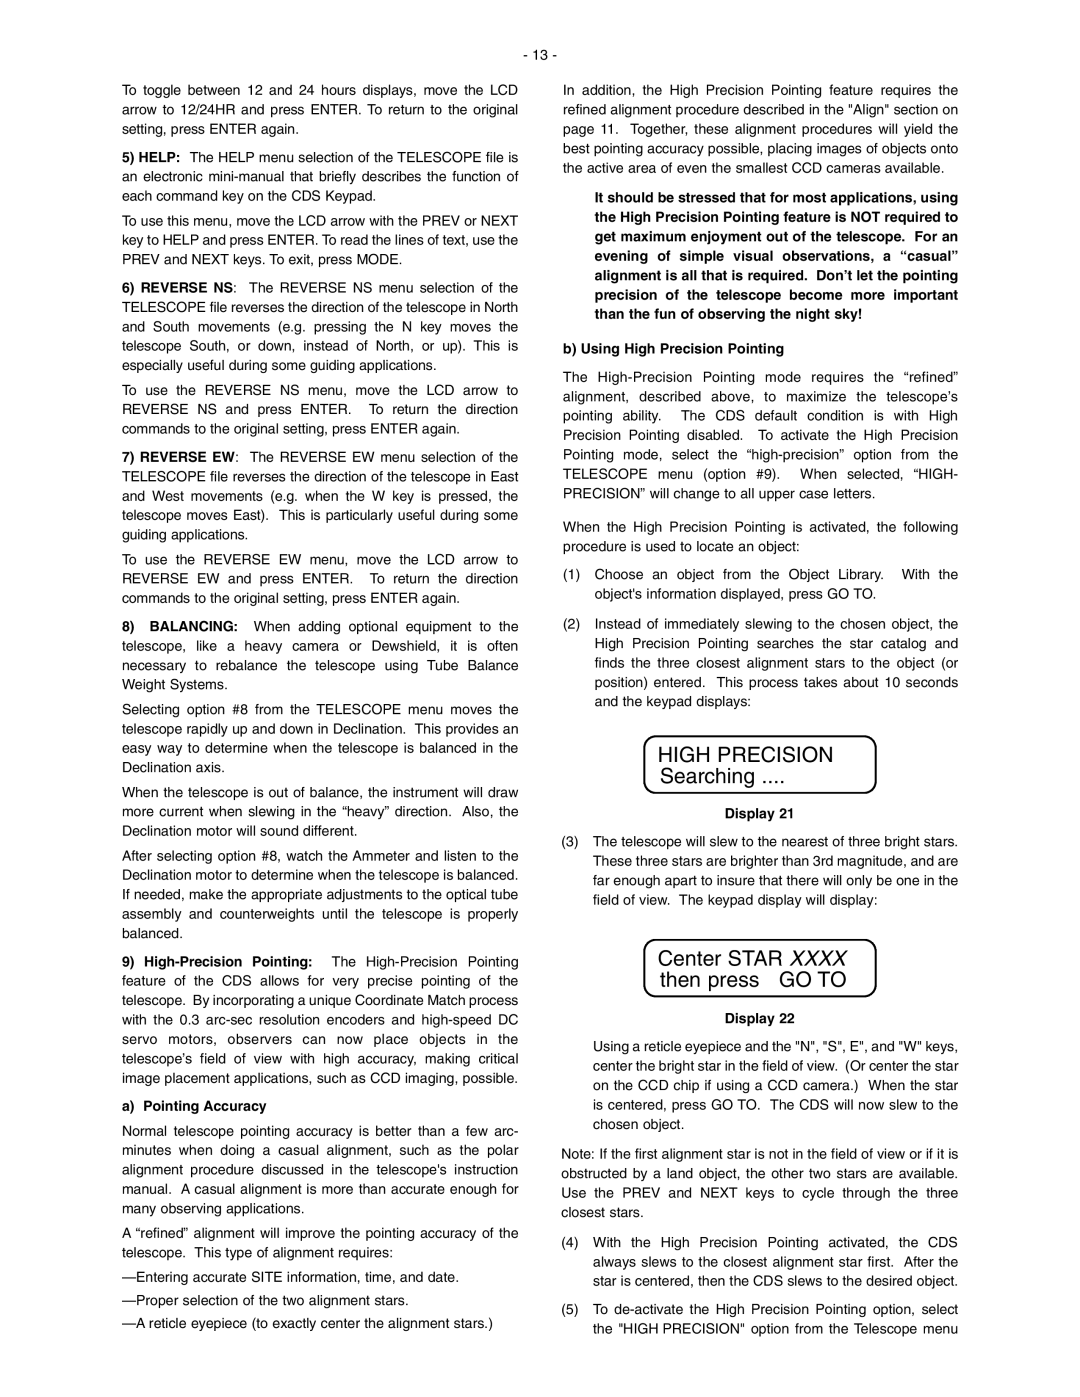
(2)Instead of immediately slewing to the chosen object, the High Precision Pointing searches the star catalog and finds the three closest alignment stars to the object (or position) entered. This process takes about 10 seconds and the keypad displays:
HIGH PRECISION
Searching ....
Display 21
(3)The telescope will slew to the nearest of three bright stars. These three stars are brighter than 3rd magnitude, and are far enough apart to insure that there will only be one in the field of view. The keypad display will display:
Center STAR XXXX then press GO TO
Display 22
Using a reticle eyepiece and the "N", "S", E", and "W" keys, center the bright star in the field of view. (Or center the star on the CCD chip if using a CCD camera.) When the star is centered, press GO TO. The CDS will now slew to the chosen object.
Note: If the first alignment star is not in the field of view or if it is obstructed by a land object, the other two stars are available. Use the PREV and NEXT keys to cycle through the three closest stars.
(4)With the High Precision Pointing activated, the CDS always slews to the closest alignment star first. After the star is centered, then the CDS slews to the desired object.
(5)To de-activate the High Precision Pointing option, select the "HIGH PRECISION" option from the Telescope menu

