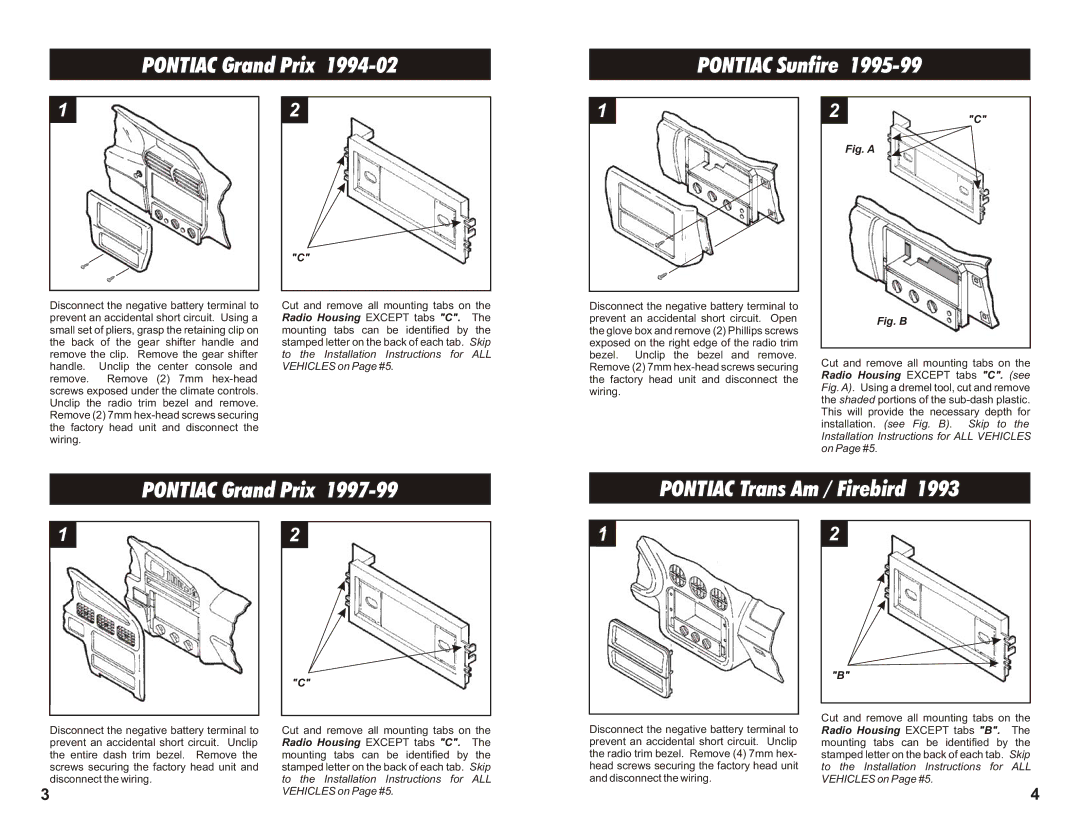
99-3009 specifications
The Metra Electronics 99-3009 is a versatile and innovative dash kit designed specifically for the installation of aftermarket head units into select vehicles. This product has gained attention in the car audio community due to its combination of functionality, ease of use, and aesthetic appeal.One of the main features of the Metra 99-3009 is its OEM-style design, which seamlessly integrates with the factory dashboard. This ensures that vehicle aesthetics are preserved while allowing enthusiasts to upgrade their audio systems. The kit is engineered for a precise fit, thus minimizing gaps and presenting a polished look that rivals factory installations. Its durable construction ensures longevity and resistance to wear and tear.
Another notable aspect of the 99-3009 is its compatibility with a wide range of vehicles. Designed to fit various models from brands like Ford, Lincoln, and Mercury, it allows drivers to personalize their sound experience without compromising their vehicle’s originality. The kit accommodates both single-DIN and double-DIN head units, providing flexibility for consumers looking to customize their audio systems.
The Metra 99-3009 comes equipped with an array of necessary mounting hardware, facilitating a straightforward installation process. This is particularly beneficial for DIY enthusiasts who might not have extensive technical experience. The inclusion of detailed instructions makes it easy for anyone to follow, ensuring that the installation can be completed with minimal hassle.
In terms of technology, the kit supports the installation of advanced audio features including Bluetooth connectivity, Apple CarPlay, and Android Auto, all of which are increasingly popular in today’s aftermarket head unit options. This enables users to enjoy modern conveniences such as hands-free calling, navigation, and streaming music, enhancing the overall driving experience.
Furthermore, the Metra 99-3009 includes provisions for the retention of factory features, such as steering wheel controls and auxiliary inputs. This is critical for users who wish to maintain functionality while upgrading their audio systems.
In summary, the Metra Electronics 99-3009 dash kit is an essential tool for anyone looking to enhance their vehicle's audio capabilities. Its OEM-style design, broad compatibility, ease of installation, and support for modern audio technologies position it as a leading choice in the car audio aftermarket. With the 99-3009, users can achieve a professional-grade installation that combines functionality with an attractive aesthetic, making it a must-have for automotive audio enthusiasts.

