Installing Your Camera
IMPORTANT! To avoid installation problems, please install the software first before connecting the camera to your PC. You will prompted to Restart your computer during this installation so please close and save all work before inserting the WebCam software CD.
Software Installation:
1.Insert the CD into your
2.Select the language of your choice and click Continue.
3.Select Typical or Custom installation and click Continue. Note: There are several software applications included on the CD. You can install any or all of them easily during this phase of the software installation.
4.The final screen in the Setup Wizard will ask you to Restart your computer. Choose yes to Restart your computer and
proceed to the next section, “Connecting Your Camera”.
Note: If the Setup Wizard does not display. Click Start and select Run. Type D:\Setup and press Enter,where D: is the drive designation of your
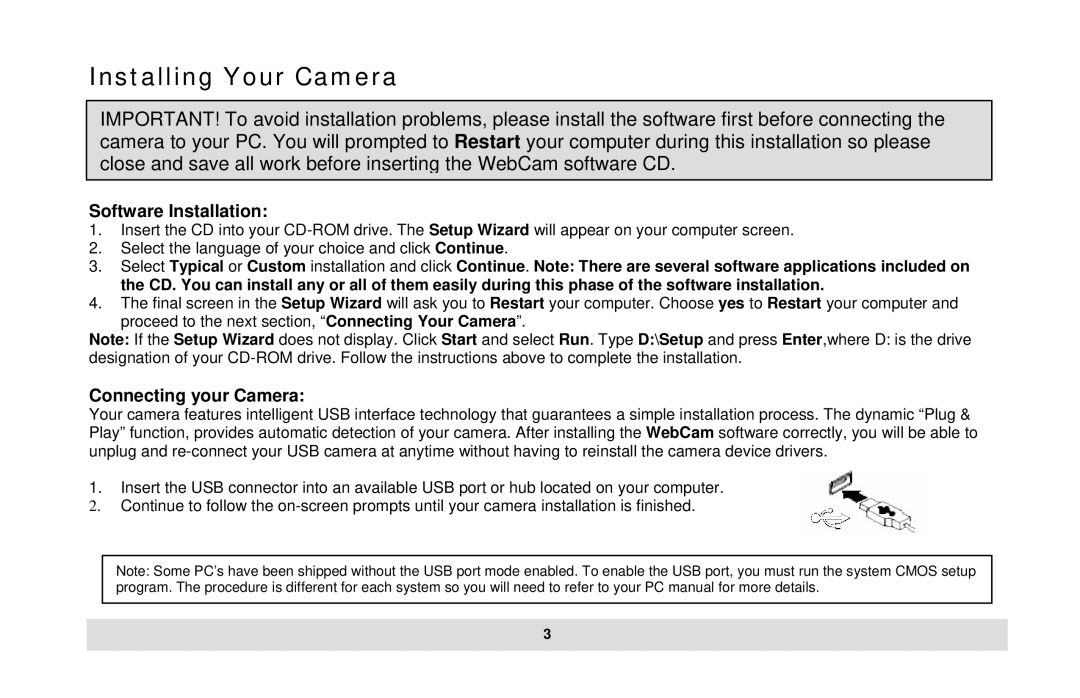
Connecting your Camera:
Your camera features intelligent USB interface technology that guarantees a simple installation process. The dynamic “Plug & Play” function, provides automatic detection of your camera. After installing the WebCam software correctly, you will be able to unplug and
1.Insert the USB connector into an available USB port or hub located on your computer.
2.Continue to follow the
Note: Some PC’s have been shipped without the USB port mode enabled. To enable the USB port, you must run the system CMOS setup program. The procedure is different for each system so you will need to refer to your PC manual for more details.
3