A
2 If a “notexistant” channel is inserted, for example CH99 the radio beeps 4 times after pressing the “E”-button, REGATTA 2 returns to the previously used channel.
2 To switch between USA, CANada, and INTernational channel lists, turn off the unit, and
while holding down the button, turn the unit on. The display will indicate the band.
5.4.a Using the microphone buttons (UP or DOWN)
1. Ensure that you are in normal operating mode (Radio mode); otherwise follow the procedure described in par. 5.4.a.
2. Press the UP or DOWN buttons on the microphone repeatedly to scroll through the marine channels until finding the desired channel.
2 Holding down one of the buttons will allow you to scroll quickly through the channels.
2 The marine band does not recognize some channel numbers. Refer to the frequency table. The channels may have different receiving and transmitting frequencies (duplex channels) or may have the same (simplex channels).
2 Regulations require that some channels operate on low transmission power (see Chap.1) For this reason, REGATTA 2 automatically switches to low power when these channels are selected.
5.5 Transmission and reception
I Transmitting without a perfectly functioning antenna may seriously damage the transceiver.
The PTT (Push-To-Talk) button is located on the external microphone of your REGATTA 2. To transmit:
1. Ensure that no one else is speaking.
2. Hold down the PTT button on the microphone. TX will appear on the Display.
If there is no confirmation within 2 seconds by pressing the “E” button, REGATTA 2 will return to the previously used channel.
2
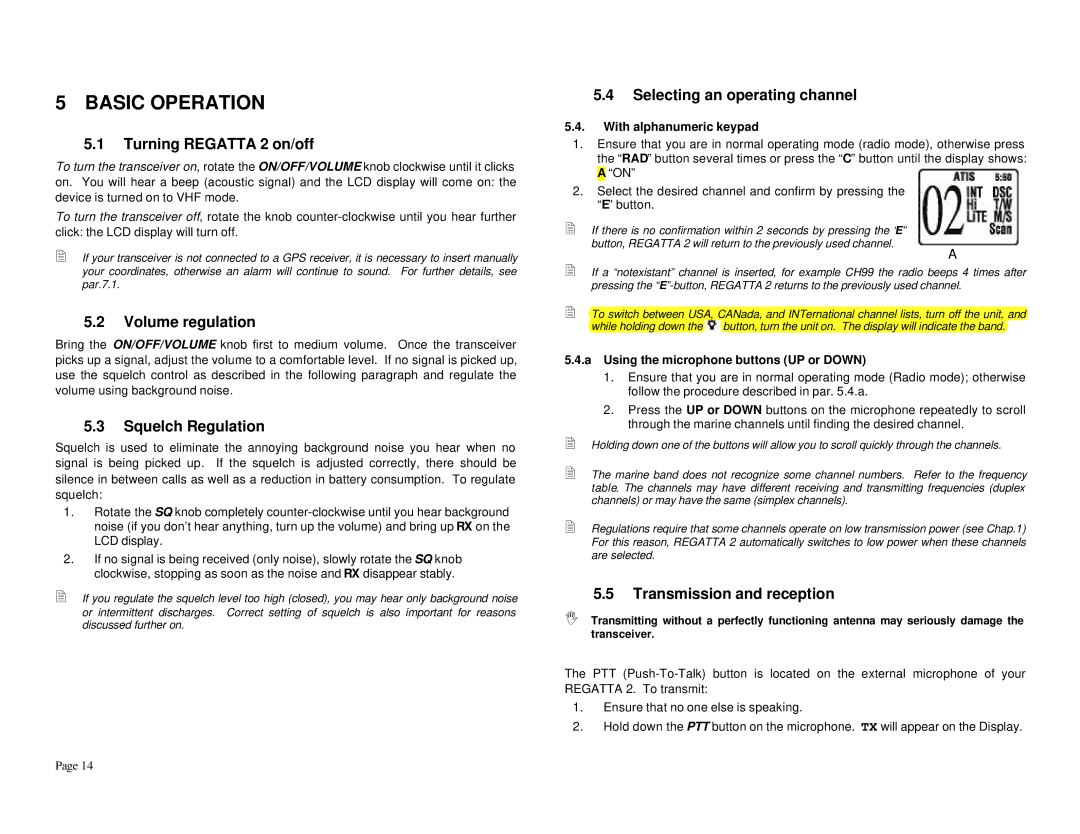
5.4 Selecting an operating channel
5.4. With alphanumeric keypad
1. Ensure that you are in normal operating mode (radio mode), otherwise press the “RAD” button several times or press the “C” button until the display shows: A “ON”
2. Select the desired channel and confirm by pressing the “E” button.
5 BASIC OPERATION
5.1Turning REGATTA 2 on/off
To turn the transceiver on, rotate the ON/OFF/VOLUME knob clockwise until it clicks on. You will hear a beep (acoustic signal) and the LCD display will come on: the device is turned on to VHF mode.
To turn the transceiver off, rotate the knob counter-clockwise until you hear further click: the LCD display will turn off.
2If your transceiver is not connected to a GPS receiver, it is necessary to insert manually your coordinates, otherwise an alarm will continue to sound. For further details, see par.7.1.
5.2Volume regulation
Bring the ON/OFF/VOLUME knob first to medium volume. Once the transceiver picks up a signal, adjust the volume to a comfortable level. If no signal is picked up, use the squelch control as described in the following paragraph and regulate the volume using background noise.
5.3Squelch Regulation
Squelch is used to eliminate the annoying background noise you hear when no signal is being picked up. If the squelch is adjusted correctly, there should be silence in between calls as well as a reduction in battery consumption. To regulate squelch:
1.Rotate the SQ knob completely counter-clockwise until you hear background noise (if you don’t hear anything, turn up the volume) and bring up RX on the LCD display.
2.If no signal is being received (only noise), slowly rotate the SQ knob clockwise, stopping as soon as the noise and RX disappear stably.
2If you regulate the squelch level too high (closed), you may hear only background noise
or intermittent discharges. Correct setting of squelch is also important for reasons discussed further on.
Page 14