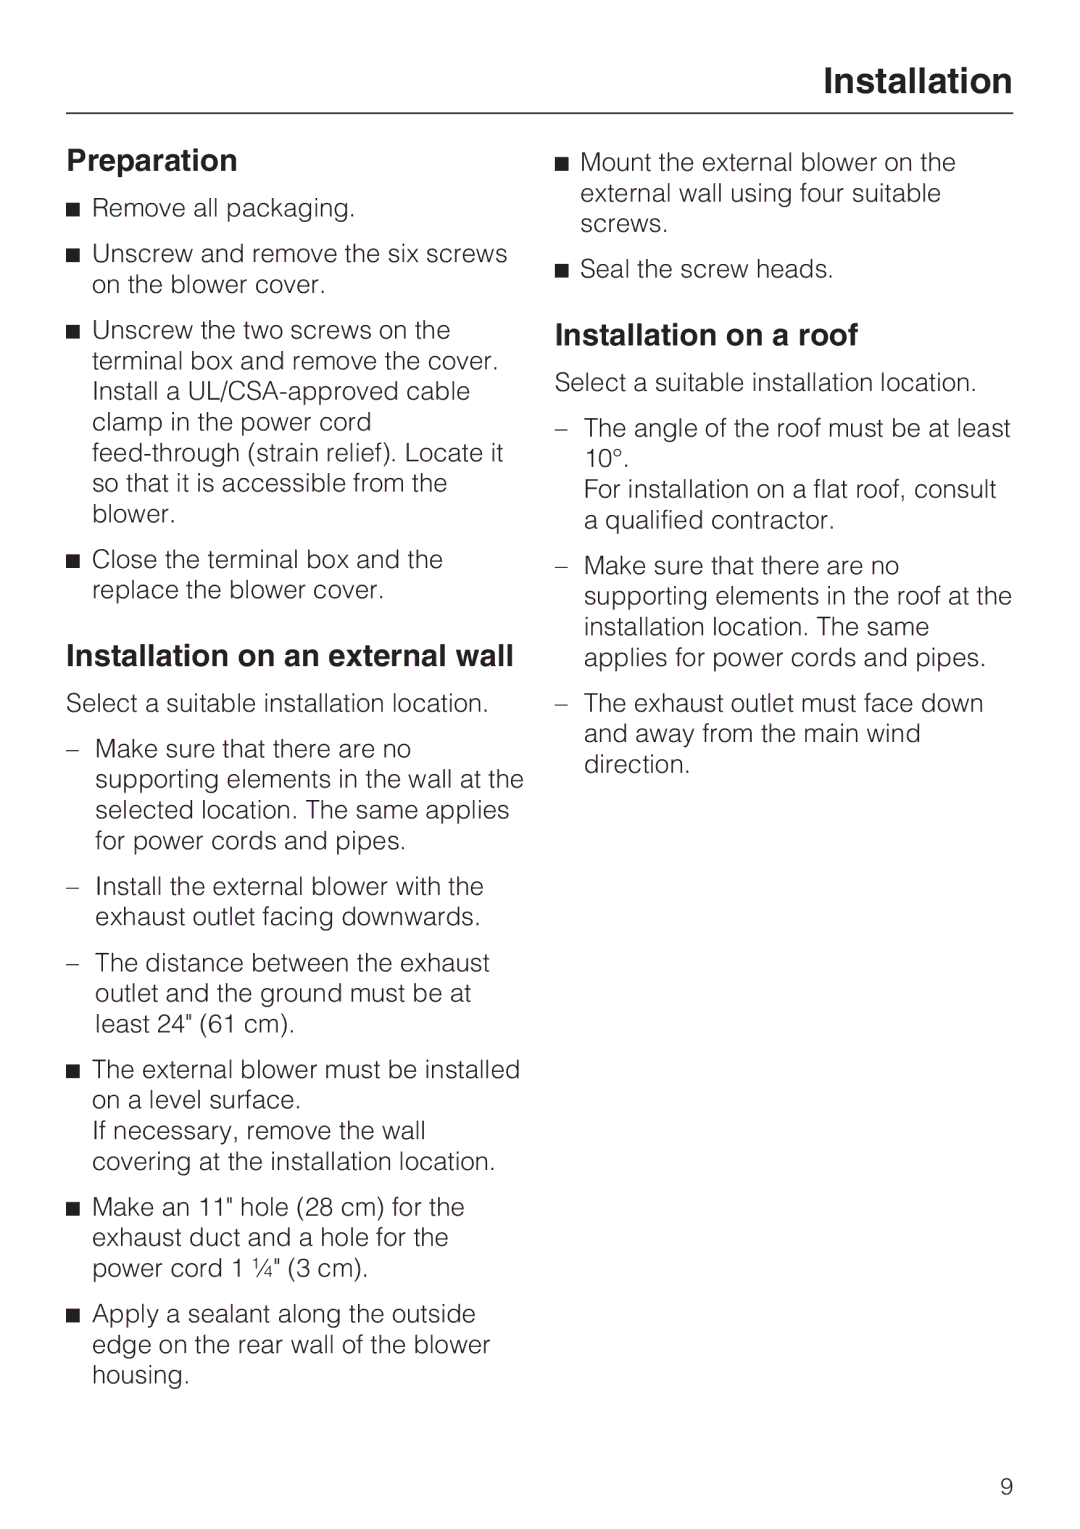
miele External Blower, DAG 1000 specifications
Miele, a renowned German manufacturer known for its high-quality home appliances, offers a range of advanced range hoods designed to enhance the kitchen experience. Among these are the Miele DA 6480, DAG 1000, DA 6490, and DAG 500. Each model showcases innovative technologies and exceptional performance, making them stand out in the kitchen appliance market.The Miele DA 6480 is a stylish wall-mounted range hood that offers optimal extraction rates while maintaining a quiet operation. With its powerful motor, it achieves an air extraction capacity of up to 620 m³/h, ensuring that even the most intense cooking odors are efficiently removed. The model features Miele’s patented CleanCover, which ensures easy cleaning and improves safety by providing an enclosed motor. In terms of design, the DA 6480 boasts a sleek glass and stainless steel finish that complements any modern kitchen aesthetic.
Next, the Miele DAG 1000 is a versatile downdraft extractor that can be easily integrated into an island or countertop setup. Its unique design allows it to rise up from the cooking surface when needed and retract when not in use, providing a clear sightline in the kitchen. The DAG 1000 features a powerful extraction rate of 700 m³/h and a filter saturation indicator, ensuring optimal performance. Its LED lighting adds visibility to the cooking area while enhancing the overall ambiance.
The Miele DA 6490 is another exceptional wall-mounted model that emphasizes energy efficiency and effective smoke extraction. This range hood offers a maximum extraction rate of 1000 m³/h, making it suitable for professional-grade cooking environments. Incorporating Miele’s innovative Con@ctivity technology, the DA 6490 can communicate with Miele cooktops, automatically adjusting extraction levels based on cooking activity. This feature ensures optimal air quality and energy use. The hood also features intuitive touch controls, allowing for easy operation.
Lastly, the Miele DAG 500 emphasizes simplicity and functionality. This downdraft model is designed for space-saving efficiency while still packing a punch with a powerful extraction capability of 500 m³/h. It is equipped with stainless steel grease filters that are dishwasher-safe, making maintenance a breeze. The DAG 500’s minimalist design seamlessly fits into any kitchen layout, providing both style and utility.
In summary, Miele's DA 6480, DAG 1000, DA 6490, and DAG 500 models exemplify the brand’s commitment to quality, innovation, and user convenience. With features that enhance performance, design aesthetics, and ease of maintenance, these range hoods are an excellent investment for any modern kitchen. Whether you require efficient air extraction, stylish integration, or advanced technology, Miele's range hoods deliver outstanding results.
