TOOL ASSEMBLY
WARNING
To reduce the risk of injury, always unplug tool before attaching or removing accessories or making adjustments. Use only specifi- cally recommended accessories. Others may be hazardous.
Adjusting the Spade Side Handle (Cat. No. 5337-20, 5339-20 only)
The spade side handle is provided on demolition hammers only. Do not use the spade side handle on Rotary Hammers.
1.Slightly loosen the spade side handle by turning the spade side handle adjusting knob counterclockwise.
2.Rotate the spade side handle to the desired position. The handle can be moved to the left or right of the tool, as well as forward or backward.
3.Securely tighten the spade side handle adjusting knob.
Adjusting the Straight Side Handle
Screw the straight side handle into one of three positions (top, left side, or right side). Tighten securely.
SDS Max shank Cat. No.
1.Clean and grease the bit or chisel shank.
2.Insert the bit or chisel into the nose of the tool.
3.Rotate the bit or chisel slowly until it aligns with the locking mecha- nism.
4.Push the bit or chisel into the tool until it locks (Fig. 2).
5.Pull on the bit or chisel to verify that it is locked into place.
6.To remove, pull the bit release collar toward the rear of the tool and remove the bit or chisel.
WARNING
To reduce the risk of injury, use only specifically recommended MILWAUKEE hammer chisels. Others may damage tool.
WARNING
To reduce the risk of injury when hammering with rotation, always use the straight side handle when using this tool. Always brace or hold securely.
To reduce the risk of injury when hammering with or without rota- tion, wear safety goggles or glasses with side shields.
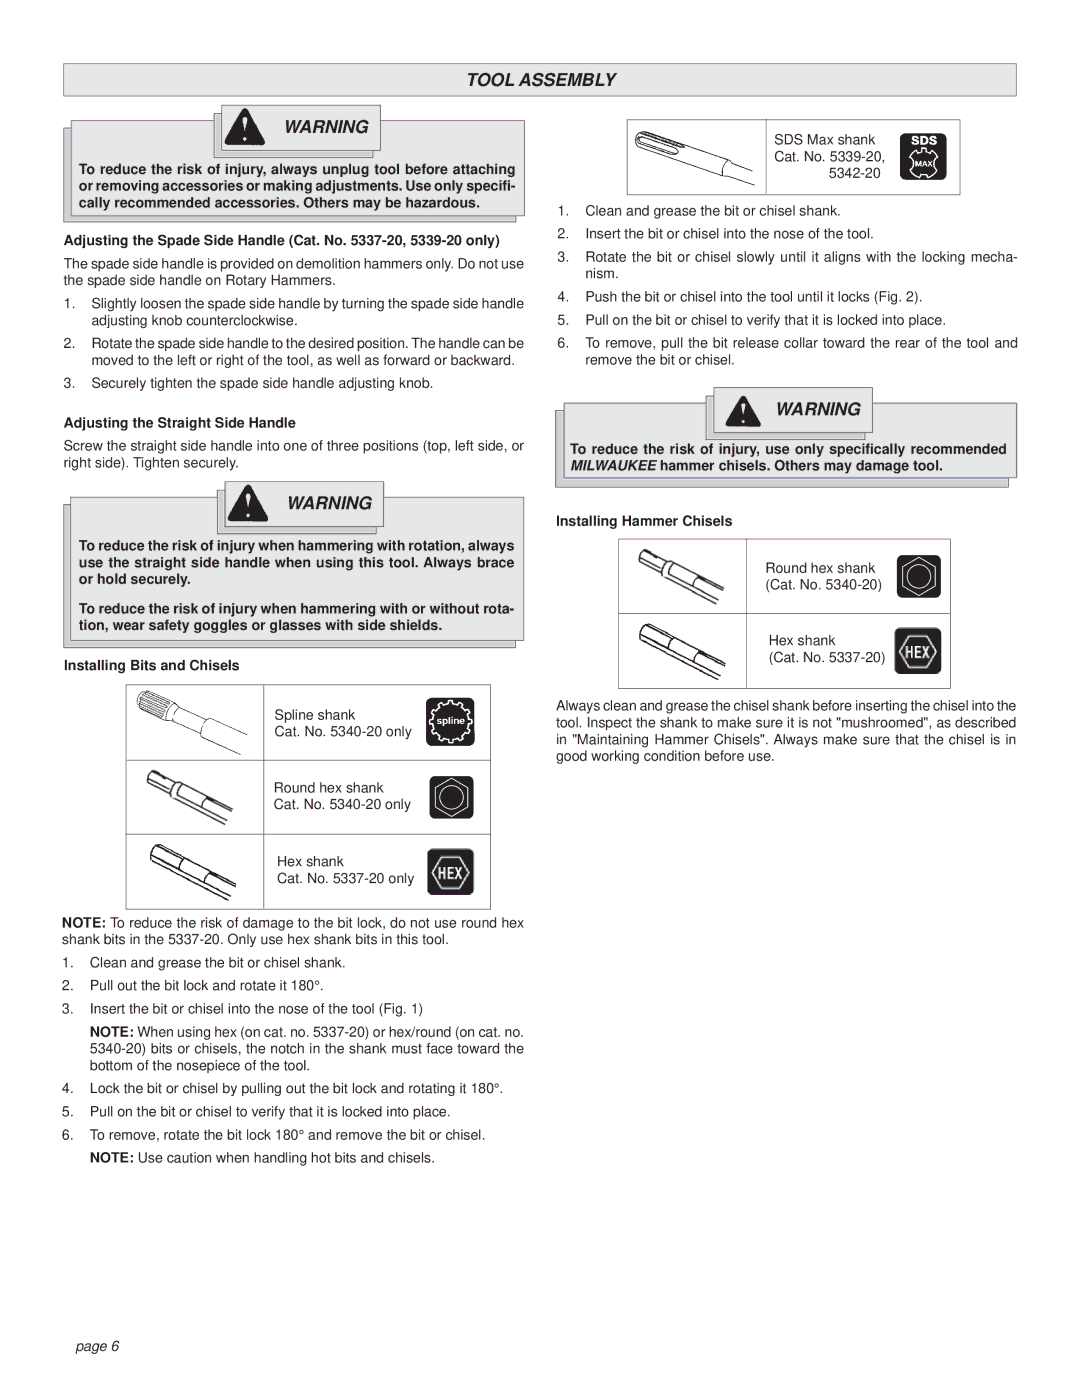
Installing Bits and Chisels
Spline shank
Cat. No.
Round hex shank
Cat. No.
Hex shank
Cat. No.
NOTE: To reduce the risk of damage to the bit lock, do not use round hex shank bits in the
1.Clean and grease the bit or chisel shank.
2.Pull out the bit lock and rotate it 180°.
3.Insert the bit or chisel into the nose of the tool (Fig. 1)
NOTE: When using hex (on cat. no.
4.Lock the bit or chisel by pulling out the bit lock and rotating it 180°.
5.Pull on the bit or chisel to verify that it is locked into place.
6.To remove, rotate the bit lock 180° and remove the bit or chisel. NOTE: Use caution when handling hot bits and chisels.
Installing Hammer Chisels
Round hex shank (Cat. No.
Hex shank
(Cat. No.
Always clean and grease the chisel shank before inserting the chisel into the tool. Inspect the shank to make sure it is not "mushroomed", as described in "Maintaining Hammer Chisels". Always make sure that the chisel is in good working condition before use.
page 6