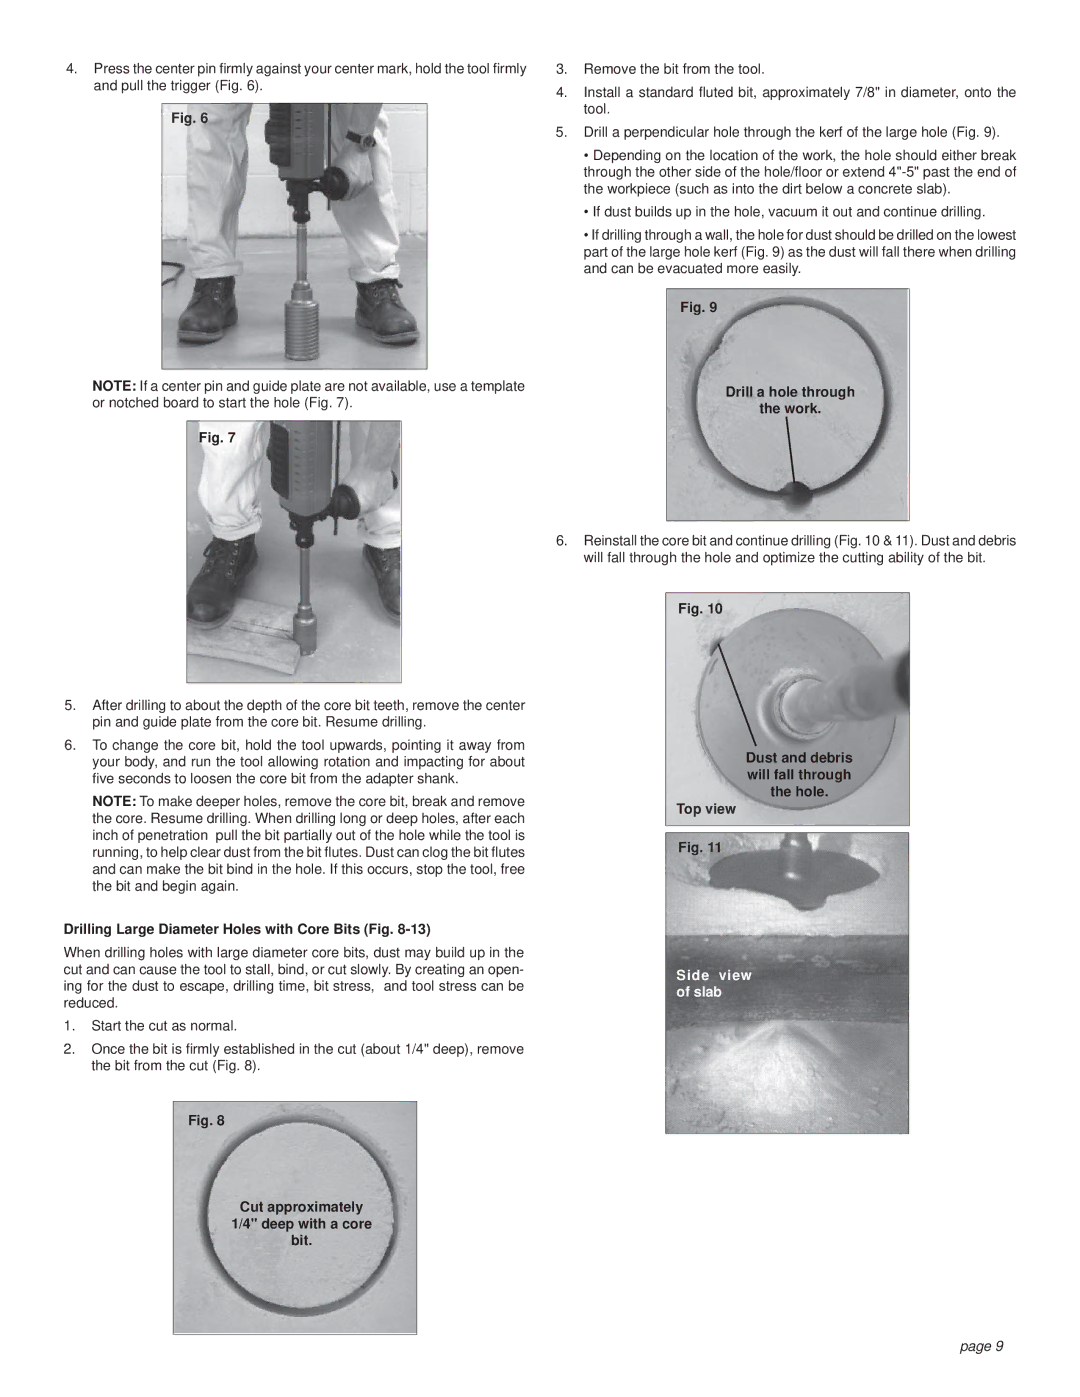
4.Press the center pin firmly against your center mark, hold the tool firmly and pull the trigger (Fig. 6).
Fig. 6
NOTE: If a center pin and guide plate are not available, use a template or notched board to start the hole (Fig. 7).
Fig. 7
5.After drilling to about the depth of the core bit teeth, remove the center pin and guide plate from the core bit. Resume drilling.
6.To change the core bit, hold the tool upwards, pointing it away from your body, and run the tool allowing rotation and impacting for about five seconds to loosen the core bit from the adapter shank.
NOTE: To make deeper holes, remove the core bit, break and remove the core. Resume drilling. When drilling long or deep holes, after each inch of penetration pull the bit partially out of the hole while the tool is running, to help clear dust from the bit flutes. Dust can clog the bit flutes and can make the bit bind in the hole. If this occurs, stop the tool, free the bit and begin again.
Drilling Large Diameter Holes with Core Bits (Fig. 8-13)
When drilling holes with large diameter core bits, dust may build up in the cut and can cause the tool to stall, bind, or cut slowly. By creating an open- ing for the dust to escape, drilling time, bit stress, and tool stress can be reduced.
1.Start the cut as normal.
2.Once the bit is firmly established in the cut (about 1/4" deep), remove the bit from the cut (Fig. 8).
Fig. 8
Cut approximately
1/4" deep with a core
bit.
3.Remove the bit from the tool.
4.Install a standard fluted bit, approximately 7/8" in diameter, onto the tool.
5.Drill a perpendicular hole through the kerf of the large hole (Fig. 9).
•Depending on the location of the work, the hole should either break through the other side of the hole/floor or extend
•If dust builds up in the hole, vacuum it out and continue drilling.
•If drilling through a wall, the hole for dust should be drilled on the lowest part of the large hole kerf (Fig. 9) as the dust will fall there when drilling and can be evacuated more easily.
Fig. 9
Drill a hole through
the work.
6.Reinstall the core bit and continue drilling (Fig. 10 & 11). Dust and debris will fall through the hole and optimize the cutting ability of the bit.
Fig. 10
Dust and debris will fall through the hole.
Top view
Fig. 11
Side view of slab
page 9