6
Using the Adapter
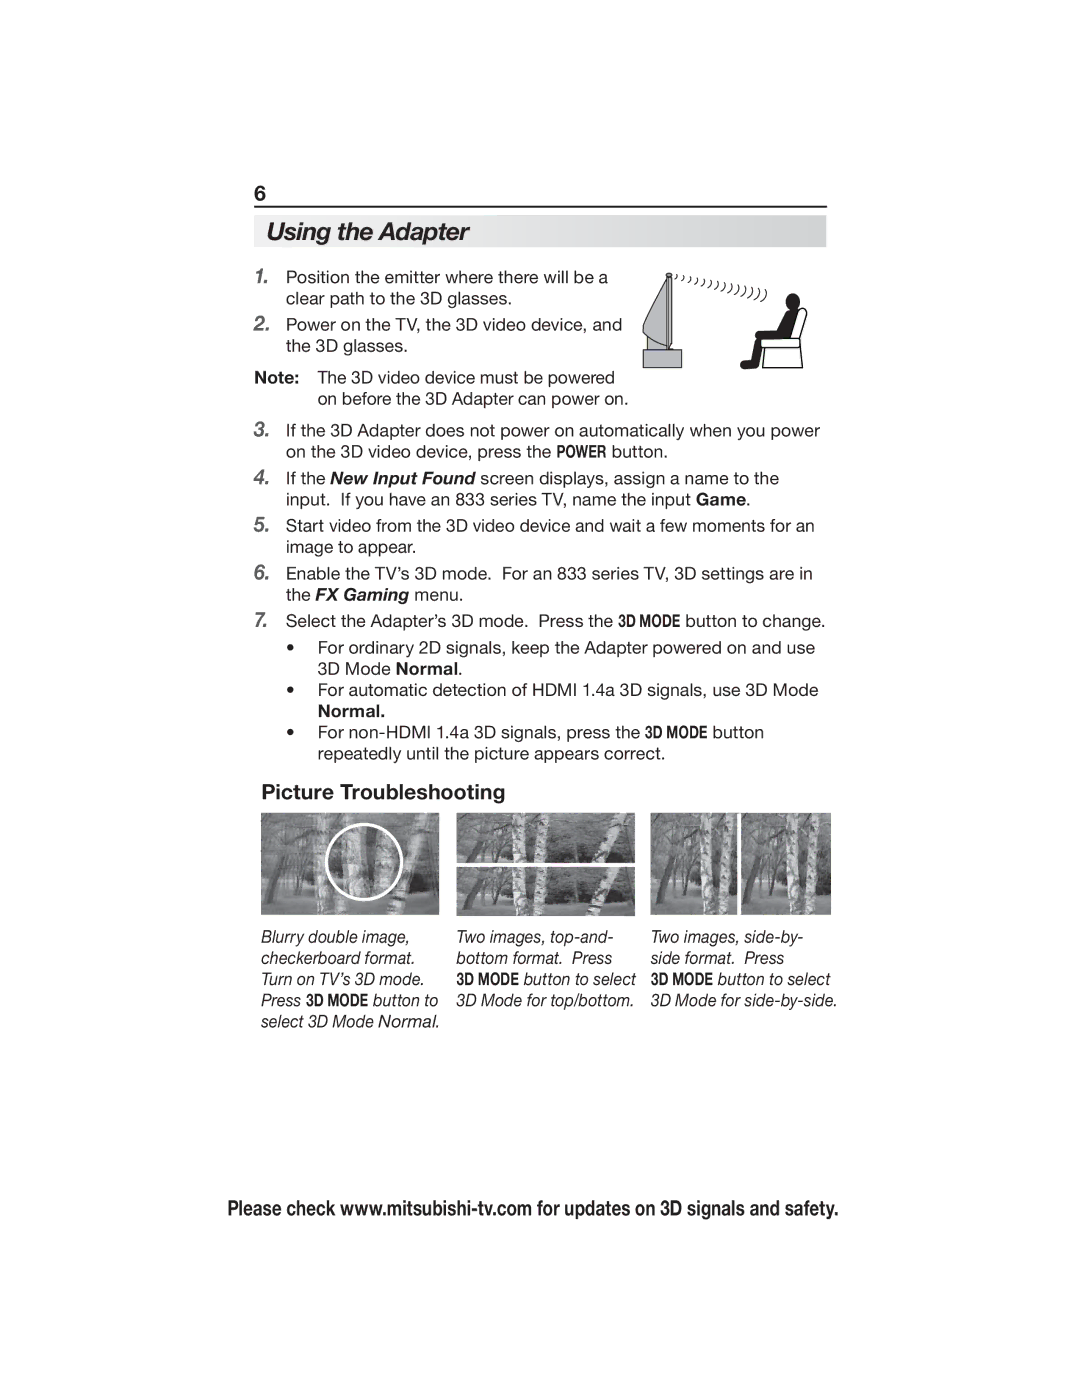
1. Position the emitter where there will be a clear path to the 3D glasses.
2.Power on the TV, the 3D video device, and
the 3D glasses.
Note: The 3D video device must be powered on before the 3D Adapter can power on.
3.If the 3D Adapter does not power on automatically when you power on the 3D video device, press the POWER button.
4.If the New Input Found screen displays, assign a name to the input. If you have an 833 series TV, name the input Game.
5.Start video from the 3D video device and wait a few moments for an image to appear.
6.Enable the TV’s 3D mode. For an 833 series TV, 3D settings are in the FX Gaming menu.
7.Select the Adapter’s 3D mode. Press the 3D MODE button to change.
•For ordinary 2D signals, keep the Adapter powered on and use 3D Mode Normal.
•For automatic detection of HDMI 1.4a 3D signals, use 3D Mode
Normal.
•For
Picture Troubleshooting
Blurry double image, | Two images, | Two images, |
checkerboard format. | bottom format. Press | side format. Press |
Turn on TV’s 3D mode. | 3D MODE button to select | 3D MODE button to select |
Press 3D MODE button to | 3D Mode for top/bottom. | 3D Mode for |
select 3D Mode Normal. |
|
|
Please check
