CP9800DW specifications
The Mitsubishi Electronics CP9800DW is a high-performance printer that is notable for its advanced features and technologies designed to meet the demanding needs of professional print environments. This color digital printer is particularly revered in settings such as photography studios and graphic design shops, where print quality and reliability are paramount.One of the standout features of the CP9800DW is its ability to produce stunningly vivid images with a maximum resolution of 1200 x 1200 dpi. This level of precision ensures that every print showcases rich colors and sharp details, making it an excellent choice for printing high-quality photographs as well as promotional materials. The printer utilizes a sophisticated four-color dye sublimation technique that enhances color vibrancy and depth, allowing for lifelike reproductions.
Moreover, the CP9800DW supports a wide range of media types and sizes, from standard 4”x6” prints to larger formats. This versatility makes it an appealing option for businesses and professionals who require flexibility in their print jobs. The printer is compatible with various paper types, including matte, glossy, and fine art papers, enabling users to achieve the desired finish for their projects.
In terms of speed, the CP9800DW does not disappoint. It is capable of producing high-quality prints quickly, significantly reducing wait times during busy print runs. The printer's efficient design ensures that it can handle large volumes without sacrificing quality.
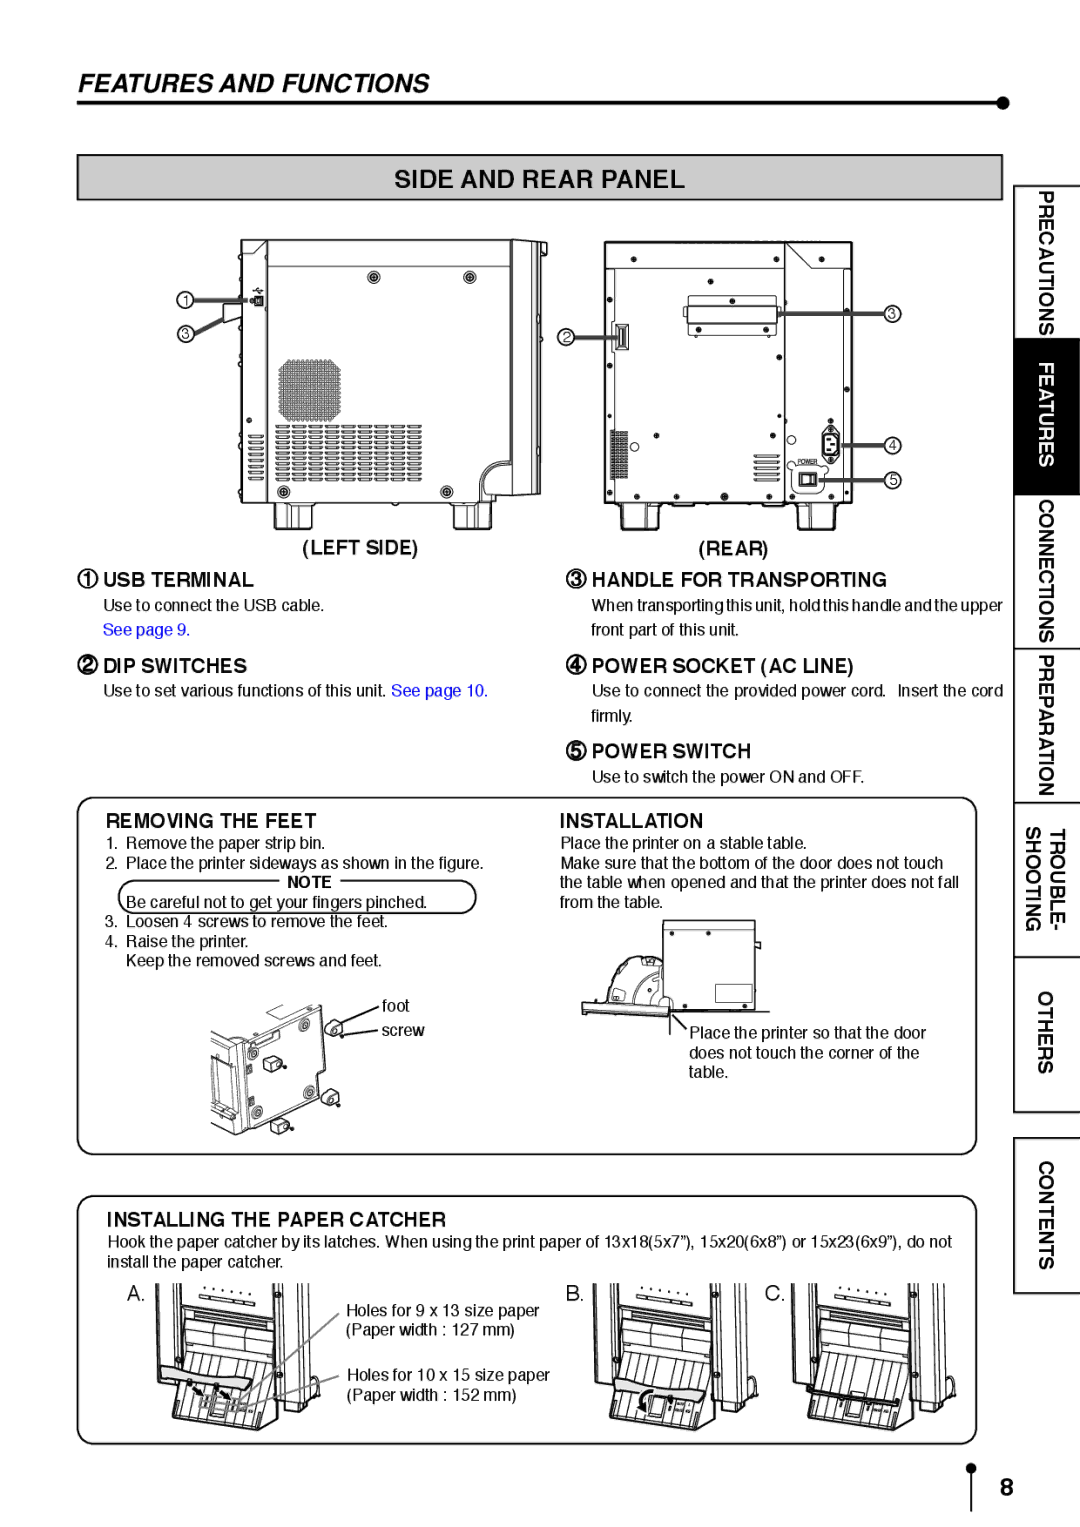
Another critical characteristic of the CP9800DW is its user-friendly interface. The device comes equipped with an intuitive control panel that simplifies operation, making it accessible even for those who are not technically inclined. Additionally, the printer supports various connectivity options, such as USB and network connections, facilitating easy integration into existing workflows.
The CP9800DW also emphasizes reliability, featuring robust construction and high-quality components designed to withstand the rigors of continuous use. This durability is paired with low maintenance requirements, allowing users to focus on their creative endeavors rather than equipment upkeep.
In summary, the Mitsubishi Electronics CP9800DW combines advanced printing technologies, exceptional image quality, versatility in media handling, and user-friendly operation. Its features make it an ideal choice for professionals who demand nothing but the best in their printing needs, ensuring that every project boasts remarkable quality and efficiency.

