Menu operation (continued)
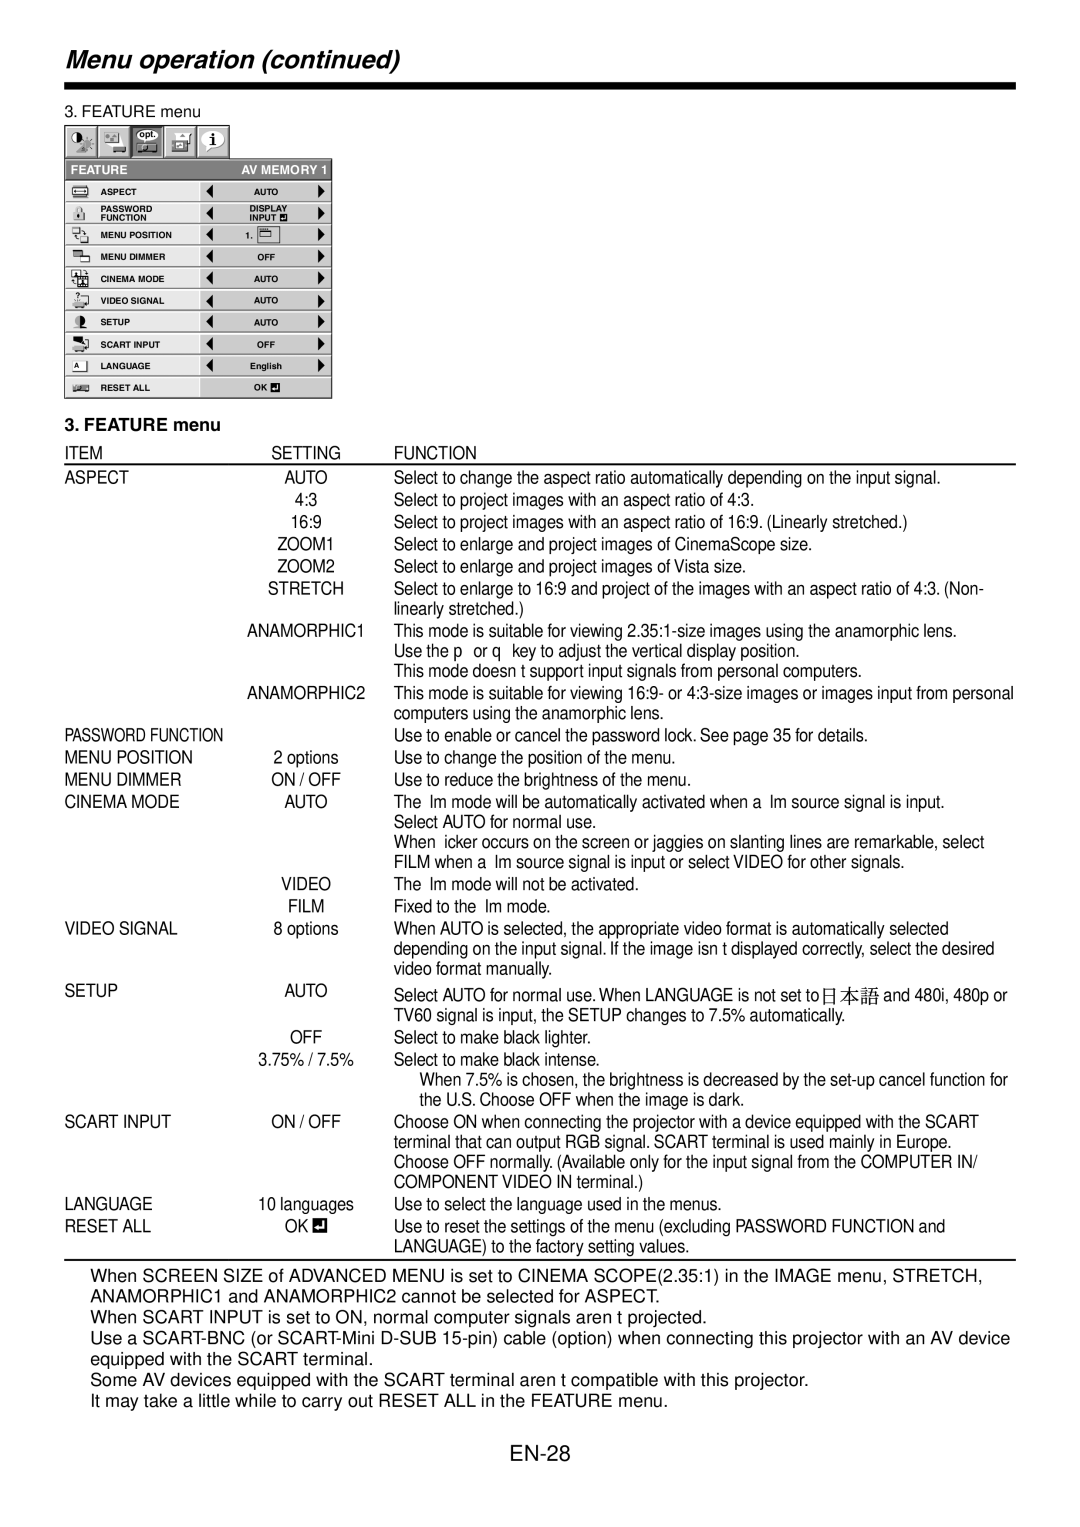
3. FEATURE menu
opt.
FEATURE | AV MEMORY 1 | ||||||
|
|
|
|
|
|
|
|
|
|
|
| ASPECT | AUTO | ||
|
|
|
|
|
|
|
|
|
|
|
| PASSWORD | DISPLAY | ||
|
|
|
| FUNCTION | INPUT | ||
|
|
|
|
|
|
|
|
|
|
|
| MENU POSITION | 1. |
|
|
|
|
|
|
|
|
|
|
|
|
|
| MENU DIMMER | OFF | ||
|
|
|
|
|
|
|
|
| CINEMA MODE | AUTO |
? | VIDEO SIGNAL | AUTO |
|
|
|
| SETUP |
| AUTO |
|
|
| ||
|
|
|
|
|
|
|
|
|
|
|
|
|
| SCART INPUT |
| OFF |
|
|
| ||
|
|
|
|
|
|
|
|
|
|
|
|
| A Ë | LANGUAGE |
| English |
|
|
| ||
|
|
|
|
|
|
|
|
|
|
|
|
|
| RESET ALL |
| OK |
|
|
|
|
|
|
|
|
|
|
|
|
|
| ||
3. FEATURE menu |
|
|
|
|
|
| ||||
ITEM |
| SETTING | FUNCTION |
| ||||||
ASPECT |
|
| AUTO | Select to change the aspect ratio automatically depending on the input signal. | ||||||
|
|
|
|
| 4:3 |
| Select to project images with an aspect ratio of 4:3. |
| ||
|
|
|
|
| 16:9 |
| Select to project images with an aspect ratio of 16:9. (Linearly stretched.) | |||
|
|
|
|
|
| ZOOM1 | Select to enlarge and project images of CinemaScope size. |
| ||
|
|
|
|
|
| ZOOM2 | Select to enlarge and project images of Vista size. |
| ||
|
|
|
|
| STRETCH | Select to enlarge to 16:9 and project of the images with an aspect ratio of 4:3. (Non- | ||||
|
|
|
|
|
|
|
|
| linearly stretched.) |
|
|
|
|
|
| ANAMORPHIC1 | This mode is suitable for viewing | ||||
|
|
|
|
|
|
|
|
| Use the p or q key to adjust the vertical display position. |
|
|
|
|
|
|
|
|
|
| This mode doesn’t support input signals from personal computers. |
|
|
|
|
|
| ANAMORPHIC2 | This mode is suitable for viewing 16:9- or | ||||
|
|
|
|
|
|
|
|
| computers using the anamorphic lens. |
|
PASSWORD FUNCTION |
|
|
|
| Use to enable or cancel the password lock. See page 35 for details. |
| ||||
MENU POSITION |
| 2 options | Use to change the position of the menu. |
| ||||||
MENU DIMMER |
| ON / OFF | Use to reduce the brightness of the menu. |
| ||||||
CINEMA MODE |
|
| AUTO | The film mode will be automatically activated when a film source signal is input. | ||||||
|
|
|
|
|
|
|
|
| Select AUTO for normal use. |
|
|
|
|
|
|
|
|
|
| When flicker occurs on the screen or jaggies on slanting lines are remarkable, select | |
|
|
|
|
|
|
|
|
| FILM when a film source signal is input or select VIDEO for other signals. | |
|
|
|
|
|
|
| VIDEO | The film mode will not be activated. |
| |
|
|
|
|
|
|
| FILM | Fixed to the film mode. |
| |
VIDEO SIGNAL |
| 8 options | When AUTO is selected, the appropriate video format is automatically selected | |||||||
|
|
|
|
|
|
|
|
| depending on the input signal. If the image isn’t displayed correctly, select the desired | |
|
|
|
|
|
|
|
|
| video format manually. |
|
SETUP |
|
| AUTO | Select AUTO for normal use. When LANGUAGE is not set to | and 480i, 480p or | |||||
|
|
|
|
|
|
|
|
| TV60 signal is input, the SETUP changes to 7.5% automatically. |
|
|
|
|
|
|
|
| OFF | Select to make black lighter. |
| |
3.75% / 7.5% Select to make black intense.
•When 7.5% is chosen, the brightness is decreased by the
SCART INPUT | ON / OFF | Choose ON when connecting the projector with a device equipped with the SCART | ||
|
|
|
| terminal that can output RGB signal. SCART terminal is used mainly in Europe. |
|
|
|
| Choose OFF normally. (Available only for the input signal from the COMPUTER IN/ |
|
|
|
| COMPONENT VIDEO IN terminal.) |
LANGUAGE | 10 languages | Use to select the language used in the menus. | ||
RESET ALL | OK |
|
| Use to reset the settings of the menu (excluding PASSWORD FUNCTION and |
| ||||
|
|
|
| LANGUAGE) to the factory setting values. |
•When SCREEN SIZE of ADVANCED MENU is set to CINEMA SCOPE(2.35:1) in the IMAGE menu, STRETCH, ANAMORPHIC1 and ANAMORPHIC2 cannot be selected for ASPECT.
•When SCART INPUT is set to ON, normal computer signals aren’t projected.
•Use a
•Some AV devices equipped with the SCART terminal aren’t compatible with this projector.
•It may take a little while to carry out RESET ALL in the FEATURE menu.