COLOR MATRIX
COLOR TEMP.
BRIGHTNESS
COLOR
0
TINT
0
0
SHARPNESS
1 / 2 / 3 / 4
USER
0
CONTRAST
0
PICTURE

Menu operation (continued)

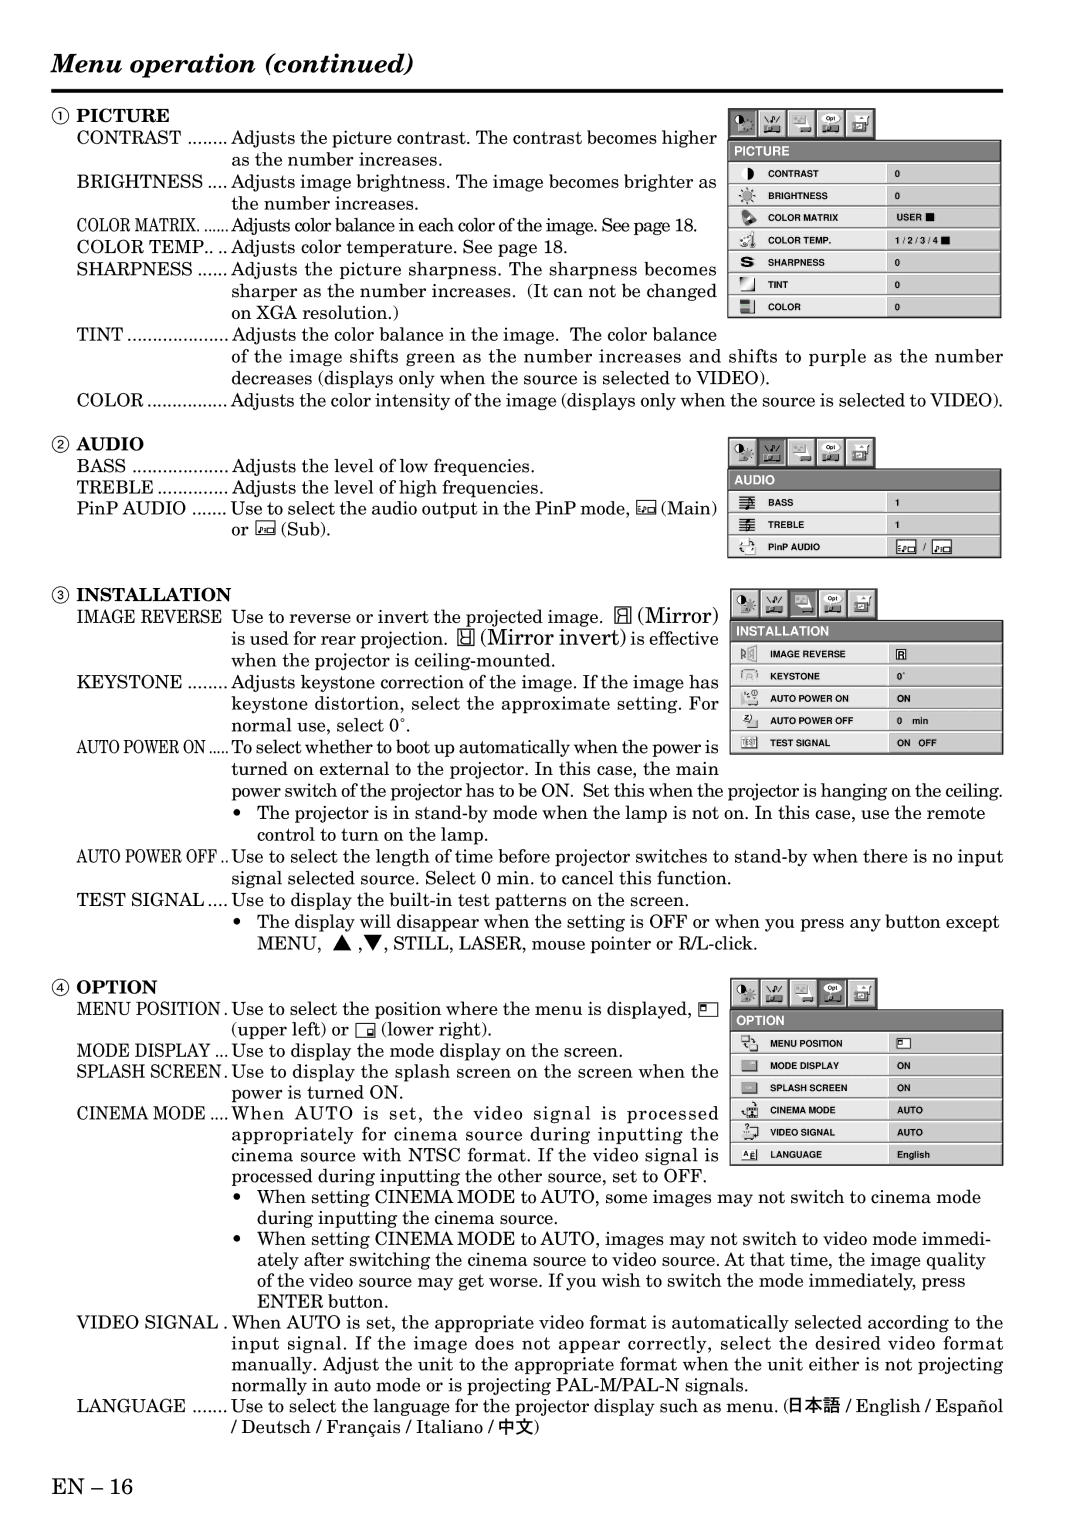
1 PICTURE

Opt

CONTRAST ........ Adjusts the picture contrast. The contrast becomes higher

as the number increases.

BRIGHTNESS .... Adjusts image brightness. The image becomes brighter as

the number increases. COLOR MATRIX. ...... Adjusts color balance in each color of the image. See page 18.

COLOR TEMP.. .. Adjusts color temperature. See page 18. SHARPNESS ...... Adjusts the picture sharpness. The sharpness becomes

sharper as the number increases. (It can not be changed on XGA resolution.)

TINT .................... Adjusts the color balance in the image. The color balance

of the image shifts green as the number increases and shifts to purple as the number decreases (displays only when the source is selected to VIDEO).

COLOR ................ Adjusts the color intensity of the image (displays only when the source is selected to VIDEO).

2 AUDIO


Opt


BASS ................... Adjusts the level of low frequencies.


AUDIO


TREBLE .............. Adjusts the level of high frequencies.


PinP AUDIO ....... Use to select the audio output in the PinP mode,

(Main)


BASS


1


or

(Sub).


TREBLE


1


3 INSTALLATION


PinP AUDIO


/


Opt


IMAGE REVERSE Use to reverse or invert the projected image.

R

(Mirror)


is used for rear projection.

R

(Mirror invert) is effective

INSTALLATION


IMAGE REVERSE


when the projector is ceiling-mounted.


R


KEYSTONE ........ Adjusts keystone correction of the image. If the image has


KEYSTONE


keystone distortion, select the approximate setting. For


AUTO POWER ON


ON


normal use, select 0˚.


AUTO POWER OFF


0


min


AUTO POWER ON ..... To select whether to boot up automatically when the power is


TEST

TEST SIGNAL


ON


OFF


turned on external to the projector. In this case, the main


power switch of the projector has to be ON. Set this when the projector is hanging on the ceiling.

The projector is in stand-by mode when the lamp is not on. In this case, use the remote control to turn on the lamp.

AUTO POWER OFF .. Use to select the length of time before projector switches to stand-by when there is no input signal selected source. Select 0 min. to cancel this function.

TEST SIGNAL .... Use to display the built-in test patterns on the screen.

The display will disappear when the setting is OFF or when you press any button except MENU, { ,}, STILL, LASER, mouse pointer or R/L-click.

4 OPTION


Opt


MENU POSITION . Use to select the position where the menu is displayed,


OPTION


(upper left) or (lower right).


MODE DISPLAY ... Use to display the mode display on the screen.


MENU POSITION


SPLASH SCREEN . Use to display the splash screen on the screen when the


ON

MODE DISPLAY


ON


power is turned ON.


ON

SPLASH SCREEN


ON


CINEMA MODE .... When AUTO is set, the video signal is processed


CINEMA MODE


AUTO


appropriately for cinema source during inputting the


?


VIDEO SIGNAL


AUTO

cinema source with NTSC format. If the video signal is


A Ë

LANGUAGE


English

processed during inputting the other source, set to OFF.


When setting CINEMA MODE to AUTO, some images may not switch to cinema mode during inputting the cinema source.

When setting CINEMA MODE to AUTO, images may not switch to video mode immedi-

ately after switching the cinema source to video source. At that time, the image quality of the video source may get worse. If you wish to switch the mode immediately, press ENTER button.

VIDEO SIGNAL . When AUTO is set, the appropriate video format is automatically selected according to the input signal. If the image does not appear correctly, select the desired video format manually. Adjust the unit to the appropriate format when the unit either is not projecting

normally in auto mode or is projecting PAL-M/PAL-N signals.


LANGUAGE ....... Use to select the language for the projector display such as menu. (

/ English / Español

/ Deutsch / Français / Italiano /

)


EN – 16

Page 16
Image 16
Mitsubishi Electronics S290U user manual Picture, Audio, Installation, Option

S290U specifications

The Mitsubishi Electronics S290U is a standout in the realm of high-performance projectors, making wave in both business and educational settings. Renowned for its exceptional brightness and versatile functionality, the S290U is engineered to deliver remarkable image quality and reliability. With a native resolution of 1920 x 1200 (WUXGA), it ensures sharp and detailed visuals, making it ideal for presentations, educational seminars, and collaborative workspaces.

One of the main features of the S290U is its impressive brightness level, reaching up to 5,500 ANSI lumens. This capability allows the projector to perform well in a variety of lighting conditions, be it in a brightly lit conference room or a dimly lit classroom. Coupled with a high contrast ratio, it provides vibrant colors and deep blacks, making images pop and enhancing the overall viewing experience.

The S290U employs advanced lamp technology for extended durability and lower maintenance costs. It utilizes a hybrid laser and LED light source that not only extends lamp life but also increases energy efficiency. This ensures reduced operational costs and minimal downtime for maintenance, making it a cost-effective solution over time.

Connectivity is another strong suit of the S290U, featuring multiple input options, including HDMI, VGA, and USB. This versatility allows seamless integration with various devices such as laptops, tablets, and even some smartphones. The inclusion of wireless connectivity options enhances this further, enabling users to project content directly from their devices without the hassle of cables.

User convenience is prioritized in the design of the S290U as it includes features like automatic keystone correction and a flexible lens shift capability. These technologies facilitate easy setup and adjustment, ensuring that users can achieve the perfect image alignment without fuss.

The projector also has built-in sound capabilities, featuring high-quality speakers that eliminate the need for external audio equipment in many scenarios. Furthermore, its lightweight and portable design enable hassle-free transportation from one location to another, making it perfect for on-the-go professionals.

In summary, the Mitsubishi Electronics S290U combines advanced imaging technologies with ease of use and flexibility. With its high brightness, long-lasting light source, diverse connectivity options, and user-friendly features, it stands out as an excellent choice for anyone looking to enhance their presentation capabilities. Whether for business meetings, educational purposes, or general multimedia applications, the S290U delivers impressive results.