Image adjustment
Image adjustment
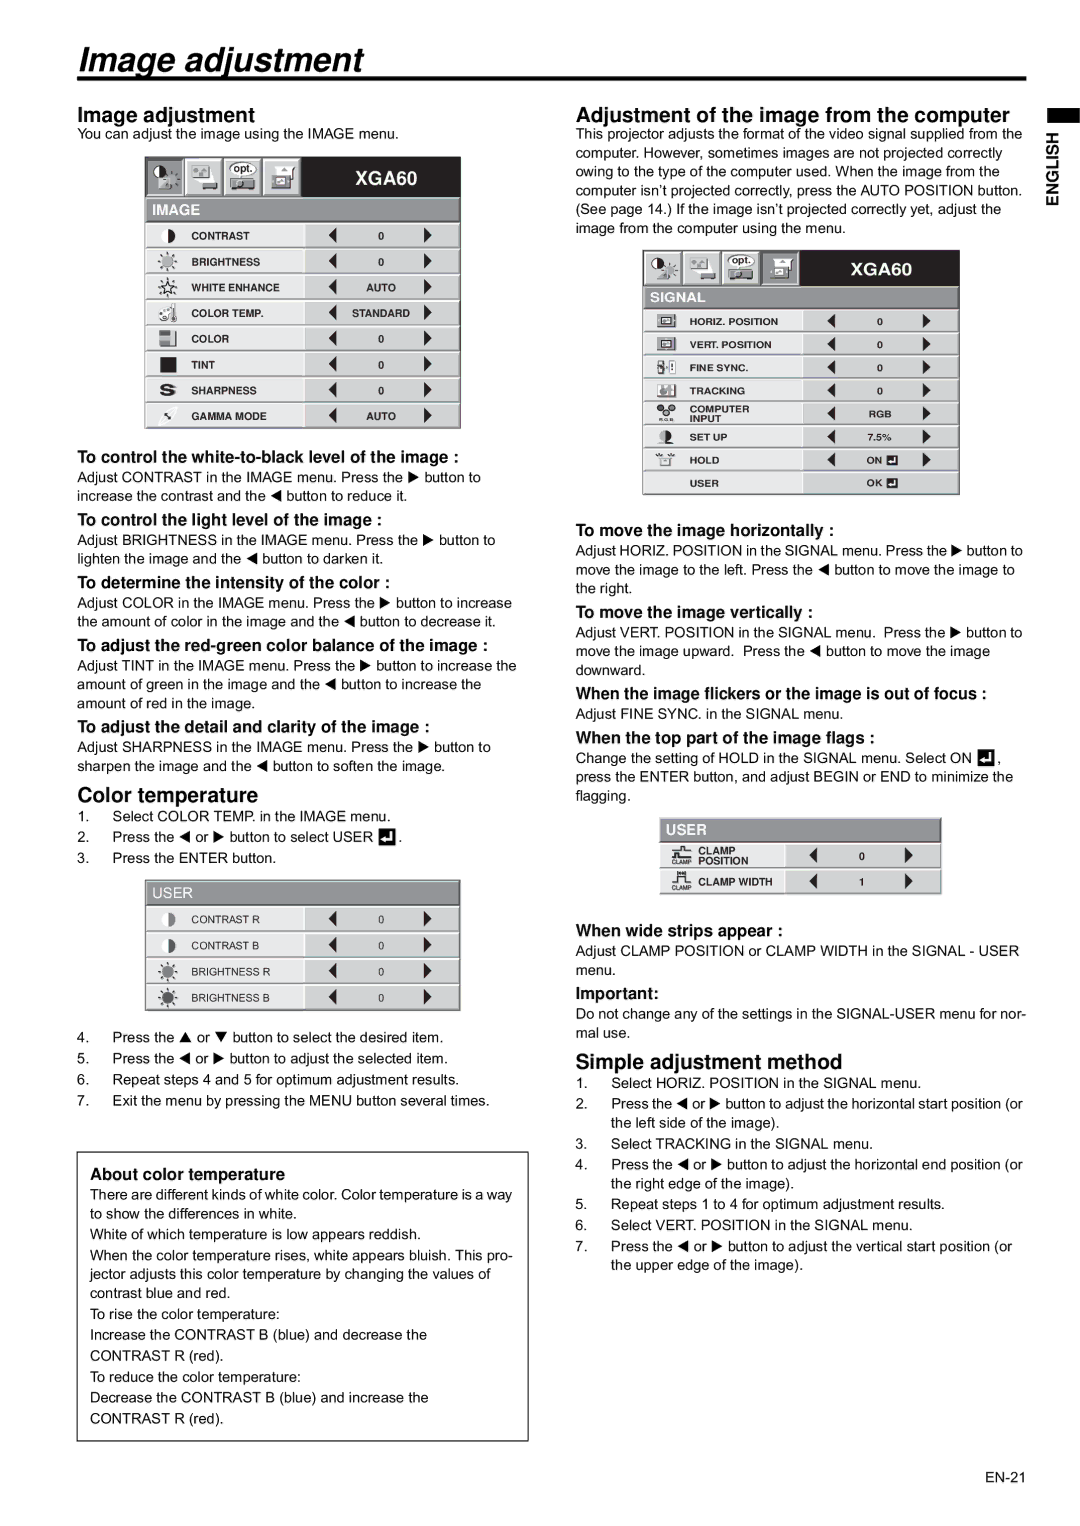
You can adjust the image using the IMAGE menu.
Adjustment of the image from the computer
This projector adjusts the format of the video signal supplied from the computer. However, sometimes images are not projected correctly
opt.
IMAGE
XGA60
owing to the type of the computer used. When the image from the computer isn’t projected correctly, press the AUTO POSITION button. (See page 14.) If the image isn’t projected correctly yet, adjust the image from the computer using the menu.
ENGLISH
CONTRAST | 0 |
|
|
BRIGHTNESS | 0 |
|
|
WHITE ENHANCE | AUTO |
COLOR TEMP. | STANDARD |
opt.
SIGNAL
XGA60
|
| COLOR | 0 |
|
|
|
|
|
|
|
|
|
| TINT | 0 |
|
|
|
|
|
| SHARPNESS | 0 |
|
|
|
|
|
| GAMMA MODE | AUTO |
|
|
|
|
To control the white-to-black level of the image :
Adjust CONTRAST in the IMAGE menu. Press the X button to increase the contrast and the W button to reduce it.
| HORIZ. POSITION | 0 |
|
| |
| |||||
|
|
|
|
|
|
| VERT. POSITION |
| 0 |
|
|
|
|
|
|
| |
| FINE SYNC. |
| 0 |
|
|
|
|
|
|
|
|
| TRACKING |
| 0 |
|
|
|
|
|
|
|
|
| COMPUTER | RGB | |||
| RRGGBB INPUT |
| |||
|
|
|
| ||
| SET UP |
| 7.5% |
| |
|
|
|
|
|
|
| HOLD |
| ON | ||
|
|
|
|
|
|
| USER |
| OK |
|
|
To control the light level of the image :
Adjust BRIGHTNESS in the IMAGE menu. Press the X button to lighten the image and the W button to darken it.
To determine the intensity of the color :
Adjust COLOR in the IMAGE menu. Press the X button to increase the amount of color in the image and the W button to decrease it.
To adjust the red-green color balance of the image :
Adjust TINT in the IMAGE menu. Press the X button to increase the amount of green in the image and the W button to increase the amount of red in the image.
To adjust the detail and clarity of the image :
Adjust SHARPNESS in the IMAGE menu. Press the X button to sharpen the image and the W button to soften the image.
Color temperature
1.Select COLOR TEMP. in the IMAGE menu.
2.Press the W or X button to select USER ![]() .
.
3.Press the ENTER button.
USER
CONTRAST R | 0 |
|
|
CONTRAST B | 0 |
|
|
BRIGHTNESS R | 0 |
|
|
BRIGHTNESS B | 0 |
|
|
4.Press the S or T button to select the desired item.
5.Press the W or X button to adjust the selected item.
6.Repeat steps 4 and 5 for optimum adjustment results.
7.Exit the menu by pressing the MENU button several times.
About color temperature
There are different kinds of white color. Color temperature is a way to show the differences in white.
White of which temperature is low appears reddish.
When the color temperature rises, white appears bluish. This pro- jector adjusts this color temperature by changing the values of contrast blue and red.
To rise the color temperature:
Increase the CONTRAST B (blue) and decrease the CONTRAST R (red).
To reduce the color temperature:
Decrease the CONTRAST B (blue) and increase the CONTRAST R (red).
To move the image horizontally :
Adjust HORIZ. POSITION in the SIGNAL menu. Press the X button to move the image to the left. Press the W button to move the image to the right.
To move the image vertically :
Adjust VERT. POSITION in the SIGNAL menu. Press the X button to move the image upward. Press the W button to move the image downward.
When the image flickers or the image is out of focus :
Adjust FINE SYNC. in the SIGNAL menu.
When the top part of the image flags :
Change the setting of HOLD in the SIGNAL menu. Select ON ![]() , press the ENTER button, and adjust BEGIN or END to minimize the flagging.
, press the ENTER button, and adjust BEGIN or END to minimize the flagging.
USER
| CLAMP | 0 |
| POSITION |
|
|
|
|
| CLAMP WIDTH | 1 |
|
|
|
When wide strips appear :
Adjust CLAMP POSITION or CLAMP WIDTH in the SIGNAL - USER menu.
Important:
Do not change any of the settings in the
Simple adjustment method
1.Select HORIZ. POSITION in the SIGNAL menu.
2.Press the W or X button to adjust the horizontal start position (or the left side of the image).
3.Select TRACKING in the SIGNAL menu.
4.Press the W or X button to adjust the horizontal end position (or the right edge of the image).
5.Repeat steps 1 to 4 for optimum adjustment results.
6.Select VERT. POSITION in the SIGNAL menu.
7.Press the W or X button to adjust the vertical start position (or the upper edge of the image).