Basic operation (continued)
Wall Screen
This function is to reproduce natural color tones when images are pro- jected directly onto a screen or wall surface. You can select from
BEIGE, LIGHT BLUE, LIGHT GREEN, PINK, BLACK BOARD, WHITE BOARD, and OFF, to match the color of the screen or wall to be used for projection.
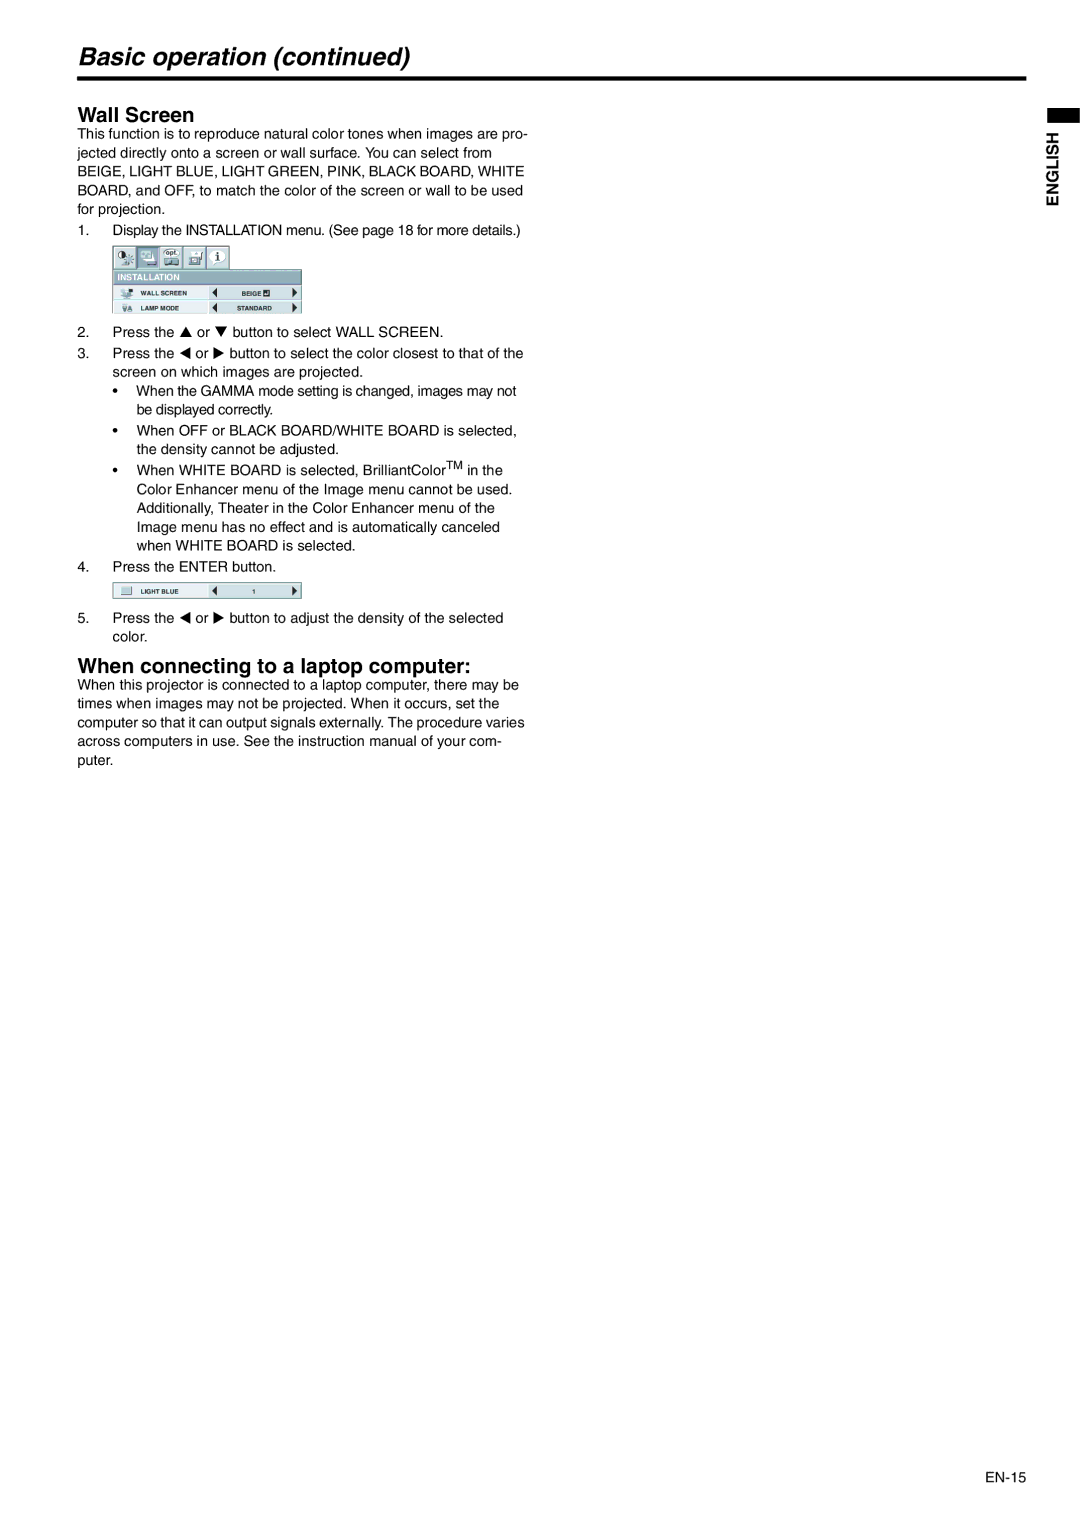
1.Display the INSTALLATION menu. (See page 18 for more details.)
![]()
![]()
![]() opt.
opt. ![]()
![]()
INSTALLATION
WALL SCREEN | BEIGE |
|
|
LAMP MODE | STANDARD | ||
2. | Press the S or T button to select WALL SCREEN. | |
3. | Press the W or X button to select the color closest to that of the | |
| screen on which images are projected. | |
| • When the GAMMA mode setting is changed, images may not | |
| be displayed correctly. | |
| • When OFF or BLACK BOARD/WHITE BOARD is selected, | |
| the density cannot be adjusted. | |
| • When WHITE BOARD is selected, BrilliantColorTM in the | |
| Color Enhancer menu of the Image menu cannot be used. | |
| Additionally, Theater in the Color Enhancer menu of the | |
| Image menu has no effect and is automatically canceled | |
| when WHITE BOARD is selected. | |
4. | Press the ENTER button. | |
| LIGHT BLUE | 1 |
5. | Press the W or X button to adjust the density of the selected | |
| color. |
|
When connecting to a laptop computer:
When this projector is connected to a laptop computer, there may be times when images may not be projected. When it occurs, set the computer so that it can output signals externally. The procedure varies across computers in use. See the instruction manual of your com- puter.
ENGLISH
