Preparing the projector for operation
Getting ready for projection
1.Attach the provided power cord to the projector.
2.Plug the power cord in the wall outlet.
3.Remove the lens cap.
Warning:
•Do not look into the lens directly when the projec- tor is “ON.”
•The lens cap is for protecting the lens. If you leave the lens cap on the lens with the projector turned on, it may be deformed. Remove the lens cap when you turn on the projector.
•The power cords for use in the U.S. and Europe are included with this projector. Use the appropri- ate one for your country.
•This projector uses the power plug of
•The provided power cord for the U.S. is rated at 120 V. Never connect this cord to any outlet or power supply using other voltages or frequencies than rated. If you use a power supply using other voltage than rated, prepare an appropriate power cord separately.
•Use
•Do not place any objects on the power cord and keep the projector away from heat sources to prevent damage to the power cord. If the power cord gets damaged, contact your dealer for re- placement because it may cause fire or electric shock.
•Do not modify or alter the power cord. If the power cord is modified or altered, it may cause fire or electric shock.
Caution:
•Plug in the power cord firmly, and unplug it by holding and pulling out the power plug, not by pulling the power cord.
•Do not plug in or out the power cord with your hand wet. It may cause electric shock.
Adjusting the angle of projection
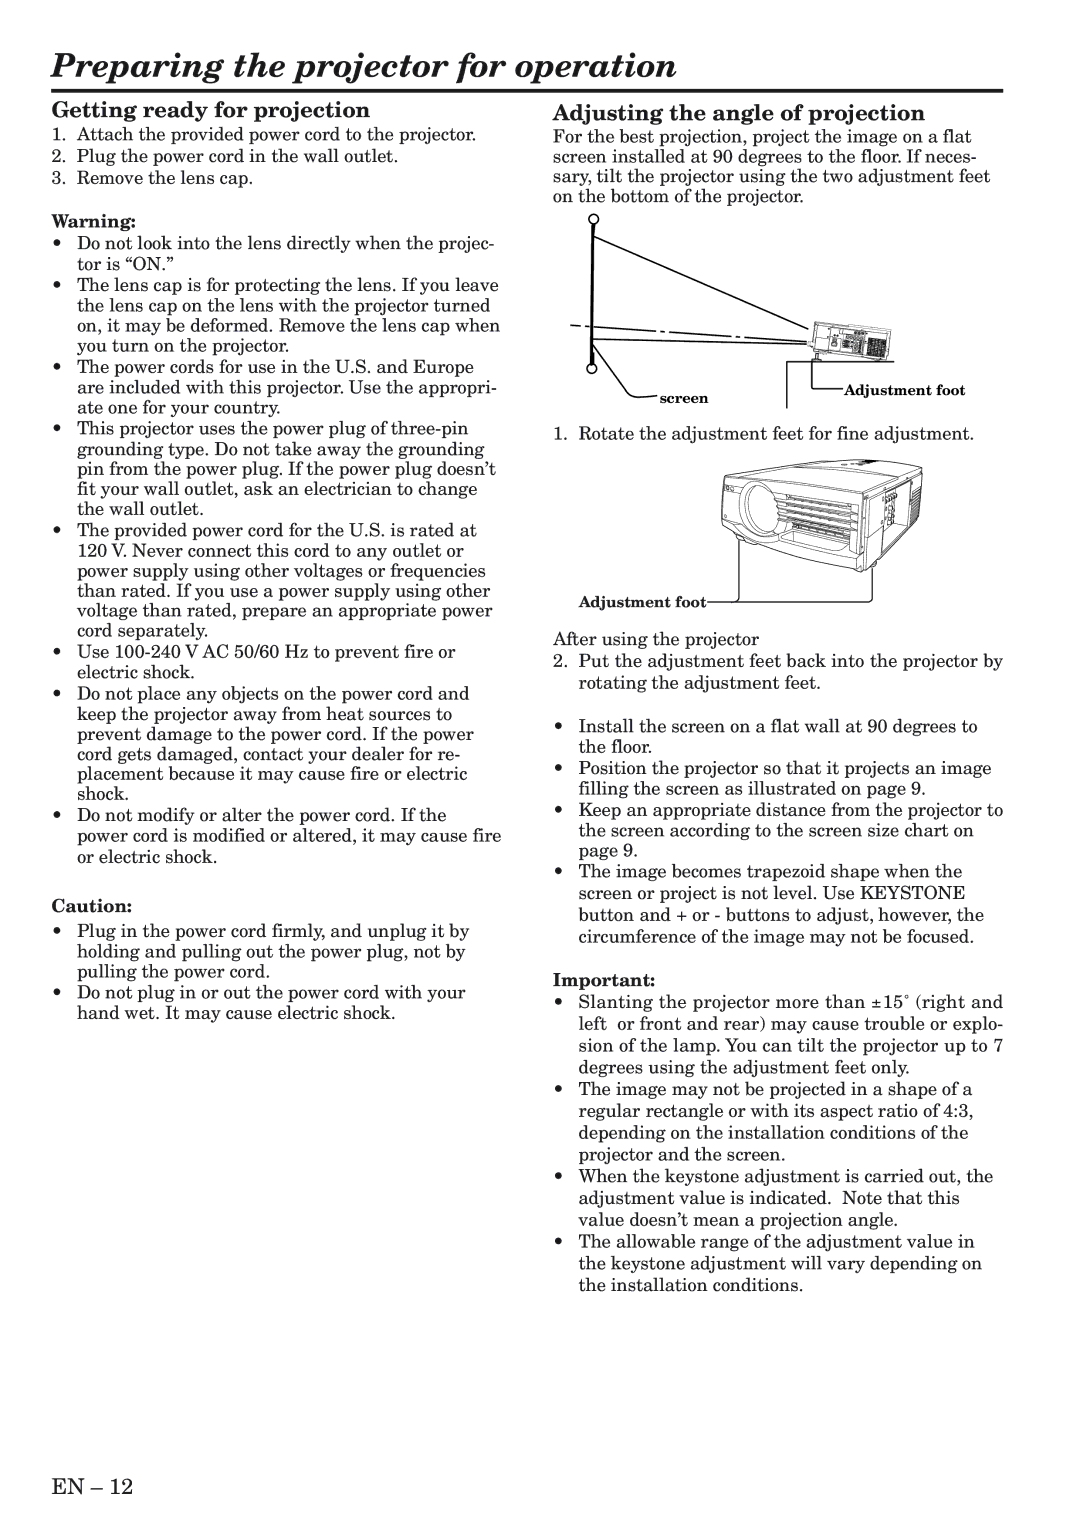
For the best projection, project the image on a flat screen installed at 90 degrees to the floor. If neces- sary, tilt the projector using the two adjustment feet on the bottom of the projector.
screen | Adjustment foot |
|
1. Rotate the adjustment feet for fine adjustment.
Adjustment foot
After using the projector
2.Put the adjustment feet back into the projector by rotating the adjustment feet.
•Install the screen on a flat wall at 90 degrees to the floor.
•Position the projector so that it projects an image filling the screen as illustrated on page 9.
•Keep an appropriate distance from the projector to the screen according to the screen size chart on page 9.
•The image becomes trapezoid shape when the screen or project is not level. Use KEYSTONE button and + or - buttons to adjust, however, the circumference of the image may not be focused.
Important:
•Slanting the projector more than ±15˚ (right and left or front and rear) may cause trouble or explo- sion of the lamp. You can tilt the projector up to 7 degrees using the adjustment feet only.
•The image may not be projected in a shape of a regular rectangle or with its aspect ratio of 4:3, depending on the installation conditions of the projector and the screen.
•When the keystone adjustment is carried out, the adjustment value is indicated. Note that this value doesn’t mean a projection angle.
•The allowable range of the adjustment value in the keystone adjustment will vary depending on the installation conditions.
EN – 12