INTRODUCTION
M6R SST SINGLE-STEREO
TECHNOLOGY® SPEAKER
INSTRUCTION MANUAL
INSTALLING THE SPEAKERS
Thank you for purchasing Moderno speakers. When properly installed your new speakers will give you years of entertainment pleasure. This manual will teach you about your new speakers and will show you how to install and get the very best performance from them. Please read it thoroughly.
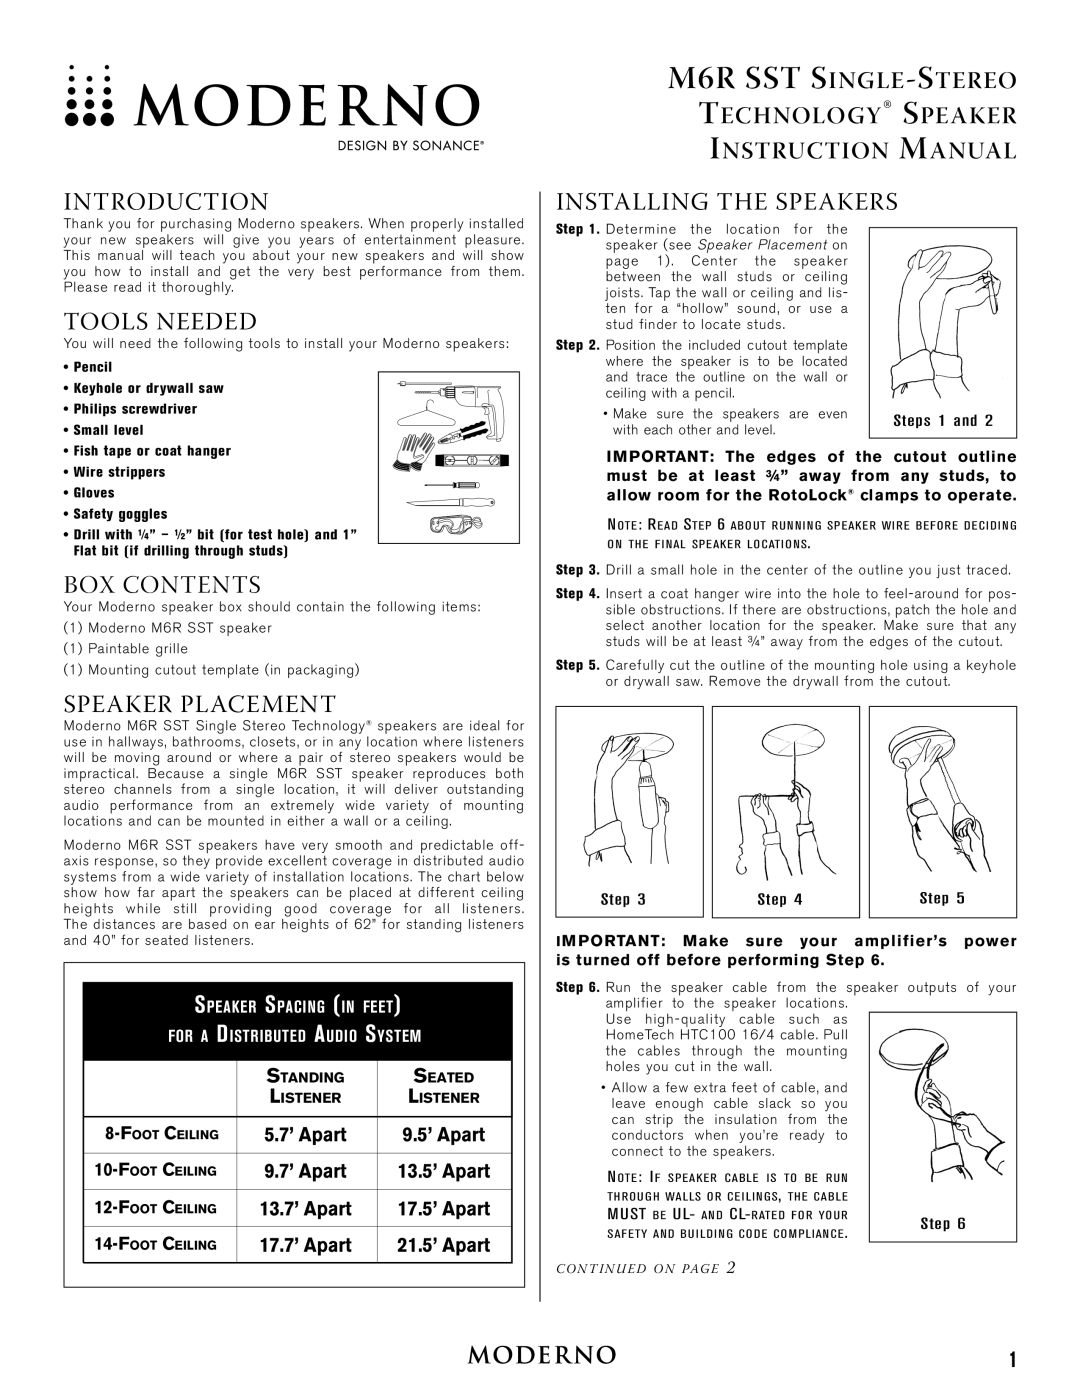
TOOLS NEEDED
You will need the following tools to install your Moderno speakers:
• Pencil
• Keyhole or drywall saw
• Philips screwdriver
• Small level
Step 1. Determine the location for the speaker (see Speaker Placement on page 1). Center the speaker between the wall studs or ceiling joists. Tap the wall or ceiling and lis- ten for a “hollow” sound, or use a stud finder to locate studs.
Step 2. Position the included cutout template where the speaker is to be located and trace the outline on the wall or ceiling with a pencil.
•Make sure the speakers are even with each other and level.
Steps 1 and 2
• Fish tape or coat hanger
• Wire strippers
•Gloves
•Safety goggles
•Drill with ¼” – ½” bit (for test hole) and 1” Flat bit (if drilling through studs)
BOX CONTENTS
Your Moderno speaker box should contain the following items:
(1)Moderno M6R SST speaker
(1)Paintable grille
(1)Mounting cutout template (in packaging)
SPEAKER PLACEMENT
Moderno M6R SST Single Stereo Technology® speakers are ideal for use in hallways, bathrooms, closets, or in any location where listeners will be moving around or where a pair of stereo speakers would be impractical. Because a single M6R SST speaker reproduces both stereo channels from a single location, it will deliver outstanding audio performance from an extremely wide variety of mounting locations and can be mounted in either a wall or a ceiling.
Moderno M6R SST speakers have very smooth and predictable off- axis response, so they provide excellent coverage in distributed audio systems from a wide variety of installation locations. The chart below show how far apart the speakers can be placed at different ceiling heights while still providing good coverage for all listeners. The distances are based on ear heights of 62” for standing listeners and 40” for seated listeners.
SPEAKER SPACING (IN FEET)
FOR A DISTRIBUTED AUDIO SYSTEM
| STANDING | SEATED |
| LISTENER | LISTENER |
|
|
|
5.7’ Apart | 9.5’ Apart | |
|
|
|
9.7’ Apart | 13.5’ Apart | |
|
|
|
13.7’ Apart | 17.5’ Apart | |
|
|
|
17.7’ Apart | 21.5’ Apart | |
|
|
|
IMPORTANT: The edges of the cutout outline must be at least ¾” away from any studs, to allow room for the RotoLock® clamps to operate.
N OTE: RE A D STE P 6 A B O UT R U N N I N G S P E A K E R W I R E B E F O R E D E CI D I N G O N TH E F I N A L S P E A K E R L O C ATI O N S.
Step 3. Drill a small hole in the center of the outline you just traced.
Step 4. Insert a coat hanger wire into the hole to
Step 5. Carefully cut the outline of the mounting hole using a keyhole or drywall saw. Remove the drywall from the cutout.
Step 3 |
| Step 4 |
| Step 5 |
|
|
|
|
|
I MPORTANT: Make sure your amplifier’s power is turned off before performing Step 6.
Step 6. Run the speaker cable from the speaker outputs of your amplifier to the speaker locations.
Use
•Allow a few extra feet of cable, and leave enough cable slack so you can strip the insulation from the conductors when you’re ready to connect to the speakers.
N OTE: I F S P E A K E R C A B L E I S TO B E R U N |
| |
TH R O U G H WA L LS O R C E I L I N G S, TH E C A B L E |
| |
MUST B E UL- A N D | Step 6 | |
S A F ET Y A N D B U I LD I N G C O D E C O M P L I A N C E. | ||
|
C O N T I N U E D O N PAG E 2
1