DFX24C specifications
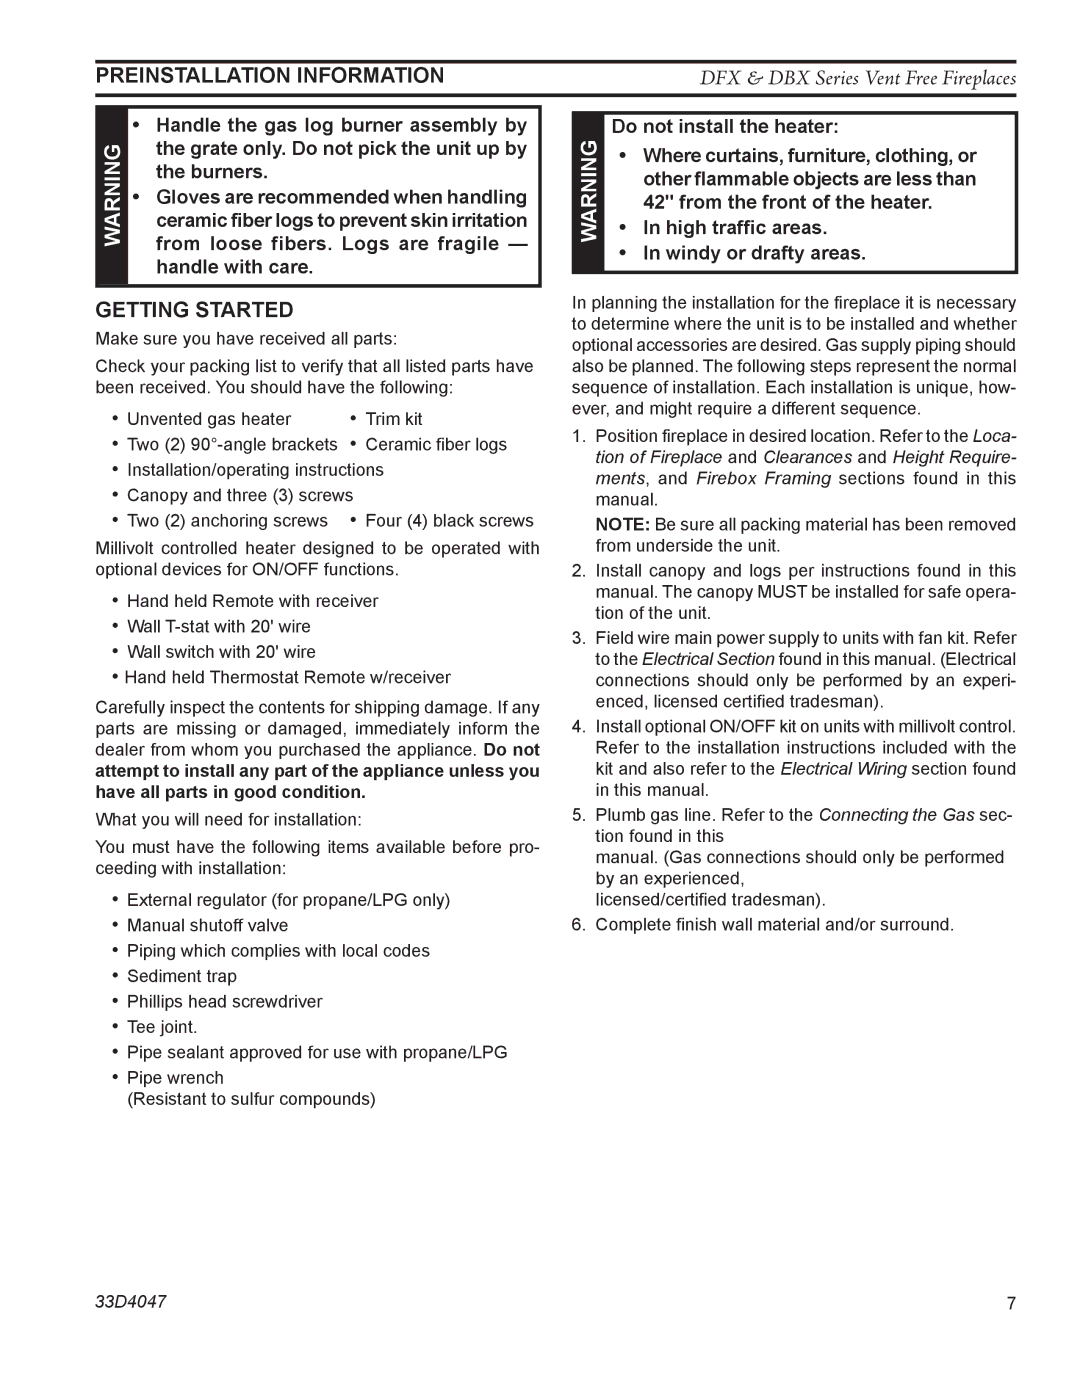
The Monessen Hearth DFX24C is a stylish and efficient direct vent gas fireplace designed to enhance the ambiance of any living space while providing warmth and comfort. With its sleek design and advanced features, this fireplace brings modern aesthetics to traditional charm.One of the standout features of the DFX24C is its powerful heating capability, which can produce an impressive output of up to 24,000 BTUs per hour. This makes it an ideal choice for heating areas ranging from family rooms to open-concept living spaces. The direct vent technology employed in this fireplace allows for optimal efficiency by utilizing outside air for combustion while venting exhaust gases to the outside, ensuring that the indoor air quality remains unaffected.
The DFX24C comes equipped with an intuitive remote control, giving homeowners the convenience to adjust the settings at their fingertips. Users can easily regulate the flame height and heat output, allowing for personalized comfort in any situation. Additionally, the fireplace features an impressive standing pilot light that ensures reliability and ease of ignition.
Aesthetically, the Monessen Hearth DFX24C doesn't disappoint. With a large viewing area framed by a clean face design, it allows for an unobstructed view of the beautiful flames dancing within. The realistic log set creates a lifelike portrayal of a traditional wood-burning fireplace, providing the cozy hearth feel that many homeowners desire. The glass front adds to the elegance while reflecting warmth throughout the room.
From a safety perspective, the DFX24C is built with child-safe features, including a safety screen to prevent accidental contact with the hot surfaces. The fireplace is also equipped with a ceramic glass front that withstands high heat while offering excellent thermal efficiency.
Energy efficiency is a critical consideration for many homeowners today, and the DFX24C stands out with its impressive efficiency ratings. With proper installation and maintenance, users can expect lower heating bills and a smaller carbon footprint.
In summary, the Monessen Hearth DFX24C is a perfect blend of modern technology, aesthetic appeal, and efficient heating capabilities. It's an excellent choice for those looking to add both warmth and style to their home, making it a worthy investment for any homeowner seeking to enhance their living space.