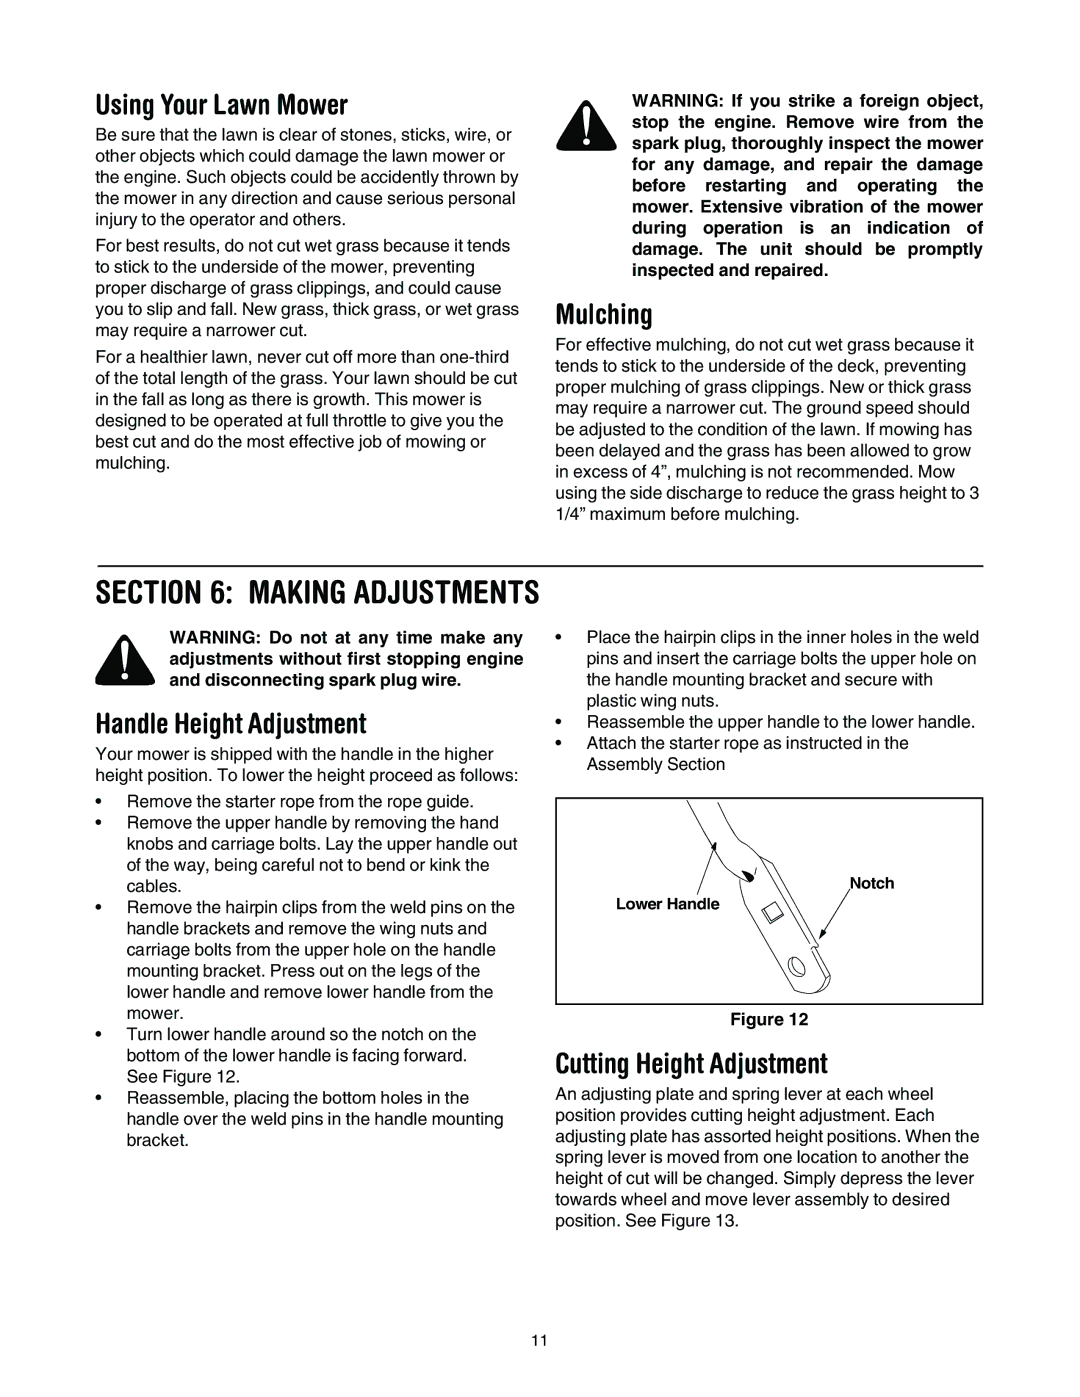
11A-545D034 specifications
The MTD 11A-545D034 is a versatile and efficient lawn mower designed to meet the diverse needs of homeowners and landscaping professionals alike. With its robust construction and an array of features, this model stands out in the crowded market of outdoor power equipment.One of the main features of the MTD 11A-545D034 is its powerful Powered lawn mower engine. This engine delivers reliable performance, allowing the mower to easily tackle tough grass and uneven terrain. The 21-inch cutting deck provides a wide cutting path, reducing the time spent mowing large areas. The mower is equipped with adjustable cutting heights, allowing users to customize the grass length to their preference, ensuring a clean and precise cut every time.
In terms of technology, the MTD 11A-545D034 incorporates advanced features that enhance user experience and convenience. The self-propelled drive system allows for effortless maneuvering, even on hilly or uneven terrain. This feature is particularly beneficial for users who may struggle with pushing a mower manually, as it reduces fatigue and enables faster mowing times. Additionally, the mower has a user-friendly control panel that allows easy access to throttle and speed adjustments.
The MTD 11A-545D034 is designed with durability in mind. Its heavy-duty steel construction and high-quality components ensure long-lasting performance, making it a reliable choice for any lawn care task. Moreover, the mower features a corrosion-resistant finish that helps protect it from the elements, ensuring that it looks good and functions well for years to come.
Another key characteristic of the MTD 11A-545D034 is its versatility. This mower can handle a variety of mowing conditions, including thick grass and rough patches. Its efficient grass collection system minimizes clumping and improves airflow, ensuring that the mower continues to operate efficiently while providing a well-manicured lawn.
In conclusion, the MTD 11A-545D034 lawn mower combines power, user-friendly technology, and durable construction. Its self-propelled drive, adjustable cutting heights, and robust engine make it an ideal choice for both residential and professional users. With its ability to tackle various mowing conditions, the MTD 11A-545D034 is a reliable investment for anyone looking to maintain their lawn effectively.