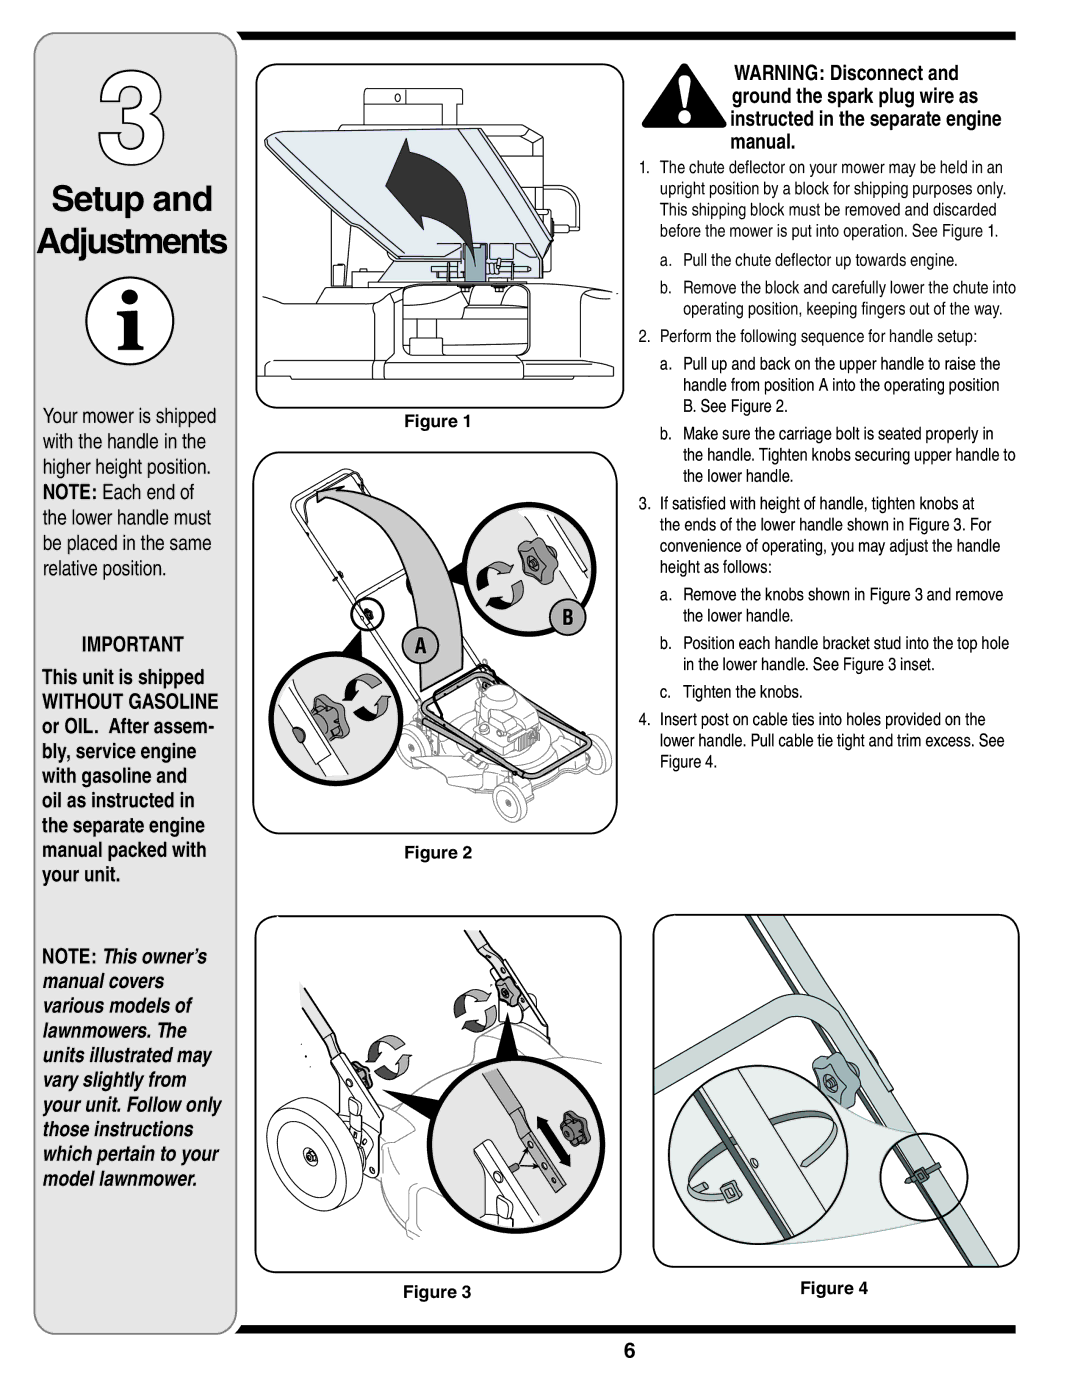
60-1616-6 specifications
The MTD 60-1616-6 is a highly versatile compact utility tractor that has gained recognition for its efficiency, durability, and user-friendly features. Designed primarily for residential and light commercial use, this machine is often used for tasks such as mowing, tilling, and landscaping.One of the standout features of the MTD 60-1616-6 is its powerful engine. It is equipped with a reliable 16 horsepower engine that provides sufficient power for various attachments and implements. This engine is designed for easy starting and smooth operation, ensuring minimal downtime during critical tasks.
The tractor boasts a robust transmission system that allows for smooth and responsive gear shifts. With a choice of multiple speed options, users can customize their performance based on individual needs and terrain types. This flexibility is essential for users who may need to switch between high-speed travel and low-speed tasks like tilling.
Another notable characteristic of the MTD 60-1616-6 is its compact design. The tractor is specifically engineered to be maneuverable in tighter spaces, making it ideal for residential gardens and landscapes. Its smaller size does not sacrifice performance, making it a practical choice for homeowners with various outdoor projects.
The MTD 60-1616-6 is also compatible with a range of attachments, enhancing its functionality. From front-end loaders and tow-behind trailers to tillers and finish mowers, users can easily adapt the tractor for specific tasks. This adaptability allows for exceptional productivity, whether the user is clearing snow in winter or maintaining a garden in summer.
Comfort features are another important aspect of the MTD 60-1616-6. The tractor is designed with an ergonomic seat and adjustable controls, ensuring that operators can work for extended periods with minimal fatigue. Additionally, the tractor’s intuitive control layout makes it easy for both novice and experienced users to operate.
In terms of maintenance, the MTD 60-1616-6 is engineered for ease of access to key components. The design allows for straightforward maintenance tasks, ensuring longevity and reliable performance over time.
In conclusion, the MTD 60-1616-6 is a feature-rich compact utility tractor that combines power, versatility, and user comfort. Its reliable engine, smooth transmission, compatibility with various attachments, and thoughtful design make it a popular choice for homeowners and light commercial users alike.

