Auger |
| Auger | Traction Drive | |
Drive | Traction | Drive | ||
Clutch | ||||
Clutch | Drive | Clutch |
| |
| Clutch |
|
|
| Shift | Chute | Shift | |
Chute | Lever | Lever | ||
Crank | ||||
Crank |
|
|
|
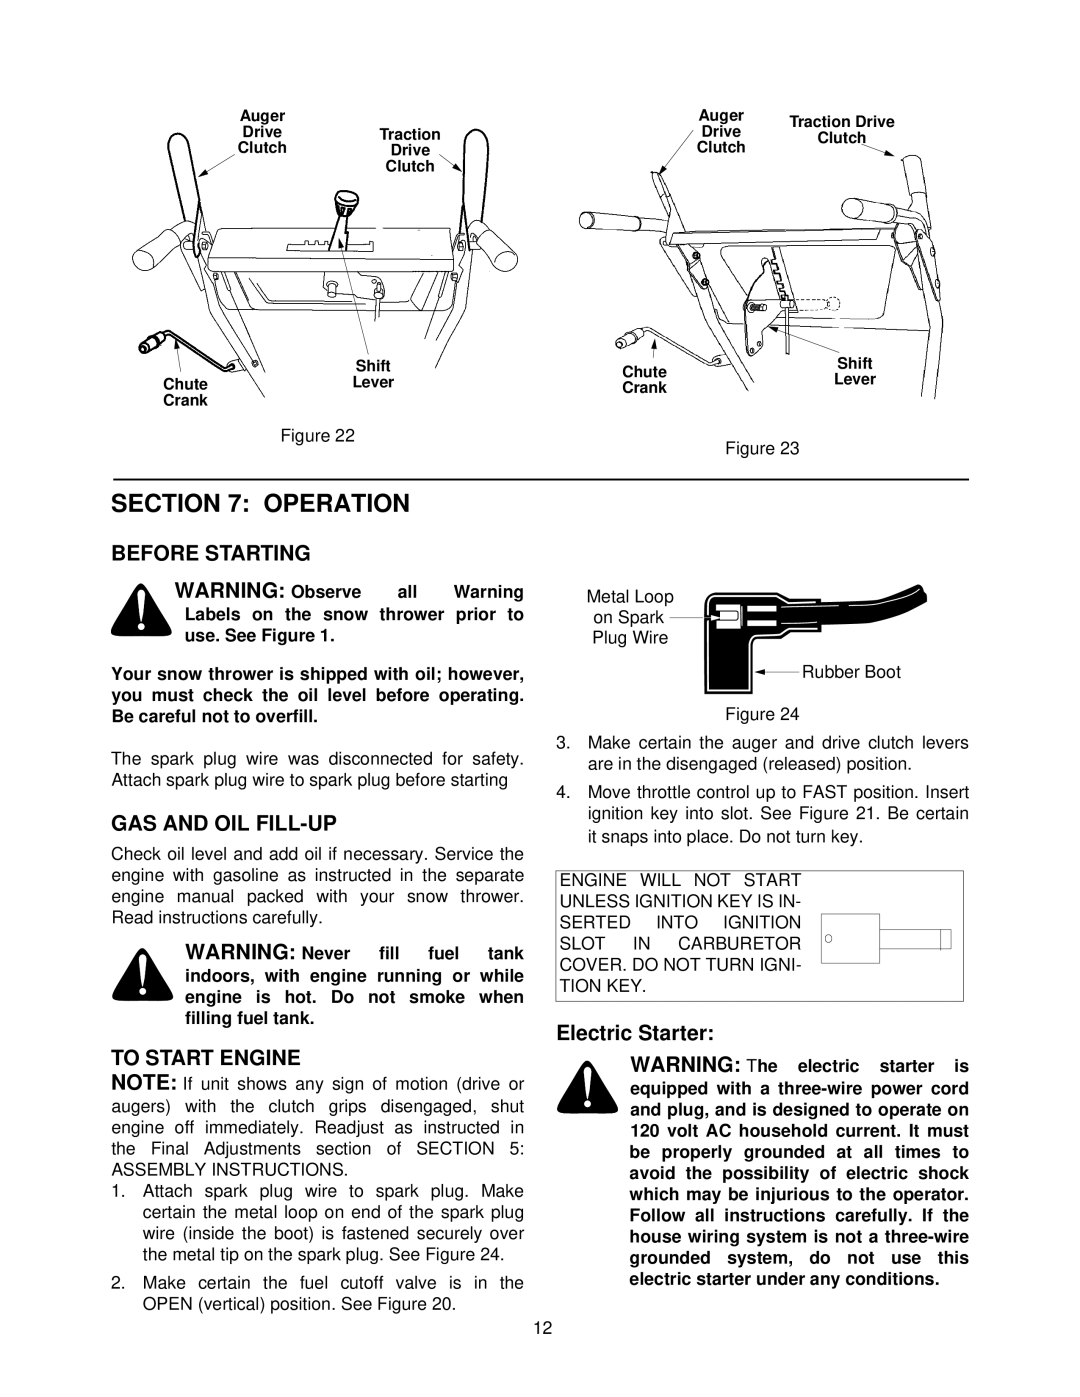
Figure 22
Figure 23
SECTION 7: OPERATION
BEFORE STARTING
WARNING: Observe all Warning Labels on the snow thrower prior to use. See Figure 1.
Your snow thrower is shipped with oil; however, you must check the oil level before operating. Be careful not to overfill.
The spark plug wire was disconnected for safety. Attach spark plug wire to spark plug before starting
GAS AND OIL FILL-UP
Check oil level and add oil if necessary. Service the engine with gasoline as instructed in the separate engine manual packed with your snow thrower. Read instructions carefully.
WARNING: Never fill fuel tank indoors, with engine running or while engine is hot. Do not smoke when filling fuel tank.
TO START ENGINE
NOTE: If unit shows any sign of motion (drive or augers) with the clutch grips disengaged, shut engine off immediately. Readjust as instructed in the Final Adjustments section of SECTION 5: ASSEMBLY INSTRUCTIONS.
1.Attach spark plug wire to spark plug. Make certain the metal loop on end of the spark plug wire (inside the boot) is fastened securely over the metal tip on the spark plug. See Figure 24.
2.Make certain the fuel cutoff valve is in the OPEN (vertical) position. See Figure 20.
Metal Loop
on Spark ![]()
![]()
![]()
![]()
Plug Wire
Rubber Boot
Figure 24
3.Make certain the auger and drive clutch levers are in the disengaged (released) position.
4.Move throttle control up to FAST position. Insert ignition key into slot. See Figure 21. Be certain it snaps into place. Do not turn key.
ENGINE WILL NOT START
UNLESS IGNITION KEY IS IN-
SERTED INTO IGNITION
SLOT IN CARBURETOR
COVER. DO NOT TURN IGNI-
TION KEY.
Electric Starter:
WARNING: The electric starter is equipped with a
12
