MUSICA | NOTES |
construction and existing structures. The typical |
|
accessories mounting technique is not difficult, and is well within the ability of the average |
|
| |
on the building. |
|
INSTALLING SPEAKERS AND ACCESSORIES |
|
New Construction |
|
The obvious advantage of installing |
|
new construction is that you are able to |
|
framing is complete, decide roughly where your speakers/accessories are to be mounted, |
|
and where the audio equipment will be located. Next, run the wire provided from the audio |
|
equipment location to the stud bay where speakers will be mounted. When running A/V |
|
wire or cable, it is recommended that you drill new holes for your wire, and not use existing |
|
power cable holes, as this may cause interference problems. It is also against building |
|
codes in many areas. |
|
Let a length of speaker lead hang freely in each stud bay. A stud bay is the term used by |
|
contractors to describe the area between any two wall studs. |
|
Installers Tip - Draw a diagram of the room and indicate the distance from the wires to the nearest reference wall. This can make finding your cables much easier when you are ready to install the actual speaker.
Old Construction
Installing a
do-it-yourselfer with each wire pulled!
Installers Note - If the structure is less than 50 years old, then walls are most likely made of
STEP-BY-STEP TYPICAL IN-WALL / IN-CEILING INSTALLATION
STEP 1
Determine the location for your new speakers and accessories. Use a stud finder or other reliable method to locate studs. Using the templates provided, trace hole positions on surface of wall. Placing a bubble level on either the horizontal or vertical guidelines of template will assist you in leveling the hole pattern.
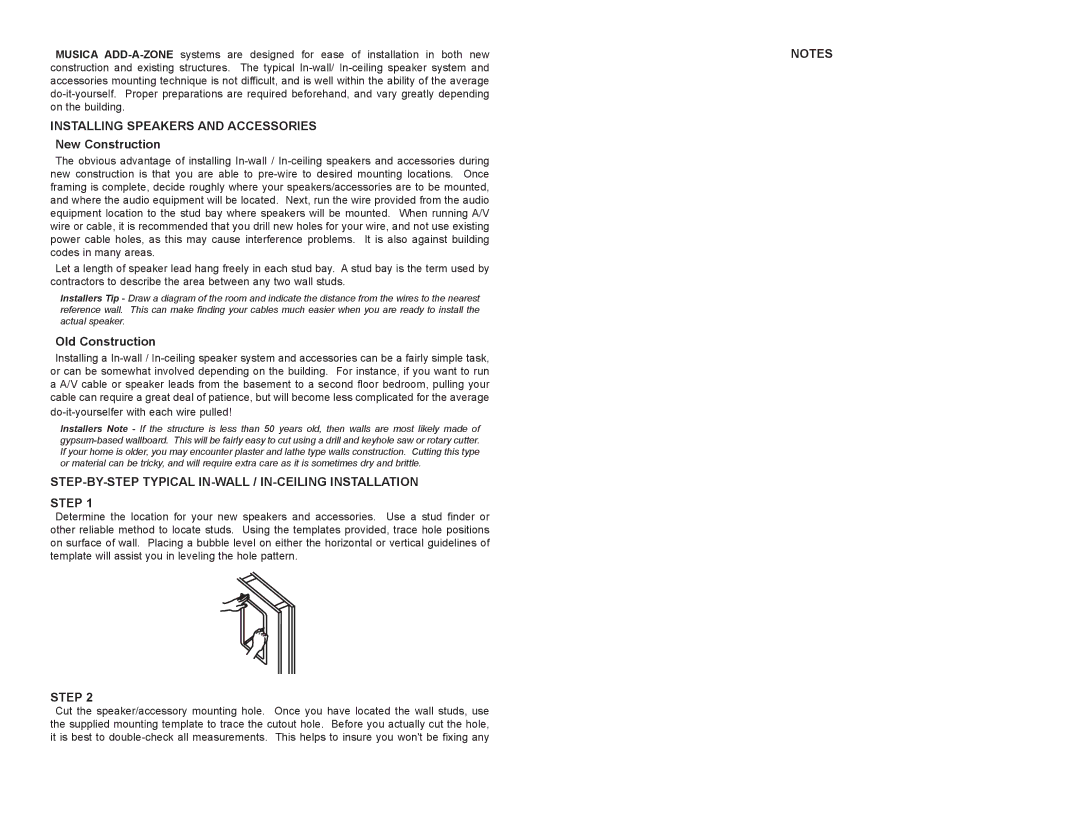
STEP 2
Cut the speaker/accessory mounting hole. Once you have located the wall studs, use the supplied mounting template to trace the cutout hole. Before you actually cut the hole, it is best to