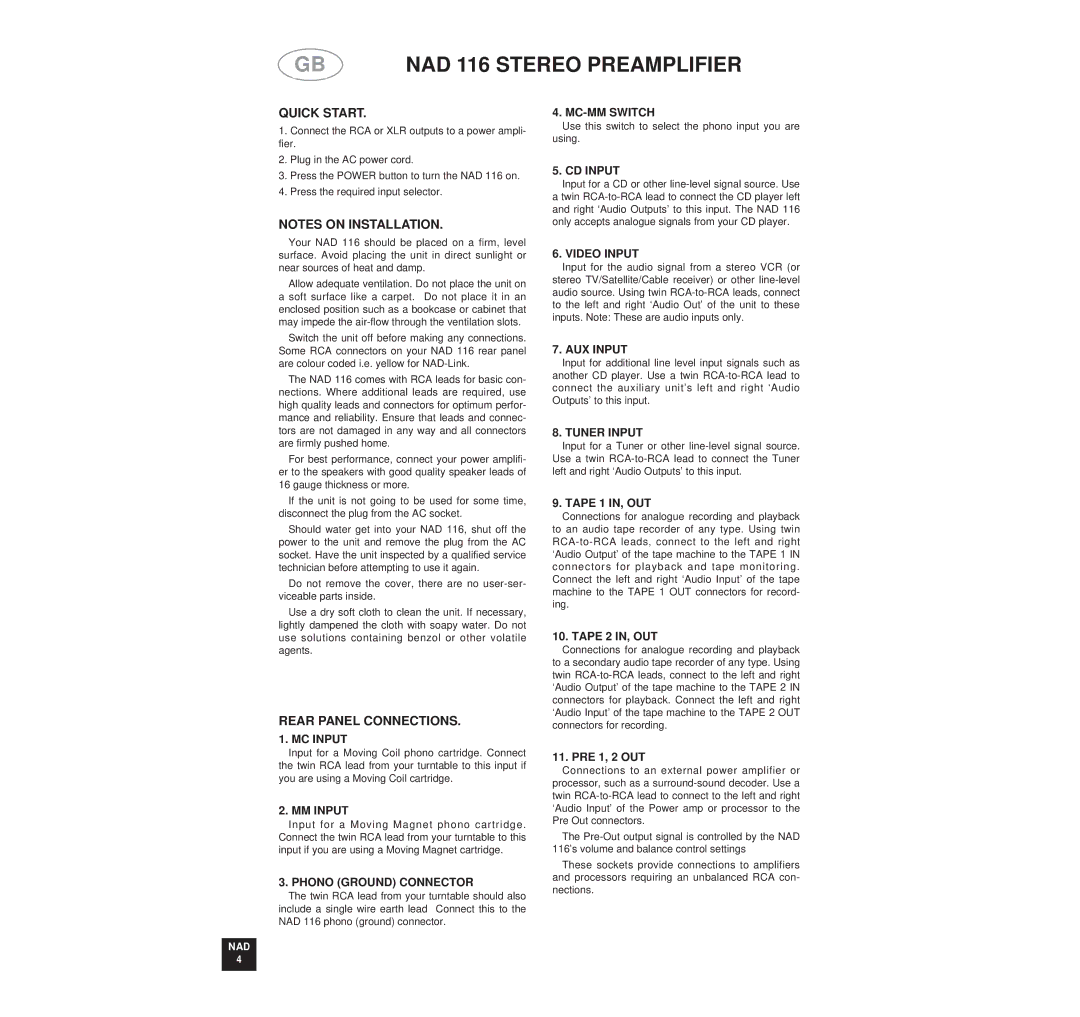
NAD 116 owner manual Quick Start, Rear Panel Connections

Models: 116

1 34
Download 34 pages 2.24 Kb
Page 4
Image 4

GB

NAD 116 STEREO PREAMPLIFIER

QUICK START.

1.Connect the RCA or XLR outputs to a power ampli- fier.

2.Plug in the AC power cord.

4. MC-MM SWITCH

Use this switch to select the phono input you are using.

3.Press the POWER button to turn the NAD 116 on.

4.Press the required input selector.

NOTES ON INSTALLATION.

Your NAD 116 should be placed on a firm, level surface. Avoid placing the unit in direct sunlight or near sources of heat and damp.

Allow adequate ventilation. Do not place the unit on a soft surface like a carpet. Do not place it in an enclosed position such as a bookcase or cabinet that may impede the air-flow through the ventilation slots.

Switch the unit off before making any connections. Some RCA connectors on your NAD 116 rear panel are colour coded i.e. yellow for NAD-Link.

The NAD 116 comes with RCA leads for basic con- nections. Where additional leads are required, use high quality leads and connectors for optimum perfor- mance and reliability. Ensure that leads and connec- tors are not damaged in any way and all connectors are firmly pushed home.

For best performance, connect your power amplifi- er to the speakers with good quality speaker leads of 16 gauge thickness or more.

If the unit is not going to be used for some time, disconnect the plug from the AC socket.

Should water get into your NAD 116, shut off the power to the unit and remove the plug from the AC socket. Have the unit inspected by a qualified service technician before attempting to use it again.

Do not remove the cover, there are no user-ser- viceable parts inside.

Use a dry soft cloth to clean the unit. If necessary, lightly dampened the cloth with soapy water. Do not use solutions containing benzol or other volatile agents.

REAR PANEL CONNECTIONS.

1. MC INPUT

Input for a Moving Coil phono cartridge. Connect the twin RCA lead from your turntable to this input if you are using a Moving Coil cartridge.

2. MM INPUT

Input for a Moving Magnet phono cartridge. Connect the twin RCA lead from your turntable to this input if you are using a Moving Magnet cartridge.

3. PHONO (GROUND) CONNECTOR

The twin RCA lead from your turntable should also include a single wire earth lead Connect this to the NAD 116 phono (ground) connector.

NAD

4

5. CD INPUT

Input for a CD or other line-level signal source. Use a twin RCA-to-RCA lead to connect the CD player left and right ‘Audio Outputs’ to this input. The NAD 116 only accepts analogue signals from your CD player.

6. VIDEO INPUT

Input for the audio signal from a stereo VCR (or stereo TV/Satellite/Cable receiver) or other line-level audio source. Using twin RCA-to-RCA leads, connect to the left and right ‘Audio Out’ of the unit to these inputs. Note: These are audio inputs only.

7. AUX INPUT

Input for additional line level input signals such as another CD player. Use a twin RCA-to-RCA lead to connect the auxiliary unit’s left and right ‘Audio Outputs’ to this input.

8. TUNER INPUT

Input for a Tuner or other line-level signal source. Use a twin RCA-to-RCA lead to connect the Tuner left and right ‘Audio Outputs’ to this input.

9. TAPE 1 IN, OUT

Connections for analogue recording and playback to an audio tape recorder of any type. Using twin RCA-to-RCA leads, connect to the left and right ‘Audio Output’ of the tape machine to the TAPE 1 IN connectors for playback and tape monitoring. Connect the left and right ‘Audio Input’ of the tape machine to the TAPE 1 OUT connectors for record- ing.

10. TAPE 2 IN, OUT

Connections for analogue recording and playback to a secondary audio tape recorder of any type. Using twin RCA-to-RCA leads, connect to the left and right ‘Audio Output’ of the tape machine to the TAPE 2 IN connectors for playback. Connect the left and right ‘Audio Input’ of the tape machine to the TAPE 2 OUT connectors for recording.

11. PRE 1, 2 OUT

Connections to an external power amplifier or processor, such as a surround-sound decoder. Use a twin RCA-to-RCA lead to connect to the left and right ‘Audio Input’ of the Power amp or processor to the Pre Out connectors.

The Pre-Out output signal is controlled by the NAD 116’s volume and balance control settings

These sockets provide connections to amplifiers and processors requiring an unbalanced RCA con- nections.

Page 4
Image 4
NAD 116 owner manual Quick Start, Rear Panel Connections

116 specifications

NAD 116 is a high-performance audio amplifier that serves as a versatile companion for both home and professional audio needs. Known for its exceptional sound quality and user-centric features, the NAD 116 has garnered attention among audiophiles and casual listeners alike.

One of the standout aspects of the NAD 116 is its advanced circuitry, which employs a hybrid digital-analog architecture. This design minimizes distortion and maximizes clarity, enabling the amplifier to reproduce audio with remarkable fidelity. It utilizes a powerful Class A/B amplification topology, known for combining the efficiency of Class B with the sound quality of Class A.

The NAD 116 features a robust power supply, which ensures consistent performance even during dynamic music passages. This allows the amplifier to deliver ample output power without compromising audio integrity. Its continuous power output is commendable, offering enough headroom to drive demanding speakers without strain.

Connectivity is another highlight of the NAD 116. It is equipped with multiple inputs, including RCA, optical, and coaxial digital connections, providing flexibility for a variety of audio sources. The inclusion of a dedicated phono input also caters to vinyl enthusiasts, allowing them to connect turntables directly to the amplifier.

Incorporating advanced digital signal processing (DSP) technology, the NAD 116 allows users to access different sound profiles and equalization settings tailored to their listening environments. This customization capability enhances the overall listening experience, making it adaptable to various genres of music and personal preferences.

The NAD 116 also features a user-friendly interface, with a clear display and intuitive controls that make it easy to navigate settings and playback options. Remote control capability adds convenience, enabling users to manage their listening experience from a distance.

Another remarkable characteristic of the NAD 116 is its build quality. Constructed with premium materials, the amplifier boasts excellent thermal management, ensuring durability and longevity. The sleek design and aesthetic appeal further enhance its presence in any audio setup.

Overall, the NAD 116 stands out as a prime example of high-quality audio engineering, combining performance, versatility, and user-centric features that make it a top choice for anyone looking to elevate their listening experience.