T752 specifications
The NAD T752 is a highly regarded audio/video receiver that has made its mark in the realm of home theater systems. Known for its versatility, performance, and value for money, the T752 is designed to meet the needs of both casual listeners and serious audiophiles. With its robust array of features and technologies, the T752 provides a comprehensive solution for enjoying movies, music, and gaming with impressive clarity and power.One of the standout features of the NAD T752 is its multi-channel amplification. It delivers a powerful 5.1 channel surround sound experience, allowing users to immerse themselves in rich audio. Each channel is designed to provide a 50 watts output, ensuring sufficient power for driving a variety of speakers while maintaining distortion-free sound.
The T752 incorporates NAD's proprietary PowerDrive technology, which optimizes the performance of the amplifier under different loads. This means that the receiver can efficiently drive low-impedance speakers without sacrificing sound quality or risking damage. This technology is crucial for delivering consistent performance across various listening environments.
In terms of connectivity, the NAD T752 is equipped with a wide range of inputs and outputs, including multiple HDMI ports, composite and component video inputs, and digital audio inputs. This ensures compatibility with a variety of source devices, from Blu-ray players to gaming consoles, making it a versatile addition to any home theater setup. The HDMI connectivity allows for direct switching between devices while also supporting high-definition video and audio formats.
The T752 also features advanced processing capabilities, such as Dolby Digital and DTS decoding, which enhances the surround sound experience, making dialogue clearer and effects more immersive. NAD’s proprietary EISA Award-winning technology further enriches audio playback, ensuring the listener receives a captivating surround sound experience.
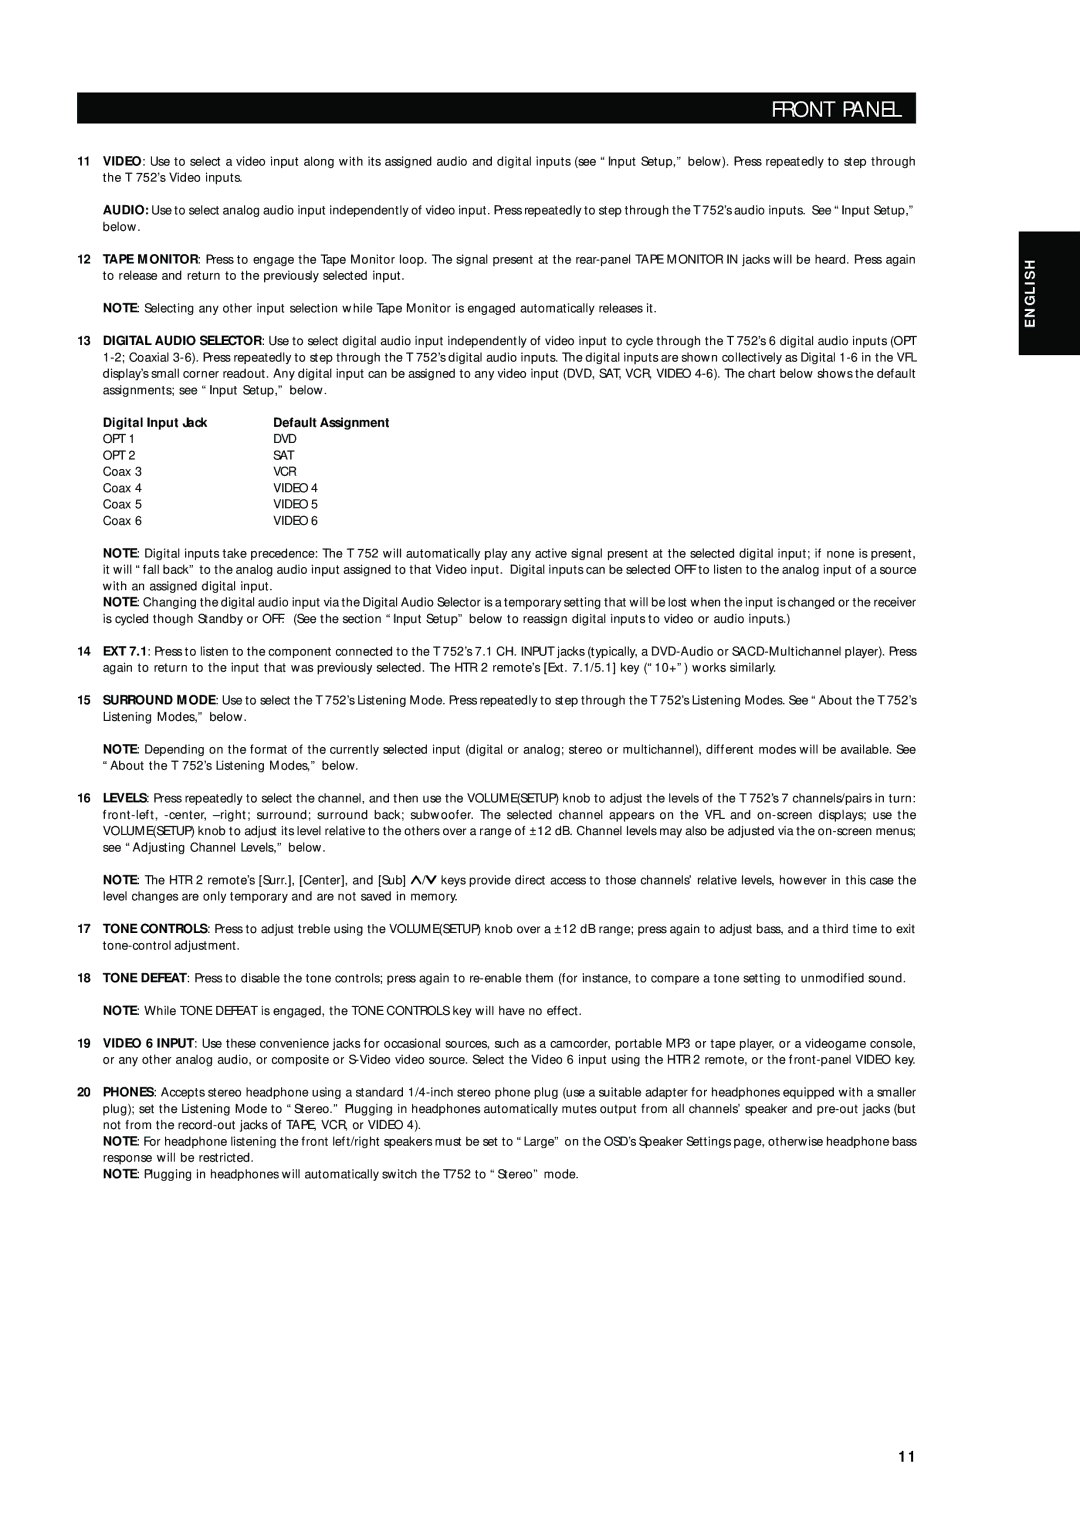
Another noteworthy characteristic of the NAD T752 is its user-friendly interface. The receiver is designed for ease of use, with intuitive controls and an on-screen display that simplifies the setup process. Additionally, NAD offers a comprehensive remote control that allows users to manage their listening experience seamlessly.
In conclusion, the NAD T752 stands out as a solid choice for home theater enthusiasts. With its robust sound performance, extensive connectivity options, and advanced audio processing technologies, it delivers a rewarding listening experience. Whether watching films, listening to music, or gaming, the T752 is capable of elevating your entertainment experience to new heights.