RPA-2 specifications
Nady Systems RPA-2 is a portable, robust, and versatile professional audio solution designed to cater to the needs of musicians, performers, and audio engineers. Known for its high-quality components and advanced technologies, the RPA-2 stands out in the crowded market of audio equipment. One of the main features of the RPA-2 is its dual-channel amplifier, which is capable of delivering up to 200 watts of peak power, making it suitable for both small gigs and larger venues.The RPA-2 supports a wide range of input sources due to its versatile connections, including XLR, 1/4-inch TRS, and RCA inputs. This flexibility allows users to connect microphones, instruments, and playback devices effortlessly. Additionally, the inclusion of wireless capabilities enables seamless integration with various wireless systems, ensuring that performers can move freely without being tethered to their gear.
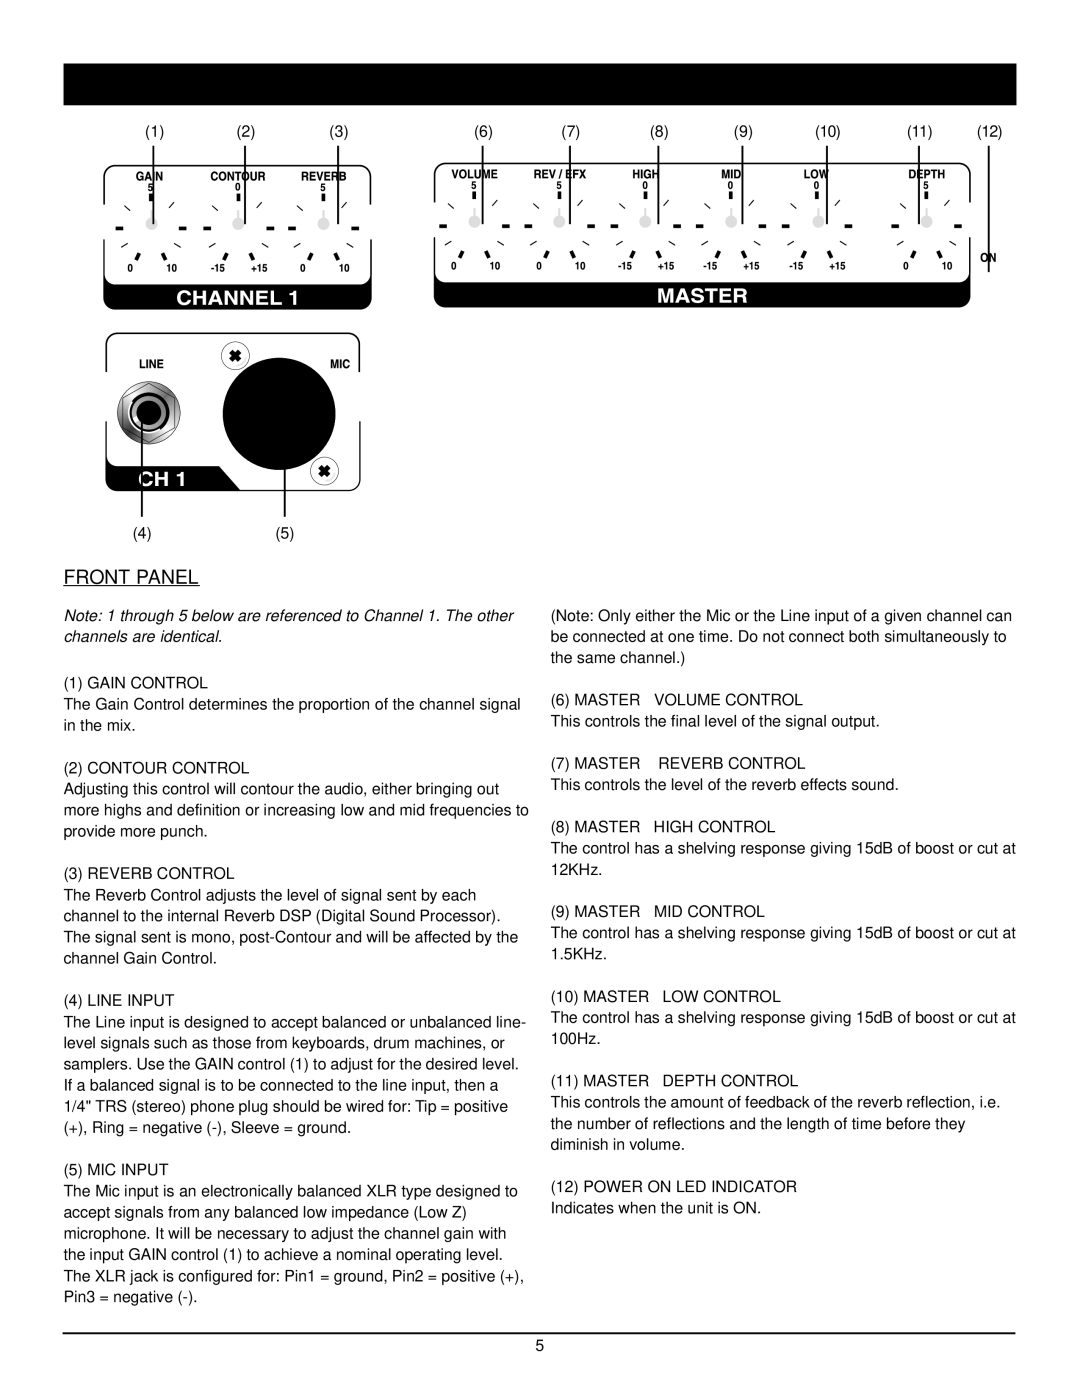
Another notable characteristic of the RPA-2 is its built-in equalization controls. This feature empowers users to tailor their sound according to the specific acoustics of a venue or personal preference. With a 3-band EQ, users have the ability to adjust bass, midrange, and treble frequencies, allowing for enhanced clarity and sound quality.
The RPA-2 also boasts a rugged design, which is essential for musicians on the go. Its durable chassis is designed to withstand the rigors of touring and live performances, ensuring that it continues to function reliably in diverse environments. This portability is further enhanced by its lightweight construction, making it easy to transport to various performance locations.
In terms of technology, the RPA-2 is equipped with state-of-the-art circuitry that minimizes distortion and maximizes audio fidelity. The amplifier’s design seamlessly integrates modern digital processing techniques, ensuring that the sound remains clear and powerful at any volume level.
Lastly, the RPA-2 is user-friendly. Its intuitive layout allows for quick setup and adjustment, even for those who may not be technically inclined. With its combination of power, versatility, durability, and advanced technology, the Nady Systems RPA-2 is a valuable asset for any audio professional seeking a reliable and effective amplifying solution.

