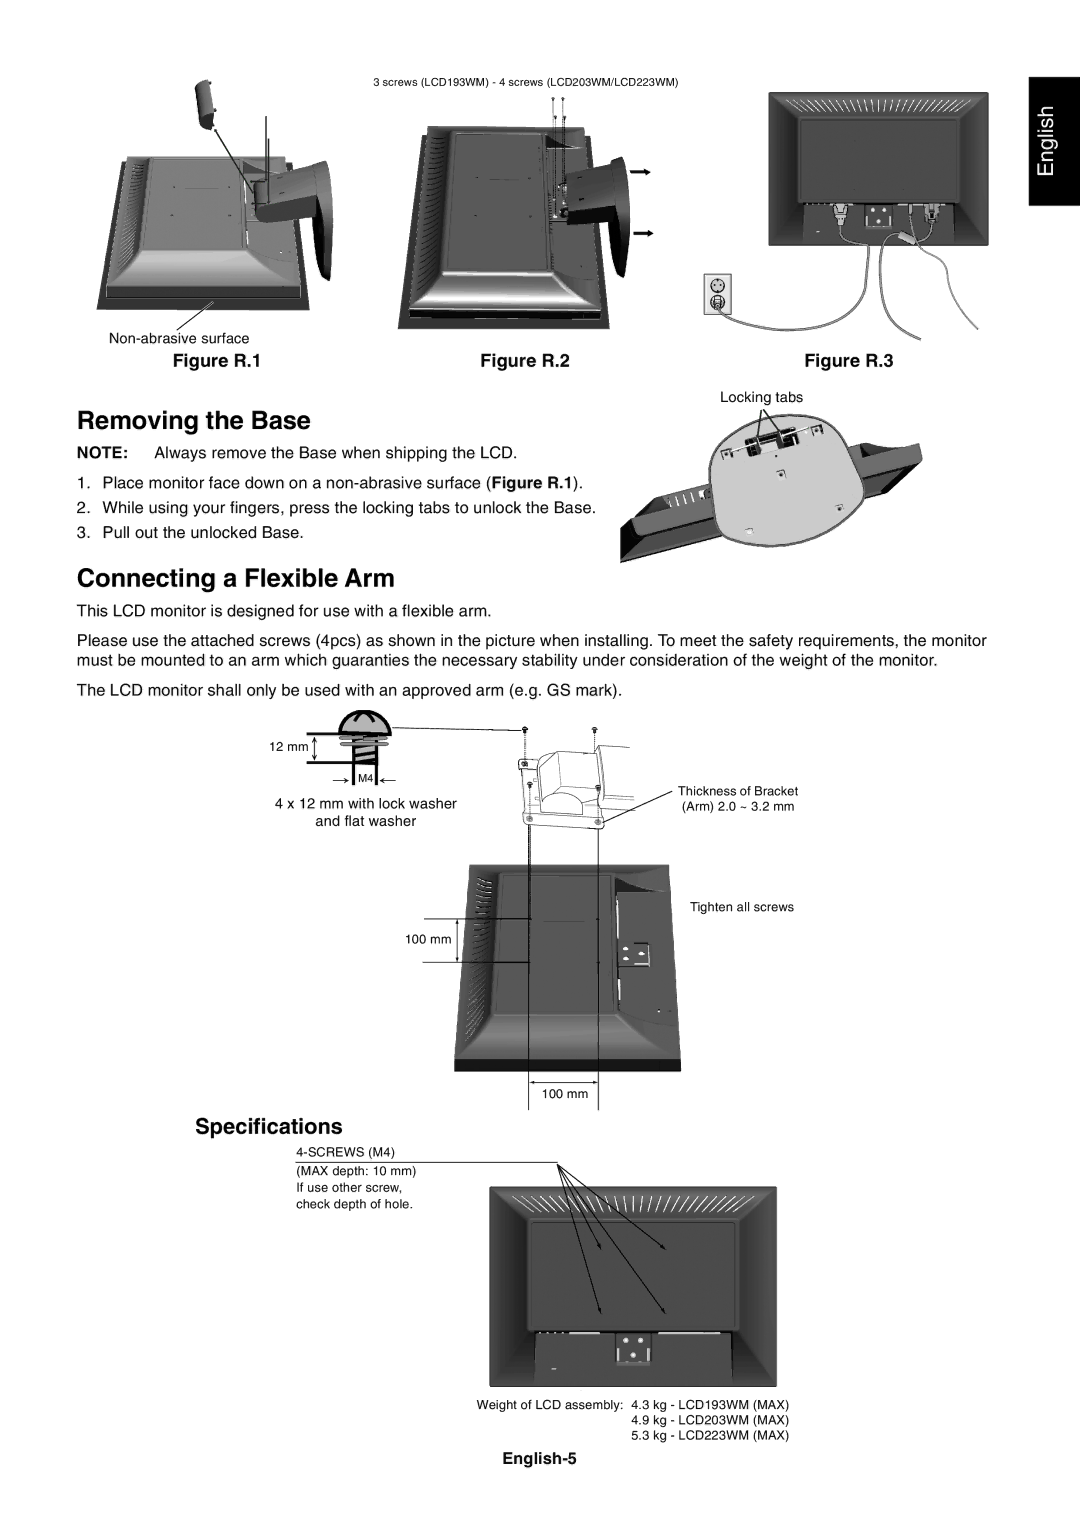
LCD193WM, LCD203WM, LCD223WM specifications
The NEC LCD193WM, LCD203WM, and LCD223WM are three noteworthy models in the NEC LCD monitor lineup, designed for users seeking reliable performance and excellent visual quality.Starting with the NEC LCD193WM, this 19-inch monitor features a resolution of 1440x900 pixels, providing a suitable aspect ratio of 16:10. This monitor is particularly valued for its balanced mix of size and clarity, catering well to both casual users and professionals. The LCD193WM employs advanced technologies, such as a 5ms response time, which minimizes motion blur during fast-moving scenes, making it an excellent choice for gaming and multimedia applications. Its dynamic contrast ratio effectively enhances the depth of images, providing sharper text and vibrant colors that are essential for photo editing and video watching.
Next up, the LCD203WM steps up to a 20-inch screen size with a resolution of 1680x1050 pixels, maintaining the 16:10 aspect ratio. This model incorporates a similar response time of 5ms, ensuring smooth transitions in moving images. The LCD203WM promotes enhanced productivity with its larger display area, enabling users to multitask efficiently, especially in professional environments where data analysis and design work are commonplace. The monitor is equipped with both analog and digital connections, allowing for greater versatility in connectivity options.
Finally, the NEC LCD223WM takes it even further with a 22-inch screen, boasting a resolution of 1680x1050 and retaining the 16:10 aspect ratio. This monitor offers an even more immersive viewing experience, ideal for users requiring more screen real estate for applications like programming, graphic design, or architectural work. The LCD223WM includes technologies aimed at reducing eye strain during prolonged use, such as an anti-glare coating and various ergonomic features, including height adjustment and pivot capabilities, enhancing comfort for long working hours.
All three monitors share essential NEC characteristics such as Energy Star certification, highlighting their commitment to energy efficiency. They also include built-in speakers, allowing for a complete multimedia experience without the need for additional external sound devices. Together, the NEC LCD193WM, LCD203WM, and LCD223WM represent a robust range of monitors that cater to diverse user needs, offering reliability, high-quality visuals, and sustainable energy consumption.