LIGHTING INSTRUCTIONS
CAUTION: DO NOT USE CHEMICALS OR FLUIDS TO START THE FIRE
HOT WHILE IN OPERATION. KEEP CHILDREN, CLOTHING AND FURNITURE AWAY. CONTACT MAY CAUSE SKIN BURNS.
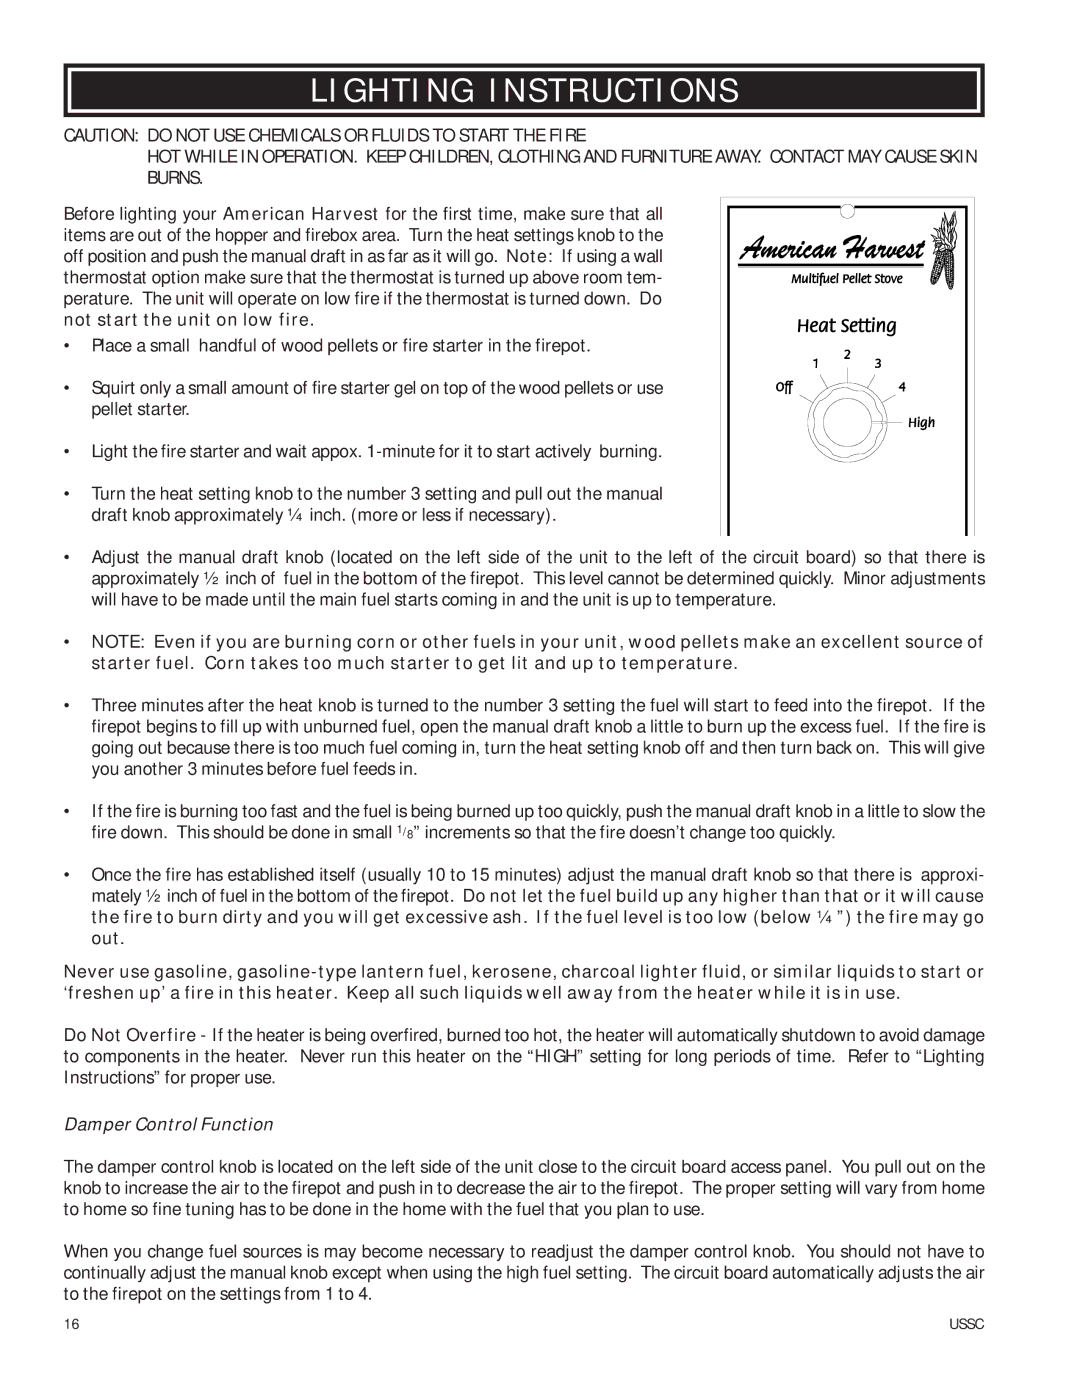
Before lighting your American Harvest for the first time, make sure that all items are out of the hopper and firebox area. Turn the heat settings knob to the off position and push the manual draft in as far as it will go. Note: If using a wall thermostat option make sure that the thermostat is turned up above room tem- perature. The unit will operate on low fire if the thermostat is turned down. Do not start the unit on low fire.
• Place a small handful of wood pellets or fire starter in the firepot.
• Squirt only a small amount of fire starter gel on top of the wood pellets or use pellet starter.
•Light the fire starter and wait appox.
•Turn the heat setting knob to the number 3 setting and pull out the manual draft knob approximately ¼ inch. (more or less if necessary).
•Adjust the manual draft knob (located on the left side of the unit to the left of the circuit board) so that there is approximately ½ inch of fuel in the bottom of the firepot. This level cannot be determined quickly. Minor adjustments will have to be made until the main fuel starts coming in and the unit is up to temperature.
•NOTE: Even if you are burning corn or other fuels in your unit, wood pellets make an excellent source of starter fuel. Corn takes too much starter to get lit and up to temperature.
•Three minutes after the heat knob is turned to the number 3 setting the fuel will start to feed into the firepot. If the firepot begins to fill up with unburned fuel, open the manual draft knob a little to burn up the excess fuel. If the fire is going out because there is too much fuel coming in, turn the heat setting knob off and then turn back on. This will give you another 3 minutes before fuel feeds in.
•If the fire is burning too fast and the fuel is being burned up too quickly, push the manual draft knob in a little to slow the fire down. This should be done in small 1/8” increments so that the fire doesn’t change too quickly.
•Once the fire has established itself (usually 10 to 15 minutes) adjust the manual draft knob so that there is approxi- mately ½ inch of fuel in the bottom of the firepot. Do not let the fuel build up any higher than that or it will cause the fire to burn dirty and you will get excessive ash. If the fuel level is too low (below ¼”) the fire may go out.
Never use gasoline,
Do Not Overfire - If the heater is being overfired, burned too hot, the heater will automatically shutdown to avoid damage to components in the heater. Never run this heater on the “HIGH” setting for long periods of time. Refer to “Lighting Instructions” for proper use.
Damper Control Function
The damper control knob is located on the left side of the unit close to the circuit board access panel. You pull out on the knob to increase the air to the firepot and push in to decrease the air to the firepot. The proper setting will vary from home to home so fine tuning has to be done in the home with the fuel that you plan to use.
When you change fuel sources is may become necessary to readjust the damper control knob. You should not have to continually adjust the manual knob except when using the high fuel setting. The circuit board automatically adjusts the air to the firepot on the settings from 1 to 4.
16 | USSC |
