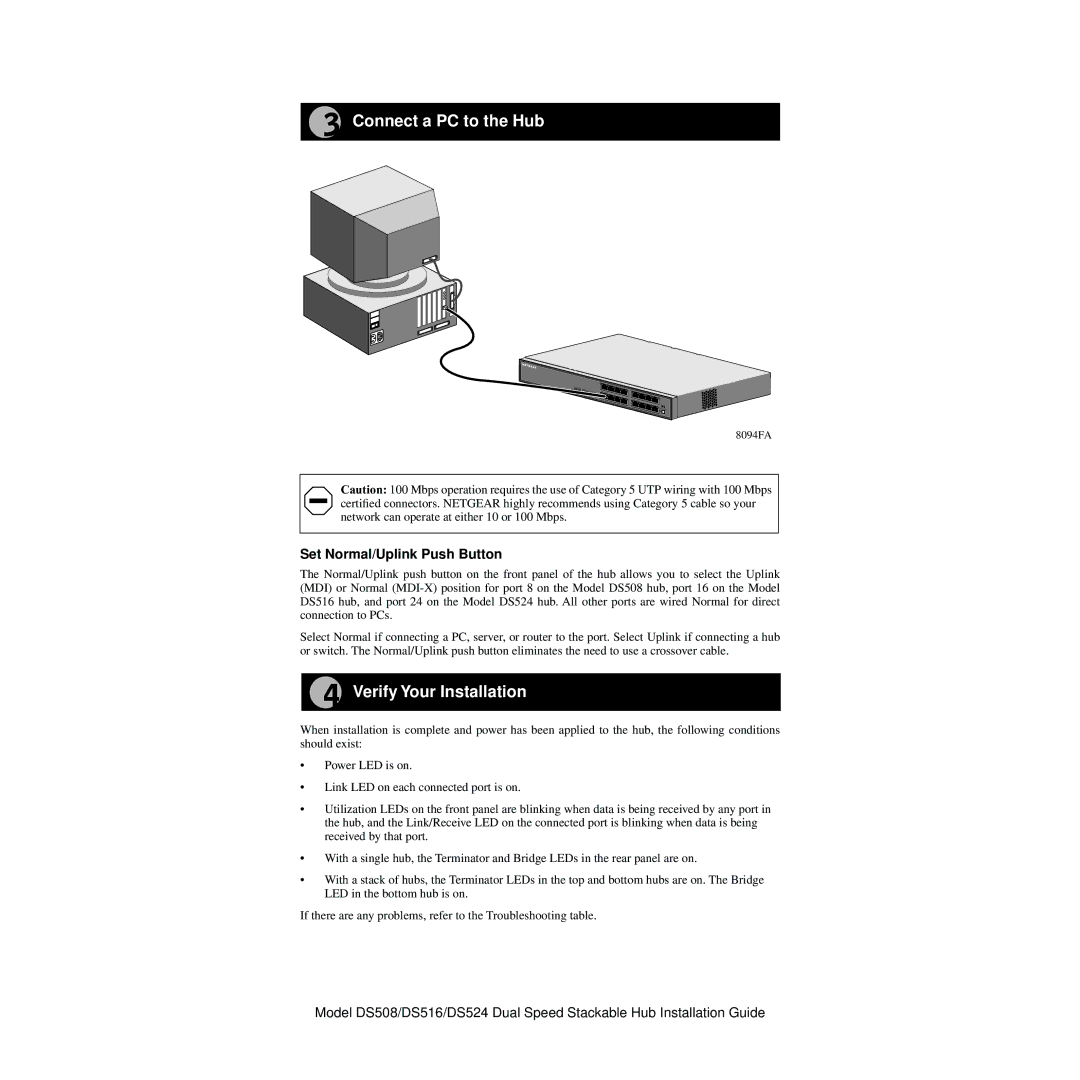
Connect a PC to the Hub
|
|
| 5 |
|
|
Data | P |
|
|
|
|
Collision |
|
|
|
| |
| ower Power | Data Collision | Link |
|
|
|
| RX |
| ||
|
|
| 17 | Link | 12 |
|
|
|
| X | |
|
|
|
|
| Normal/Uplink |
|
|
|
|
| 24 |
8094FA
Caution: 100 Mbps operation requires the use of Category 5 UTP wiring with 100 Mbps certified connectors. NETGEAR highly recommends using Category 5 cable so your network can operate at either 10 or 100 Mbps.
Set Normal/Uplink Push Button
The Normal/Uplink push button on the front panel of the hub allows you to select the Uplink (MDI) or Normal
Select Normal if connecting a PC, server, or router to the port. Select Uplink if connecting a hub or switch. The Normal/Uplink push button eliminates the need to use a crossover cable.
Verify Your Installation
When installation is complete and power has been applied to the hub, the following conditions should exist:
•Power LED is on.
•Link LED on each connected port is on.
•Utilization LEDs on the front panel are blinking when data is being received by any port in the hub, and the Link/Receive LED on the connected port is blinking when data is being received by that port.
•With a single hub, the Terminator and Bridge LEDs in the rear panel are on.
•With a stack of hubs, the Terminator LEDs in the top and bottom hubs are on. The Bridge LED in the bottom hub is on.
If there are any problems, refer to the Troubleshooting table.
Model DS508/DS516/DS524 Dual Speed Stackable Hub Installation Guide
