Installing the Switch in a Rack
To install the switch in a rack, use the following procedure (and refer to Figure
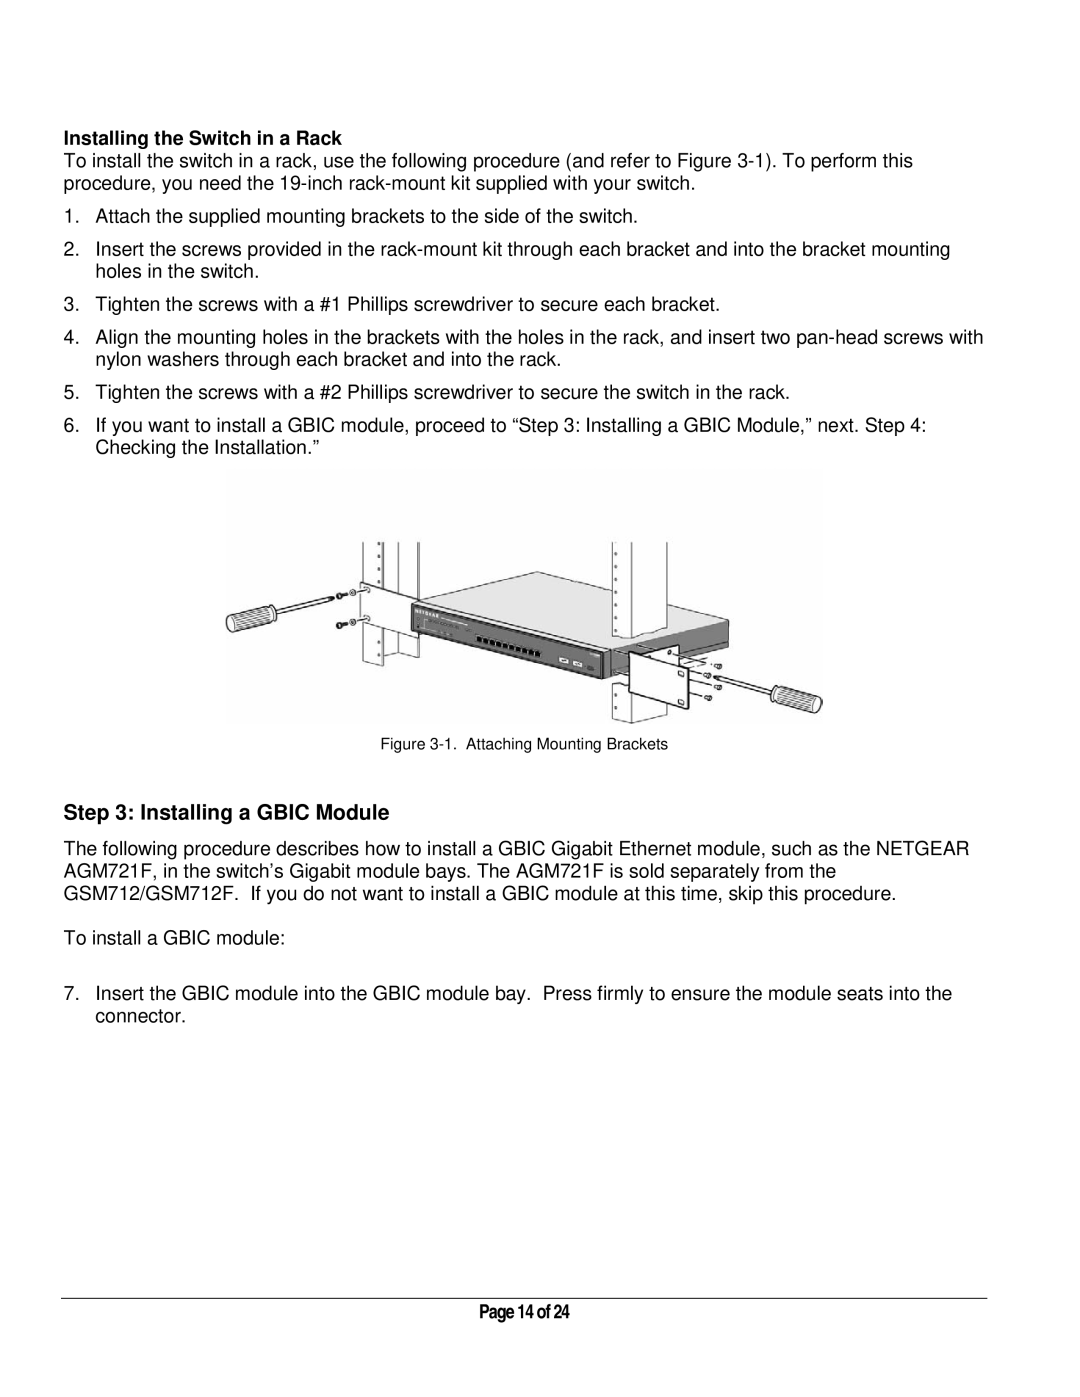
1.Attach the supplied mounting brackets to the side of the switch.
2.Insert the screws provided in the
3.Tighten the screws with a #1 Phillips screwdriver to secure each bracket.
4.Align the mounting holes in the brackets with the holes in the rack, and insert two
5.Tighten the screws with a #2 Phillips screwdriver to secure the switch in the rack.
6.If you want to install a GBIC module, proceed to “Step 3: Installing a GBIC Module,” next. Step 4: Checking the Installation.”
Figure 3-1. Attaching Mounting Brackets
Step 3: Installing a GBIC Module
The following procedure describes how to install a GBIC Gigabit Ethernet module, such as the NETGEAR AGM721F, in the switch’s Gigabit module bays. The AGM721F is sold separately from the GSM712/GSM712F. If you do not want to install a GBIC module at this time, skip this procedure.
To install a GBIC module:
7.Insert the GBIC module into the GBIC module bay. Press firmly to ensure the module seats into the connector.
Page 14 of 24