Your Network Checklist
The Model RH340 router uses the Internet Protocol (IP). The IP configuration has the following requirements:
•All PCs must have Transmission Control Protocol/Internet Protocol (TCP/IP) manually installed and selected as the networking protocol.
•All PCs and the router must be assigned IP addresses. The router’s DHCP function automatically assigns these for you, but your PCs must be set to “Obtain an IP address automatically” in the Network Control Panel.
•Be certain to check that “Obtain an IP address automatically” is selected within the TCP/IP Properties in the Network Control Panel. Refer to “Configuring TCP/IP Properties,” in the next column, to confirm these settings.
ISP Checklist
If you are obtaining an ISDN account with an Internet service provider (ISP), order a
ISP:
•Login name
•Password
•
•DNS server IP address(es) of the ISP
In addition, you should ask your ISP these questions:
•Will your IP address be dynamically assigned?
•Will your DNS server address be dynamically assigned? If not, you will need to enter it in FirstGear’s Advanced Options.
•Does your ISP support the Multilink Protocol?
If you intend to connect both ISDN B channels simultaneously
for a 128 Kbps connection, your ISP must support the Multilink Protocol.
Configuring TCP/IP
Configuring Windows 95 or Windows 98 for IP Networking
All PCs must have an Ethernet network adapter card installed and must have the TCP/IP networking protocol installed and configured. TCP/IP installation may need to be done manually as described here.
To configure | Microsoft | ® Windows 95 or Windows 98 for IP |
networking: |
|
|
1.Click on Start from the Windows toolbar.
2.Select Settings.
3.Select Control Panel.
4.Select Network.
In the list of installed components, you must have Client for
Microsoft Networks, your Ethernet adapter, and TCP/IP.
Note: It is not necessary to remove any other network components shown in the Network window in order to install the adapter, TCP/IP, or Client for Microsoft Networks.
If you need the adapter:
a.Click on the Add button.
b.Select Adapter, and then click on Add again.
c.Select the manufacturer and model of your Ethernet adapter, and click on OK.
If you need TCP/IP:
a.Click on the Add button.
b.Select Protocol, and then click on Add again.
c.Select Microsoft.
d.Select TCP/IP, and click on OK.
If you need Client for Microsoft Networks:
a.Click on the Add button.
b.Select Client, and then click on Add again.
Configuring TCP/IP Properties
NETGEAR recommends that you leave the TCP/IP setup parameters at their factory default settings unless you have a specific reason to change them. With the default settings, your PC is configured to obtain its TCP/IP configuration information automatically from a DHCP server on the local network. The Model RH340 router is shipped preconfigured as a DHCP server and will assign the TCP/IP configuration information described in the following section.
You must also be certain that your PC is set to “Obtain an IP address automatically” in the Network Control Panel.
To confirm that the IP address will be automatically obtained:
1.Click on Start from the Windows toolbar.
2.Select Settings.
3.Select Control Panel.
4.Select Network.
5.Select the Configuration tab.
6.Within the Configuration window, select TCP/IP from the list of network components shown.
If you have several TCP/IP entries in this window, choose the one associated with your Ethernet adapter.
7.Click on Properties.
The TCP/IP menu opens.
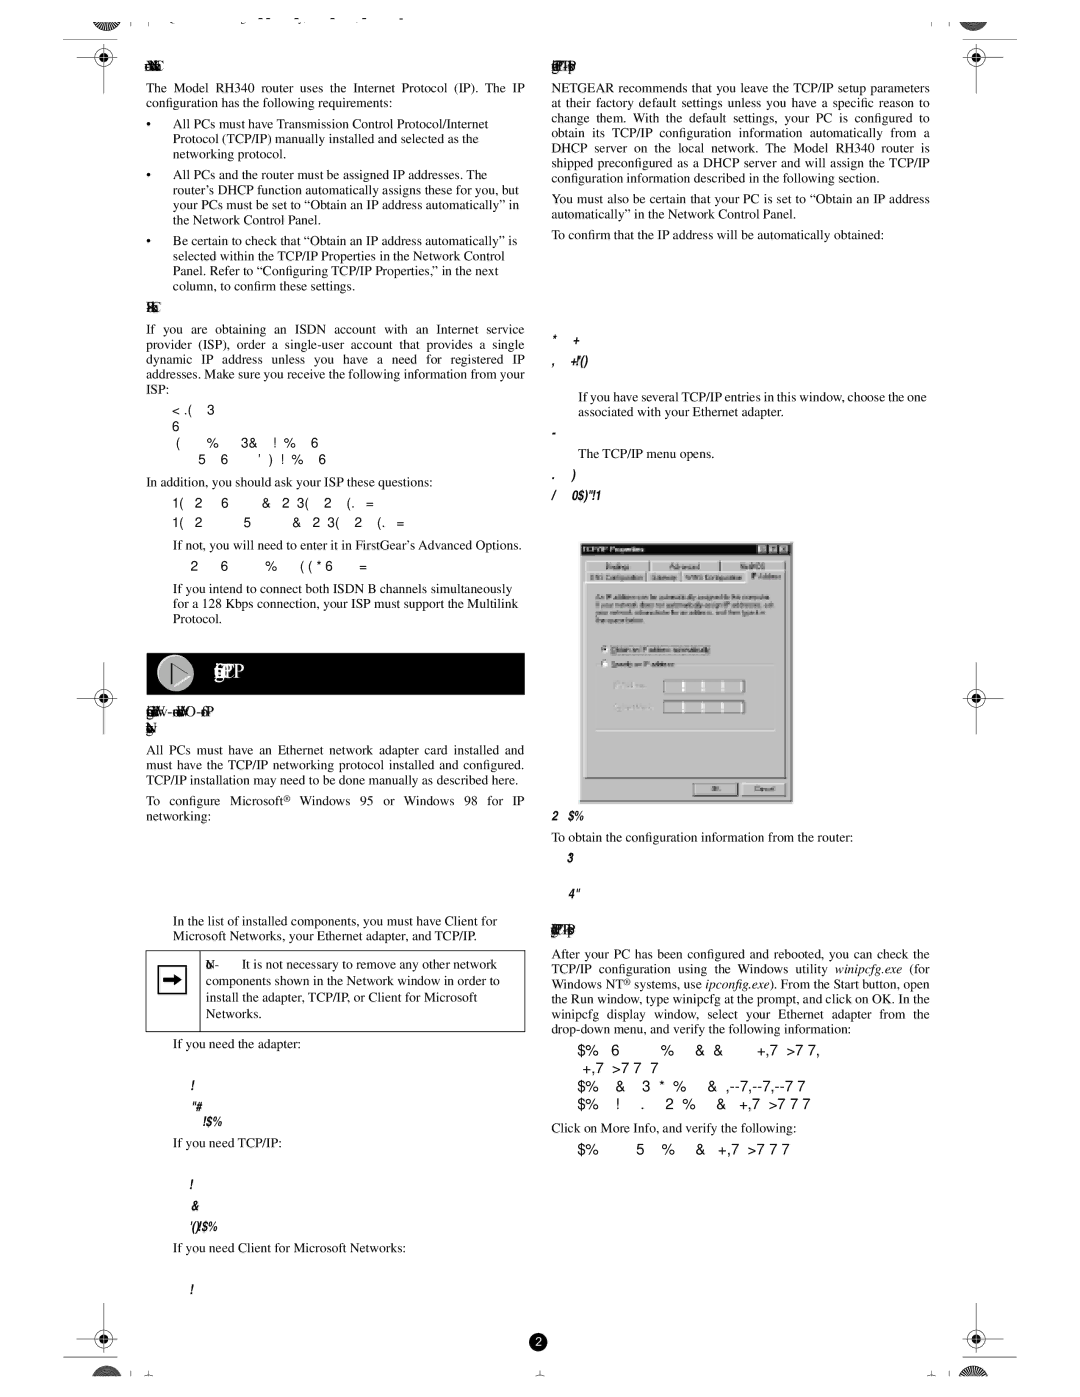
8.Select the IP Address tab.
9.Select “Obtain an IP address automatically,” as illustrated below.
10. Click on OK.
To obtain the configuration information from the router:
1.Turn on the router. Be sure the router has been on for at least one minute before continuing to step 2.
2.Reboot each PC on your network.
Verifying TCP/IP Properties
After your PC has been configured and rebooted, you can check the |
| |||
TCP/IP configuration using the Windows utility | winipcfg.exe | (for | ||
Windows NT | ® systems, use | ipconfig.exe | ). From the Start button, open |
|
the Run window, type winipcfg at the prompt, and click on OK. In the |
| |||
winipcfg | display window, select your Ethernet | adapter from the |
| |
|
| |||
•The IP address should be between 192.168.0.2 and 192.168.0.31.
•The subnet mask should be 255.255.255.0.
•The default gateway should be 192.168.0.1.
Click on More Info, and verify the following:
•The DNS server should be 192.168.0.1.
2