Preset Wireless Security

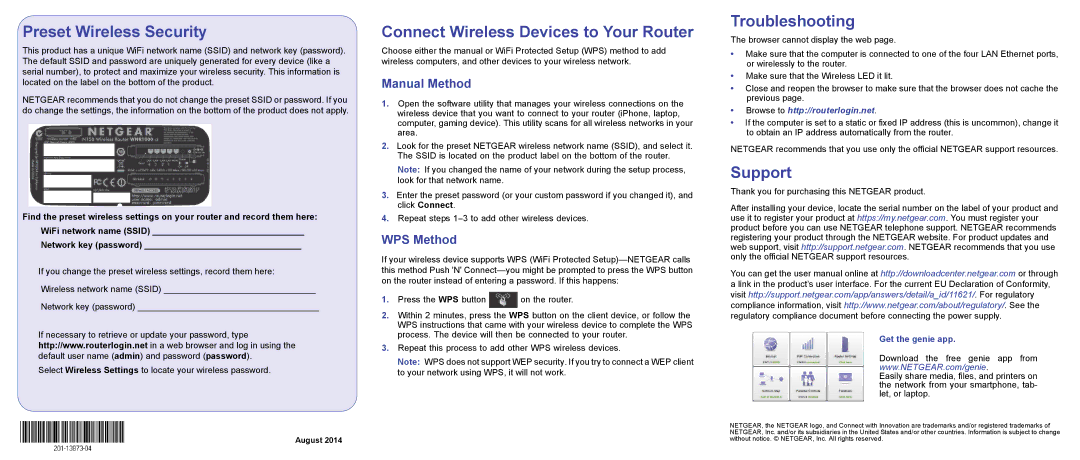
This product has a unique WiFi network name (SSID) and network key (password). The default SSID and password are uniquely generated for every device (like a serial number), to protect and maximize your wireless security. This information is located on the label on the bottom of the product.

NETGEAR recommends that you do not change the preset SSID or password. If you do change the settings, the information on the bottom of the product does not apply.

Find the preset wireless settings on your router and record them here: WiFi network name (SSID) _______________________________

Network key (password) ________________________________

If you change the preset wireless settings, record them here:

Wireless network name (SSID) _______________________________

Network key (password) _____________________________________

If necessary to retrieve or update your password, type http://www.routerlogin.net in a web browser and log in using the default user name (admin) and password (password).

Select Wireless Settings to locate your wireless password.

Connect Wireless Devices to Your Router

Choose either the manual or WiFi Protected Setup (WPS) method to add wireless computers, and other devices to your wireless network.

Manual Method

1.Open the software utility that manages your wireless connections on the wireless device that you want to connect to your router (iPhone, laptop, computer, gaming device). This utility scans for all wireless networks in your area.

2.Look for the preset NETGEAR wireless network name (SSID), and select it. The SSID is located on the product label on the bottom of the router.

Note: If you changed the name of your network during the setup process, look for that network name.

3.Enter the preset password (or your custom password if you changed it), and click Connect.

4.Repeat steps 1–3 to add other wireless devices.

WPS Method

If your wireless device supports WPS (WiFi Protected Setup)—NETGEAR calls this method Push 'N' Connect—you might be prompted to press the WPS button on the router instead of entering a password. If this happens:

1.Press the WPS button on the router.

2.Within 2 minutes, press the WPS button on the client device, or follow the WPS instructions that came with your wireless device to complete the WPS process. The device will then be connected to your router.

3.Repeat this process to add other WPS wireless devices.

Note: WPS does not support WEP security. If you try to connect a WEP client to your network using WPS, it will not work.

Troubleshooting

The browser cannot display the web page.

Make sure that the computer is connected to one of the four LAN Ethernet ports, or wirelessly to the router.

Make sure that the Wireless LED it lit.

Close and reopen the browser to make sure that the browser does not cache the previous page.

Browse to http://routerlogin.net.

If the computer is set to a static or fixed IP address (this is uncommon), change it to obtain an IP address automatically from the router.

NETGEAR recommends that you use only the official NETGEAR support resources.

Support

Thank you for purchasing this NETGEAR product.

After installing your device, locate the serial number on the label of your product and use it to register your product at https://my.netgear.com. You must register your product before you can use NETGEAR telephone support. NETGEAR recommends registering your product through the NETGEAR website. For product updates and web support, visit http://support.netgear.com. NETGEAR recommends that you use only the official NETGEAR support resources.

You can get the user manual online at http://downloadcenter.netgear.com or through a link in the product’s user interface. For the current EU Declaration of Conformity,

visit http://support.netgear.com/app/answers/detail/a_id/11621/. For regulatory compliance information, visit http://www.netgear.com/about/regulatory/. See the

regulatory compliance document before connecting the power supply.

Get the genie app.

Download the free genie app from www.NETGEAR.com/genie.

Easily share media, files, and printers on the network from your smartphone, tab- let, or laptop.


NETGEAR, the NETGEAR logo, and Connect with Innovation are trademarks and/or registered trademarks of

August 2014

NETGEAR, Inc. and/or its subsidiaries in the United States and/or other countries. Information is subject to change

without notice. © NETGEAR, Inc. All rights reserved.

Page 2
Image 2
NETGEAR WNR1000v3 manual Preset Wireless Security, Connect Wireless Devices to Your Router, Troubleshooting, Support

WNR1000v3 specifications

The NETGEAR WNR1000v3 is a versatile and user-friendly wireless router designed to meet the networking needs of both home and small office environments. It primarily operates on the 802.11n wireless standard, offering a substantial improvement in speed and range compared to its predecessors. With a maximum wireless speed of up to 300 Mbps, it can easily handle multiple devices simultaneously, making it suitable for streaming HD videos, online gaming, and large file transfers.

One of the standout features of the WNR1000v3 is its ease of setup. NETGEAR has incorporated its Smart Wizard installation CD, which simplifies the process for users with little technical knowledge. The router also comes with a web-based user interface that allows for easy configuration and management of network settings. This user-friendly approach ensures that users can quickly get their home or office networks up and running without any hassle.

The WNR1000v3 is equipped with four 10/100 Mbps Ethernet ports, allowing for high-speed wired connections to devices such as computers, gaming consoles, and network-attached storage. This flexibility makes it an excellent choice for users who require stable and fast connections for devices that do not rely on wireless connectivity.

Another critical feature of the WNR1000v3 is its robust security options. The router supports Wi-Fi Protected Access (WPA/WPA2) encryption, ensuring that wireless communications are secure from unauthorized access. Additionally, the router includes features like a built-in firewall and MAC address filtering, providing an extra layer of protection against potential threats.

For users who value network control, the NETGEAR WNR1000v3 supports Quality of Service (QoS) technology, which allows for prioritization of specific types of traffic. This means that users can optimize their network performance based on their unique needs, ensuring that online gaming or video streaming is prioritized over other less critical tasks.

In summary, the NETGEAR WNR1000v3 is a well-rounded, reliable wireless router that combines ease of use, solid performance, and essential security features. Its impressive speed and range make it ideal for various applications, while its straightforward installation process ensures accessibility for all users. Whether for basic web browsing or more demanding tasks, the WNR1000v3 meets the diverse networking requirements of modern households and small businesses.