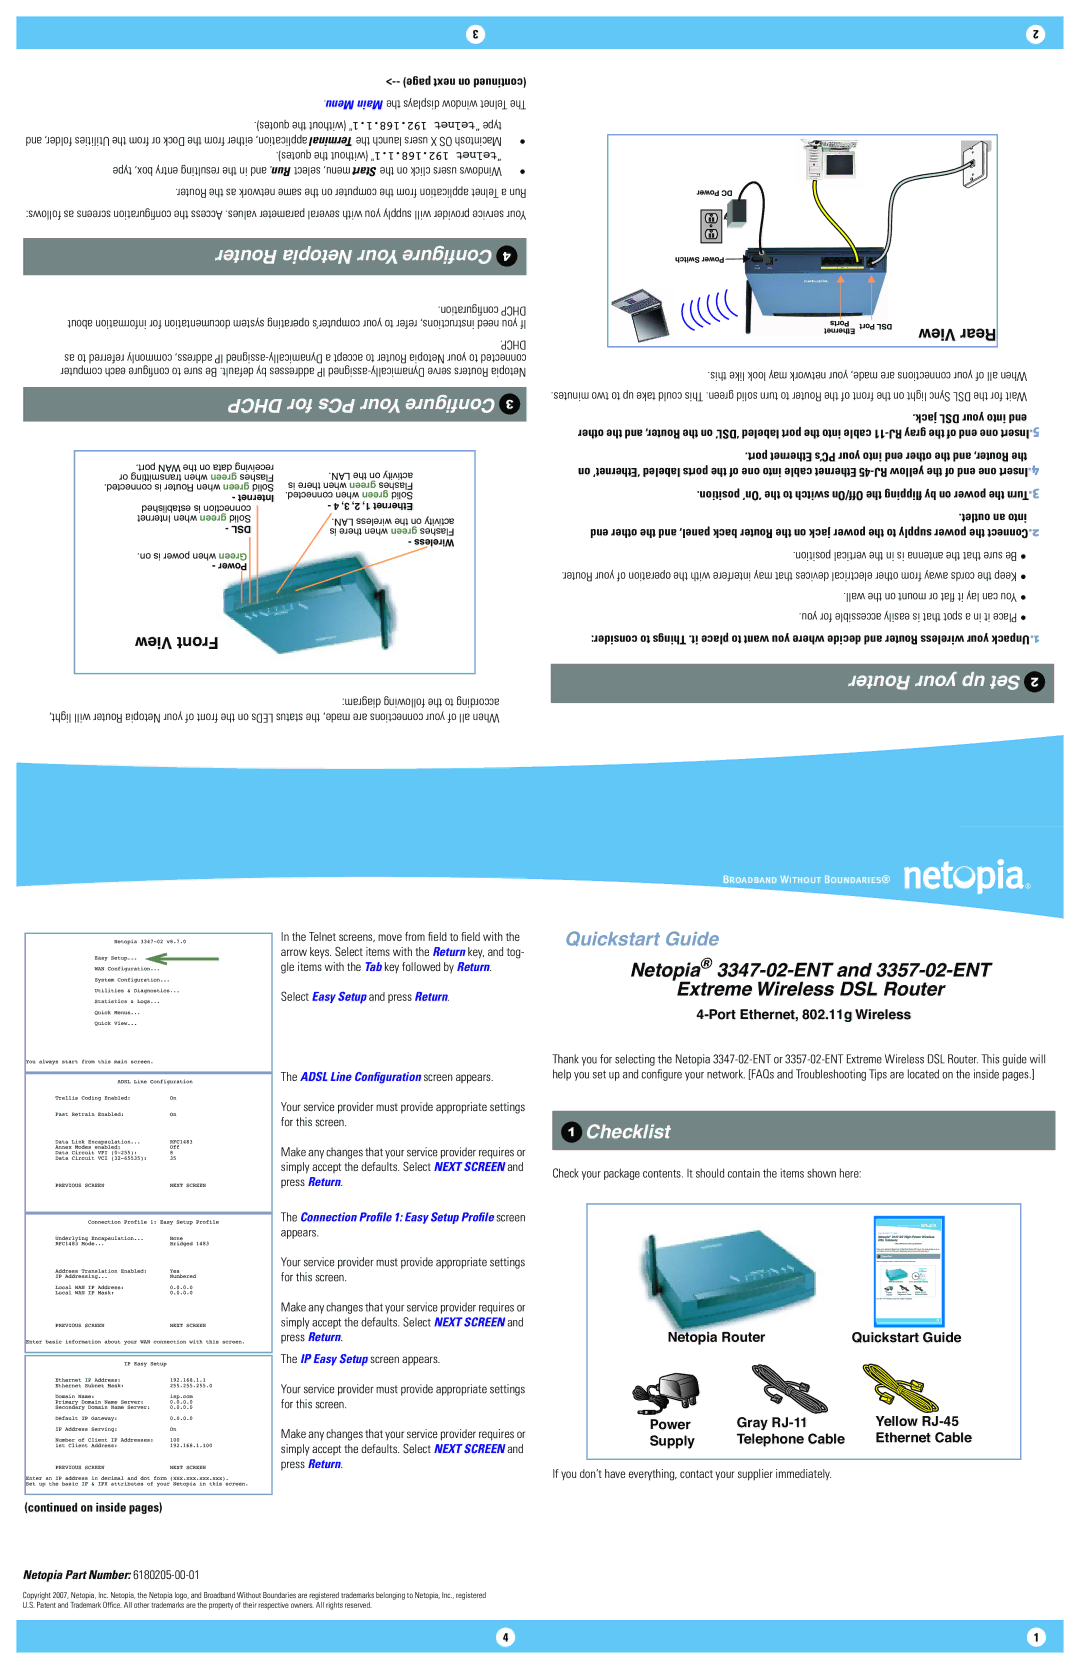
3347-02-ENT, 3357-02-ENT specifications
The Netopia 3357-02-ENT and 3347-02-ENT are advanced networking devices designed for high-performance broadband connectivity in residential and small to medium-sized business environments. As part of the Netopia product family, these modems and routers are engineered to deliver fast, reliable internet access while supporting a wide range of applications and services.One of the standout features of both models is their support for ADSL and ADSL2+ technologies. This means that users can experience high-speed internet access, with download speeds reaching up to 24 Mbps. The modems also support backward compatibility with ADSL technologies, ensuring that users can maintain connectivity even in areas where only older standards are available.
In terms of connectivity options, the Netopia 3357-02-ENT and 3347-02-ENT come equipped with multiple Ethernet ports, allowing users to connect several devices simultaneously. The presence of a USB port further enhances connectivity, making it easy to share printers or other USB devices across the network.
Security is a key focus for these devices, and both models offer robust security features. They include firewalls, NAT (Network Address Translation), and support for VPN (Virtual Private Network) connections. These features ensure that sensitive data remains protected while users enjoy seamless internet access.
Another important characteristic of the Netopia 3357-02-ENT and 3347-02-ENT is their user-friendly interface. The web-based management tools provide straightforward configuration and monitoring capabilities. This simplicity is beneficial for users who may not have extensive technical expertise, enabling them to manage their network settings with ease.
In addition, the devices are designed for reliability, featuring built-in failover capabilities. This ensures continuous internet access even during unexpected outages. The quality of service (QoS) functionality allows users to prioritize bandwidth for critical applications, ensuring that their online activities remain uninterrupted.
Additionally, these models support advanced technologies such as TR-069 for remote management, greatly simplifying maintenance for internet service providers. This feature allows ISPs to troubleshoot and configure the devices remotely, enhancing customer satisfaction by reducing downtime.
In conclusion, the Netopia 3357-02-ENT and 3347-02-ENT stand out in the realm of broadband networking equipment. With their advanced connectivity options, focus on security, and user-friendly management tools, they are well-suited for both home and business environments. Whether for general browsing, streaming media, or running a small office network, these devices provide the performance and reliability demanded by today’s users.

