Flash shooting in Advanced Wireless Lighting
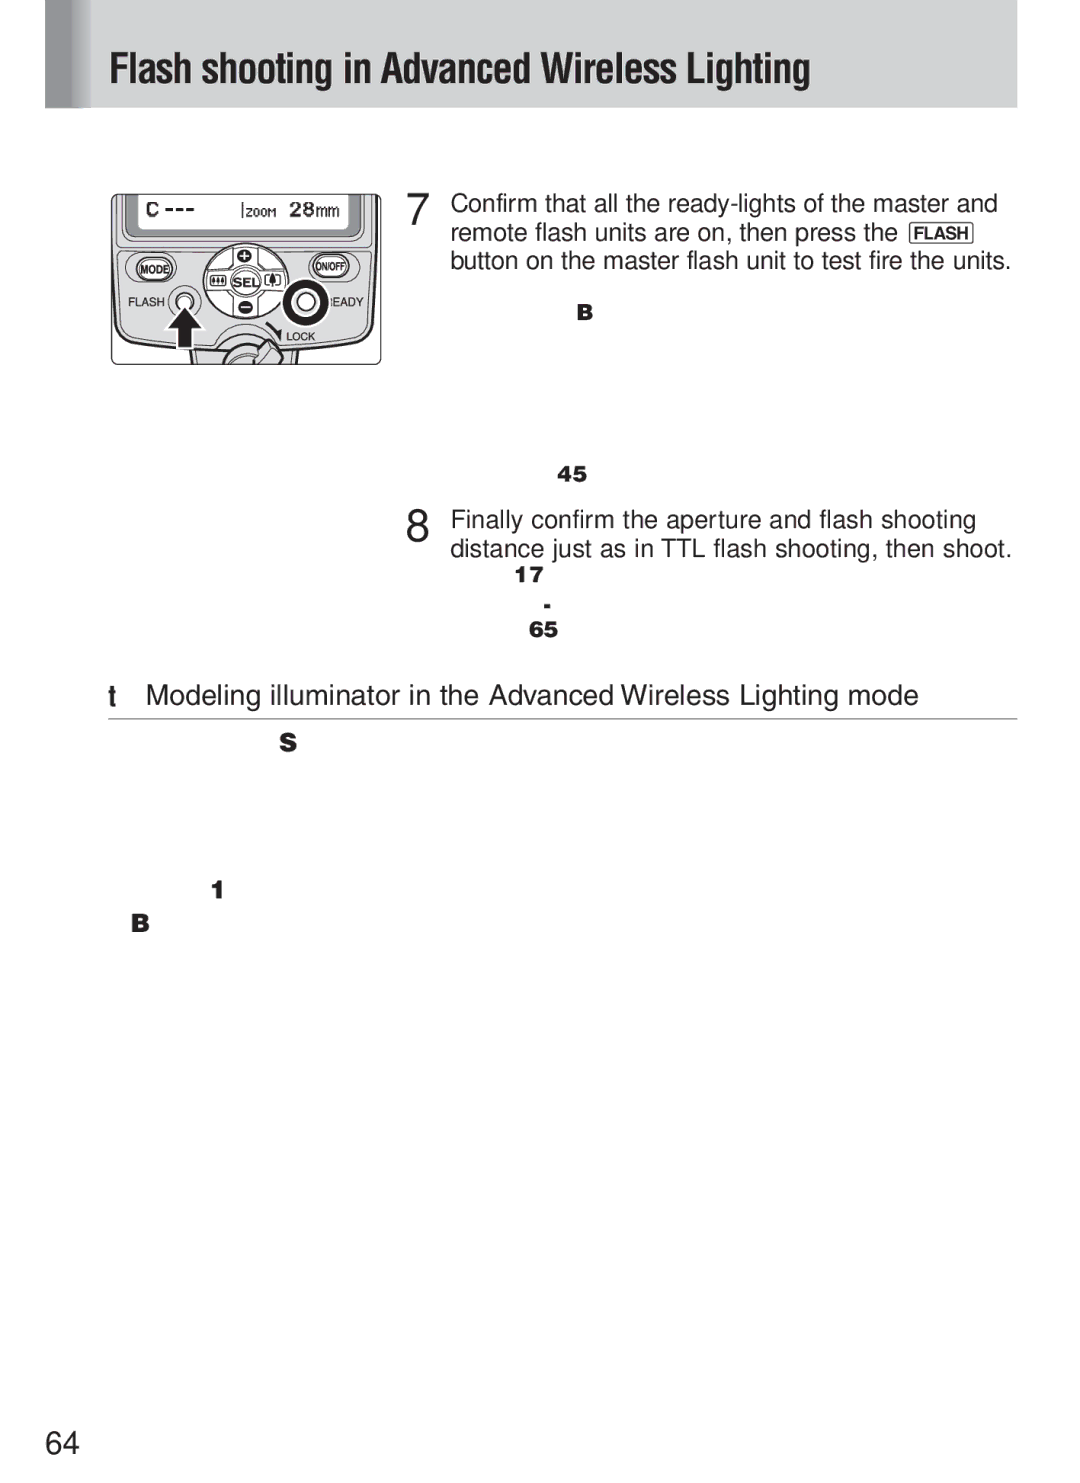
7 Confirm that all the
• The master flash unit fires first, then the remote flash units in group A fire, followed by those in group B.
• If a certain remote flash unit does not fire, change the setup by moving the remote unit closer to the subject or redirect its light sensor window toward the master flash unit, then test fire the new setup.
•You can check the illumination before actually taking pictures using the Modeling illuminator (p. 45).
8 Finally confirm the aperture and flash shooting distance just as in TTL flash shooting, then shoot.
•Refer to page 17 for TTL flash shooting.
•Flash operation can be confirmed by the
tModeling illuminator in the Advanced Wireless Lighting mode
When the Modeling illuminator button of the master flash unit (featuring CLS) is pressed, the Modeling illuminator of all remote flash units set on the Master flash unit will fire. Further, when the compatible camera’s Modeling illuminator button is pressed, the Modeling illuminator of the master flash unit and all other remote flash units fire.
•The Modeling illuminator function operates for 1 second.
•Both the master and remote flash units fire at the flash output level compensation value as set.
•Refer to your compatible camera instruction manual for details on the camera’s Modeling illuminator.
64