
OS5.5, OS6.5 specifications
Niles Audio has long been a respected name in the realm of high-performance audio systems, and their OS series stands as a testament to their commitment to quality and innovation. Among their exceptional offerings are the OS6.5 and OS5.5 outdoor speakers, designed to deliver powerful sound and rugged durability for outdoor environments.The Niles Audio OS6.5 speaker is equipped with a 6.5-inch a polypropylene woofer that ensures deep, resonant bass. Paired with a 1-inch aluminum dome tweeter, this combination delivers a full-range audio experience, making it ideal for various outdoor settings, from patios to pool areas. The powerful drivers are designed to provide clear sound even in large open spaces, producing balanced audio that enhances any gathering or event.
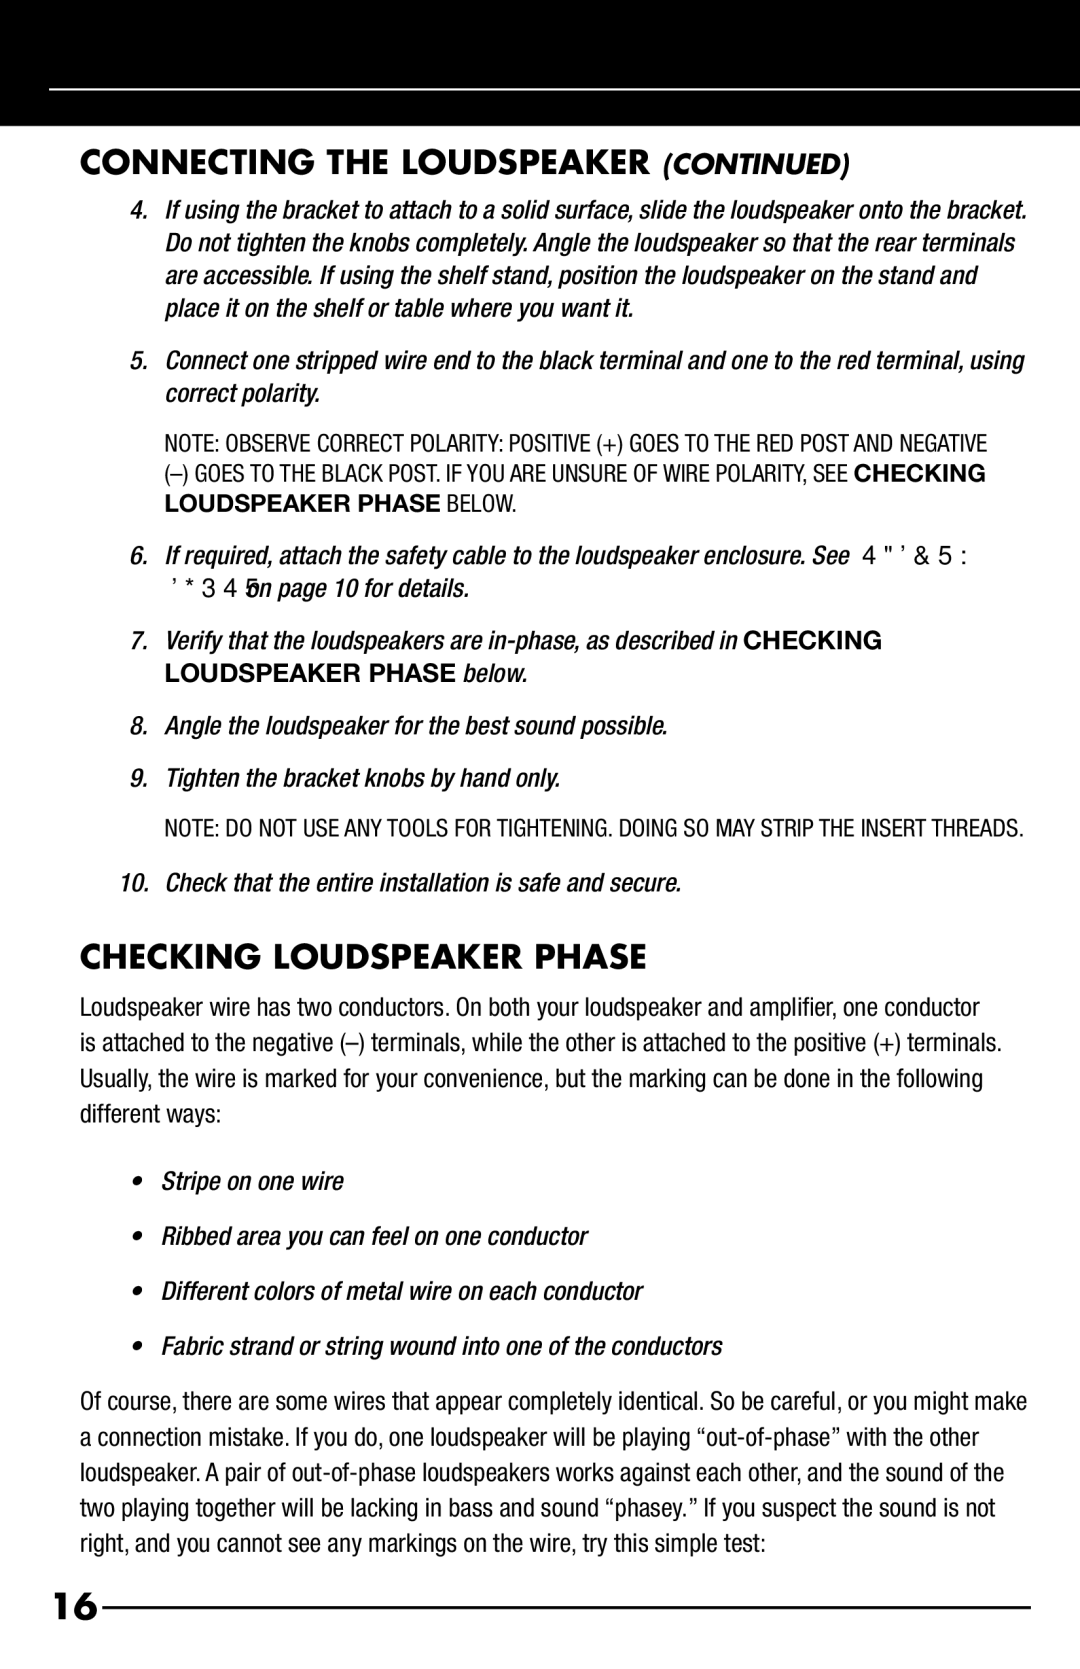
On the other hand, the OS5.5 features a slightly smaller 5.25-inch woofer, which still excels in delivering impressive sound quality. Its 1-inch aluminum dome tweeter complements the woofer, creating a rich auditory experience. Both models utilize optimized power handling technology that allows them to operate efficiently and deliver maximum sound output without distortion.
One significant highlight of both the OS6.5 and OS5.5 speakers is their weather-resistant design. Built to withstand the elements, these speakers are constructed with rugged materials that offer protection against rain, UV rays, and temperature fluctuations. This durability ensures long-lasting performance, making them ideal for year-round outdoor use.
Installation is simplified with a user-friendly mounting system, allowing for easy placement on walls or in gardens. The speakers are designed to blend seamlessly into outdoor environments, with aesthetic options available to suit various architectural styles.
Furthermore, both models can be matched with Niles Audio's powerful amplifiers, enabling audiophiles to maximize their sound experience. The speakers can be integrated into an existing audio system, allowing users to enjoy their favorite music in an expansive outdoor space without compromising on quality.
In summary, the Niles Audio OS6.5 and OS5.5 outdoor speakers embody the perfect fusion of sound quality, durability, and versatility. With their robust construction, advanced audio technology, and user-friendly features, these speakers are an excellent choice for anyone looking to enhance their outdoor audio experience. Whether you’re hosting a lively gathering or enjoying a quiet evening outdoors, Niles Audio ensures you do so with style and superior sound.