RUNNING THE LOUDSPEAKER WIRE IN NEW CONSTRUCTION (CONTINUED)
ABOUT DRILLING
Use a bit that is large enough for the wires you plan to run. This is an important consideration, since you may be drilling a lot of holes. Here are some additional tips:
•We recommend using an auger bit for
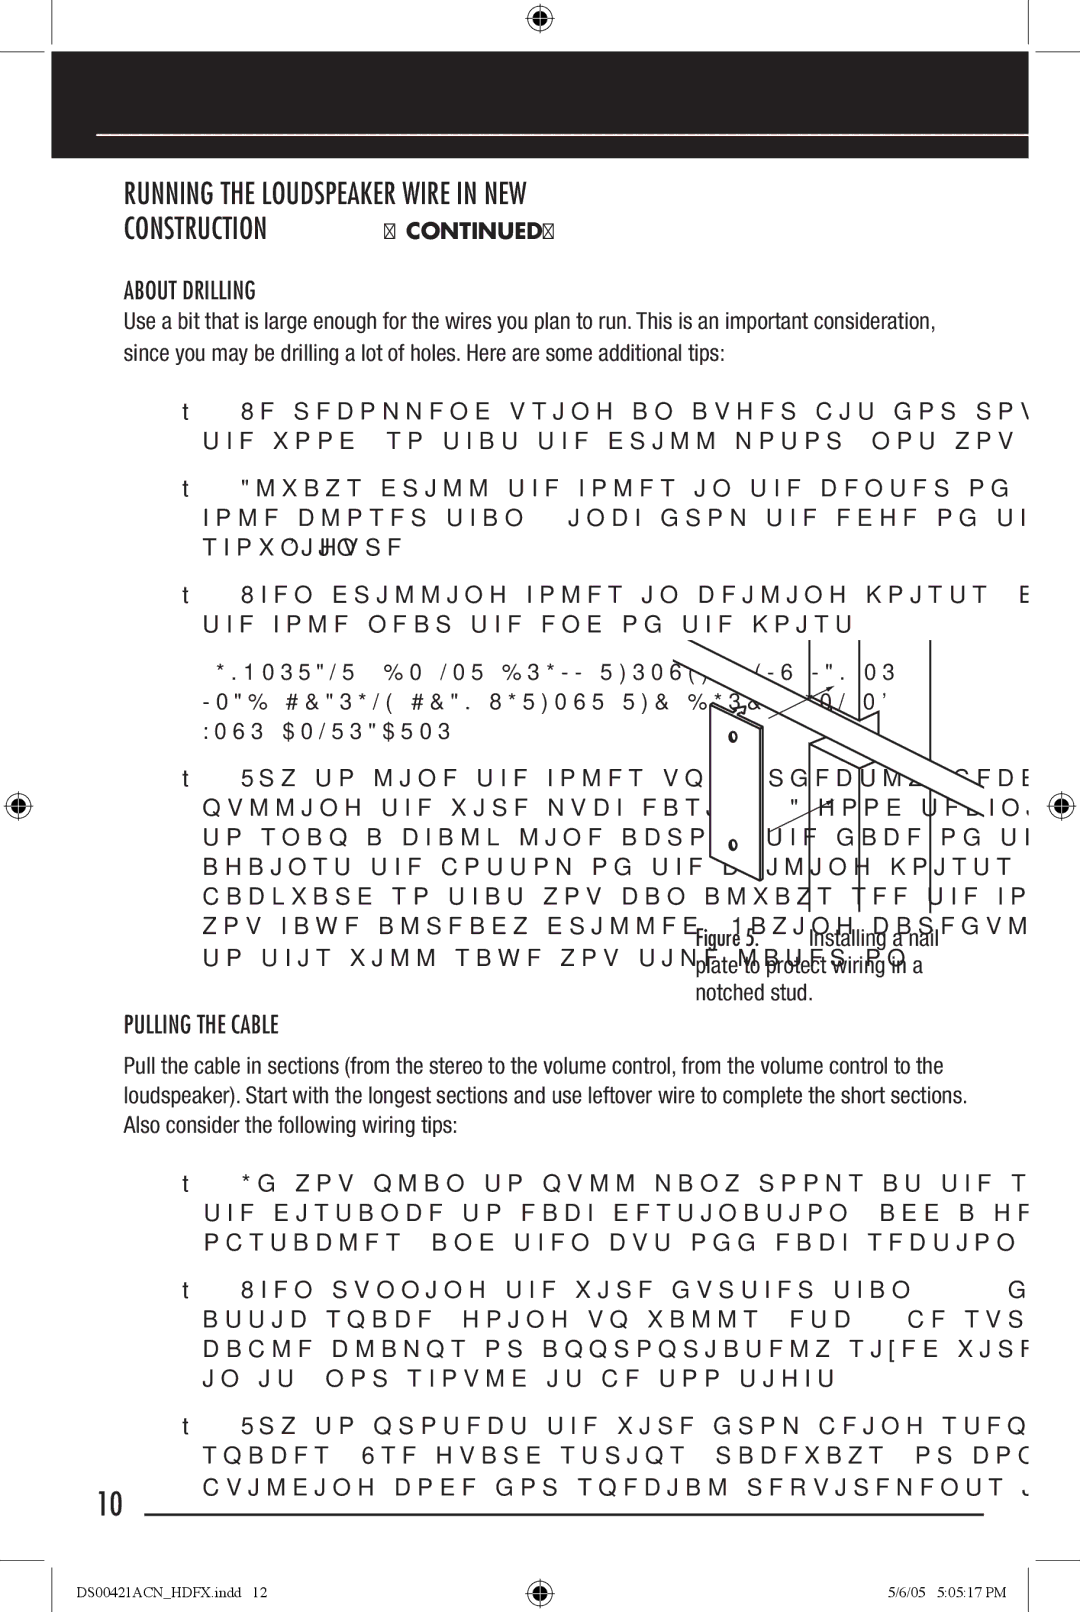
•Always drill the holes in the center of the stud. If you have to notch the stud or drill the hole closer than 1 inch from the edge of the stud, protect the wire with a nail plate, as shown in Figure 5.
•When drilling holes in ceiling joists, drill in the center of the joists and try to locate the hole near the end of the joist.
IMPORTANT: DO NOT DRILL THROUGH A
•Try to line the holes up perfectly, because it makes pulling the wire much easier. A good technique is to snap a chalk line across the face of the studs or against the bottom of the ceiling joists. Then work backward so that you can always see the holes you have already drilled. Paying careful attention to this will save you time later on.
Figure 5. Installing a nail plate to protect wiring in a notched stud.
PULLING THE CABLE
Pull the cable in sections (from the stereo to the volume control, from the volume control to the loudspeaker). Start with the longest sections and use leftover wire to complete the short sections. Also consider the following wiring tips:
•If you plan to pull many rooms at the same time through a central route, walk off the distance to each destination, add a generous “fudge factor” for turns and other obstacles, and then cut off each section, so you can pull a bundle of wires at once.
•When running the wire further than
•Try to protect the wire from being stepped on in attics or other unfinished crawl spaces. Use guard strips, raceways, or conduits to protect the cable. Consult the local
10 | building code for special requirements in your area. |
|
DS00421ACN_HDFX.indd 12
5/6/05 5:05:17 PM
