Nokia N91 User Guide
9241919 Issue 1 EN
Copyright 2005 Nokia. All rights reserved
Contents
Personalize your device
Retrieve e-mail messages automatically
Receive MMS and e-mail settings
Define a push-to-talk access point
Predictive text input-Predictive text
Monitor all communication events
Send data using Bluetooth connectivity
Receive data using Bluetooth connectivity
Respond to a channel invitation
108
100
104
107
For your safety
About your device
Network Services
Enhancements, batteries, and chargers
Memory low-free memory
Your Nokia N91
Hard drive
View memory consumption
Press , and select Connect. Conn mgr Availab. Wlan
Wireless LAN
Create an Internet access point
Messag
Essential indicators
Nokia support on the Web Help
Tutorial
Clock settings
To cancel an alarm, select Clock Options Remove alarm
To change the clock settings, select Clock Options Settings
World clock
File manager
Keypad lock keyguard
Move to folder or Copy to folder
Device. Enter the emergency number, and press
Your Nokia N91
Music player
Music player
Play a song
Controls
Indicators
Play modes
Modify sound
Go to music shop
Music shop settings
Settings may also be predefined and not editable
Get music
You can use three different methods to transfer music
Transfer music
Transfer from PC
USB cable connection
Select Options Create playlist in Playlists view
Playlists
Music transfer
Create a playlist
Add items from views to a playlist
Music player Add songs to a playlist
Reorder songs
Remove songs from a playlist
Available options
Playlist details
Automatic playlists
Go to Music menu-Opens the Music menu view
Rename items
View and edit song details
Options only in Now Playing view
About encoded audio
Library details
Set a song as a ringing tone
Change album art
Variable bitrate
Profiles-Set tones
Offline profile
Personalize your device
Change the look of your device
Active standby mode
Some shortcuts may be fixed, and you cannot change them
Used when the active standby mode is on
Make a conference call
Make calls
Voice calls
Make calls
Speed dial a phone number
Voice dialling
Make a call with a voice tag
Answer or reject a call
Call waiting network service
Options during a voice call
Phonebook
Contacts Phonebook
Save names and numbers
Contacts
Contacts Phonebook
Default numbers and addresses
Select Options Defaults
Copy contacts
Select Options New group
Create contact groups
Remove members from a group
Contacts, move the joystick right to open the groups list
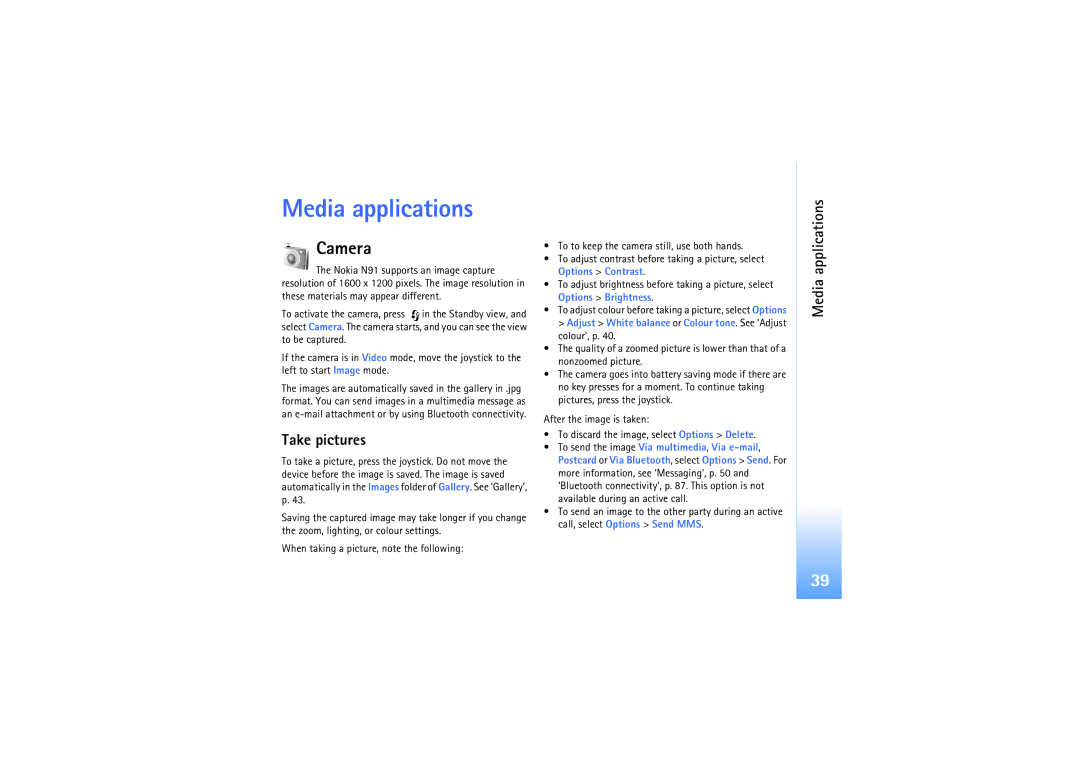
Media applications
Media applications
Camera
Take pictures
Exposure modes
You in the picture-self-timer
Adjust colour
Adjust still image camera settings
Picture quality
Applications Viewfinder
Tips on taking good photographs
Media
Record videos
Depth
Lighting conditions
Video settings
Gallery
After a video clip is recorded
To delete an image or a video clip, press
View images and video clips
Presentations
Folders
Play video
Stream content over the air
Music player
RealPlayer
Netw. sett
Receive RealPlayer settings
Change the RealPlayer settings
Proxy sett Use proxy-SelectYes
Play flash files
FlashPlayer
Recorder
Organise flash files
Radio
Listen to the radio
Music player keys on the slide cover do not work with Radio
View visual content
Settings
Saved stations
Messaging
Messaging
To insert a number, press and hold the number key
Write text
Traditional text input
Predictive text input-Predictive text
Start writing the next word
Tips on text input
For a
To confirm it, or press to add a space
Turn predictive text input off
Write and send messages
Copy text to clipboard
Write compound words
Attachments are indicated by
To add a media object to a multimedia message, select
Options Insert object Image, Sound clip, or Video
Multimedia message
Enter the MMS settings manually
Receive MMS and e-mail settings
Multimedia messages
Inbox-receive messages
Mailbox
Data and settings
Web service messages
My folders
Retrieve e-mail messages
Messaging Open the mailbox
Disconnect from the mailbox
Messaging Delete e-mail messages
View messages on a SIM card
Messaging settings
View e-mail messages when offline
Outbox-messages waiting to be sent
Text messages
Add new and edit text message centers
Select Message centres Options New msg. centre or Edit
Messaging Multimedia messages
Connection settings
Mail
Port-Define a port for the connection
User settings
Retrieval settings
Automatic retrieval
Cell broadcast
Other settings
Delete a shortcut
My own
Music shop
Go to-add shortcuts
IM-instant messaging chat
Receive IM settings
Modify your IM settings
Select Options Settings IM settings and from the following
View and start conversations
Search for IM groups and users
Chat
Join IM groups
Manage IM groups
IM contacts
IM server settings
Create a new IM group
Add and remove group members
Press , and select My Own Push to talk
Push to talk network service
Callback request tone-Select a tone for callback requests
Define a push-to-talk access point
Push-to-talk settings
User settings
Make a group call
Log in to push to talk
Exit push to talk
Make a one-to-one call
My own Subscribe login status of others
Send a callback request
Channels
Recent calls
Log
Respond to a channel invitation
View the push-to-talk log
Call duration
Packet data
Monitor all communication events
My own
Repeat until-You can set an end date for the repeated entry
Calendar
Create calendar entries
Calendar
To-do view
Set a calendar alarm
Set the Alarm time and Alarm date
Calendar views
Calendar settings
To save your settings, press Back
Remove calendar entries
Enter the settings manually
Services
Access point for Services
Services
Connection security
Make a connection
Add bookmarks manually
Send bookmarks
Browse
Shortcut Use
To the beginning of a
Download and purchase items
End a connection
View saved pages
Homepage-To define the home
Settings for Services
Select Options Settings and the following settings
Empty the cache
Security warnings-To hide or show security notifications
Bluetooth connectivity
Connectivity
Connectivity
Select from the following
Connectivity Settings
Remote SIM mode
Security tips
Device icons computer, phone, audio or
Send data using Bluetooth connectivity
Bluetooth connectivity indicators
Pair devices
PC connections
Receive data using Bluetooth connectivity
Switch off Bluetooth connectivity
Data cable
Connection manager
Your device as a modem
Data connections
Synchronisation
Wireless Local Area Network Wlan
Wireless LAN
Dial-up-The dial-up number used Name-Access point name used
Select Synchronisat. type Normal two-way
Create a new synchronisation profile
Synchronise data
Server profile settings
To cancel synchronization before it finishes, select Cancel
Device manager
Session mode- Select Bluetooth or Internet
Connectivity
Calculate percentages
Tools
Calculator
Tools
General
Settings
Device settings
Set base currency and exchange rates
Call settings
Standby mode
Display
Connection settings
Data connections and access points
MMS access point to send and receive multimedia messages
Packet data connections in GSM and Umts networks
Access points
Packet data
Authentication-SelectNormal or Secure
Wireless LAN
Follow the instructions from your service provider
103
Select Options Advanced settings and from the following
Packet data
Configs
Date & time
Security
Glossary of PIN and lock codes
105
Change the trust settings
Certificate management
View certificate details-check authenticity
Track protect. object
Press , and select Tools Settings Call divert
Call diverting
Call barring
Network
Enhanc. sett
With
Application manager
Voice commands
Tools Install applications and software
Before installation, note the following
To install applications and software complete these steps
Remove applications and software
Application settings
Select Options Settings and from the following
Memory-Hard drive
112
Multimedia messaging
Troubleshooting
Troubleshooting
Bluetooth connectivity
Camera
Browser services
Access codes
Messaging
Memory low
Application not responding
How do I close an application that is not responding?
Phone display
Care and maintenance
Care and maintenance
Medical devices
Additional safety information
Additional safety
Information Operating environment
Emergency calls
Additional safety information
Vehicles
Potentially explosive environments
Certification information SAR
To make an emergency call
Press the key
Battery information
Battery information
Charging and discharging
What if your battery is not authentic?
Authenticate hologram
122
Log information 114 clock Alarm 15 settings
Installing 110 Java
Connecting two devices, pairing 89 device address
Alarm
Jad Jar 109 Sis RealOne Player 19, 45 file manager
Erasing contents 77 filtering
Inserting pictures 36 sending Storing Dtmf tones 35 copying
Automatic retrieving 59 offline
Mail Multimedia messages 54 text messages
GPRS, glossary explanation 100 settings
Via Bluetooth or USB cable 90 PC Suite
File formats 19, 45 memory Clearing memory
Transferring a file to your device
Original settings 99 personalizing the phone 29 PIN code
Access points, see access points browser
Access point settings 102 create IAP