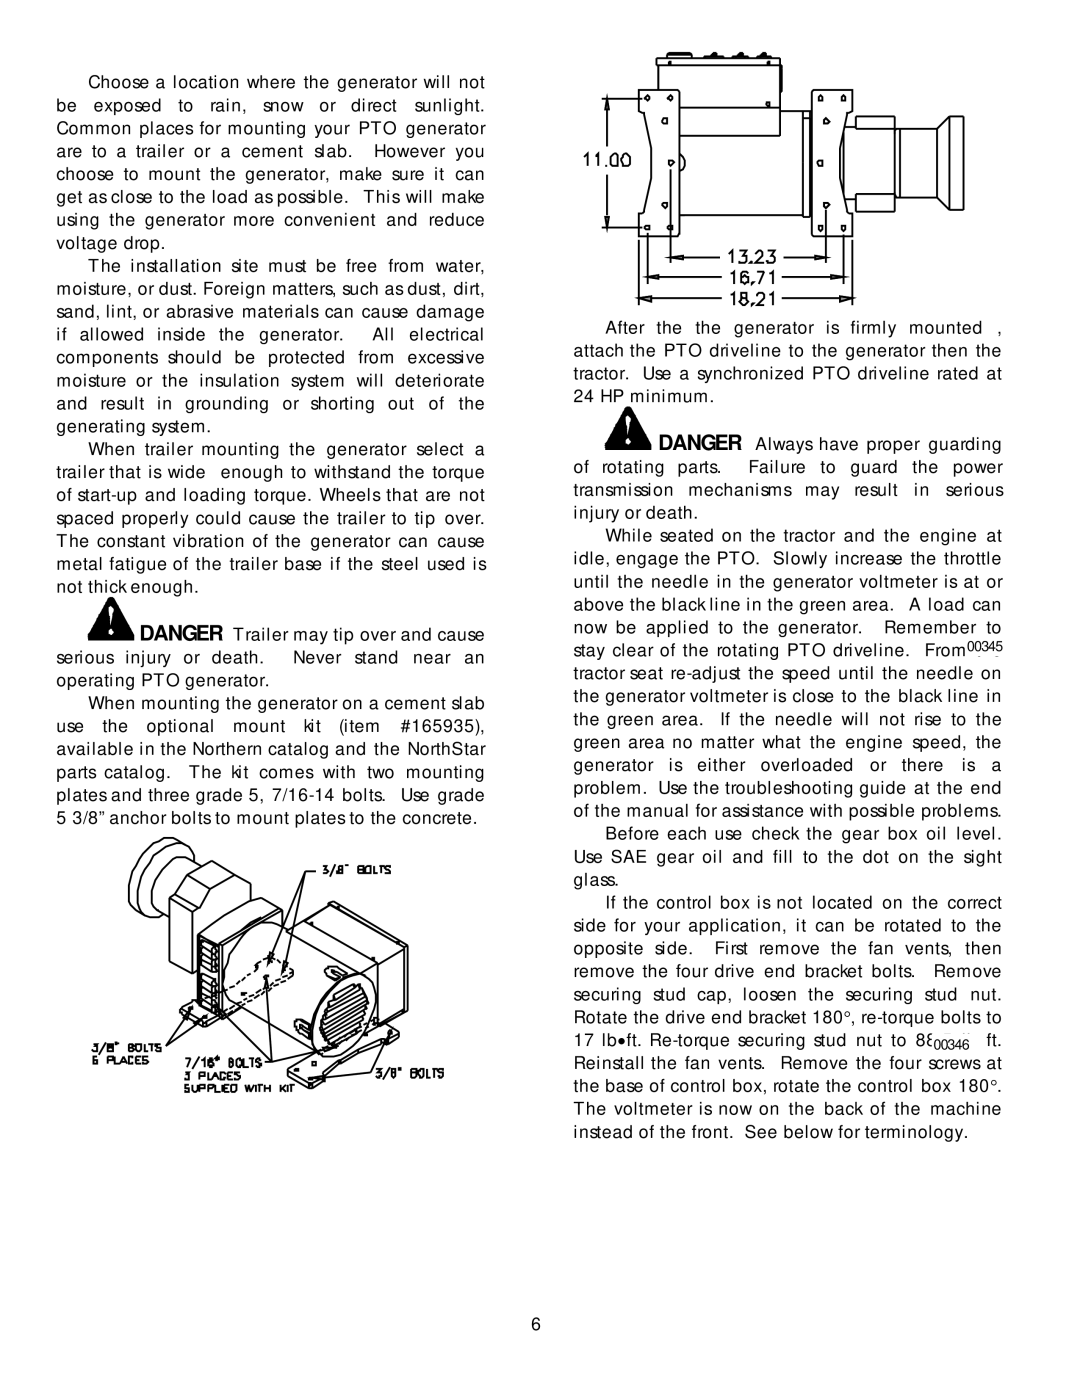
Choose a location where the generator will not be exposed to rain, snow or direct sunlight. Common places for mounting your PTO generator are to a trailer or a cement slab. However you choose to mount the generator, make sure it can get as close to the load as possible. This will make using the generator more convenient and reduce voltage drop.
The installation site must be free from water, moisture, or dust. Foreign matters, such as dust, dirt, sand, lint, or abrasive materials can cause damage if allowed inside the generator. All electrical components should be protected from excessive moisture or the insulation system will deteriorate and result in grounding or shorting out of the generating system.
When trailer mounting the generator select a trailer that is wide enough to withstand the torque of
![]()
![]()
![]()
![]()
![]()
![]() DANGER Trailer may tip over and cause serious injury or death. Never stand near an operating PTO generator.
DANGER Trailer may tip over and cause serious injury or death. Never stand near an operating PTO generator.
When mounting the generator on a cement slab use the optional mount kit (item #165935), available in the Northern catalog and the NorthStar parts catalog. The kit comes with two mounting plates and three grade 5,
After the the generator is firmly mounted , attach the PTO driveline to the generator then the tractor. Use a synchronized PTO driveline rated at 24 HP minimum.
![]()
![]()
![]()
![]()
![]()
![]() DANGER Always have proper guarding of rotating parts. Failure to guard the power transmission mechanisms may result in serious injury or death.
DANGER Always have proper guarding of rotating parts. Failure to guard the power transmission mechanisms may result in serious injury or death.
While seated on the tractor and the engine at idle, engage the PTO. Slowly increase the throttle until the needle in the generator voltmeter is at or above the black line in the green area. A load can now be applied to the generator. Remember to
stay clear of the rotating PTO driveline. From00345the tractor seat
Before each use check the gear box oil level. Use SAE gear oil and fill to the dot on the sight glass.
If the control box is not located on the correct side for your application, it can be rotated to the opposite side. First remove the fan vents, then remove the four drive end bracket bolts. Remove securing stud cap, loosen the securing stud nut. Rotate the drive end bracket 180°,
17 lb•ft.
Reinstall the fan vents. Remove the four screws at the base of control box, rotate the control box 180°. The voltmeter is now on the back of the machine instead of the front. See below for terminology.
6
