1.Tighten the nut as far as you can by hand.
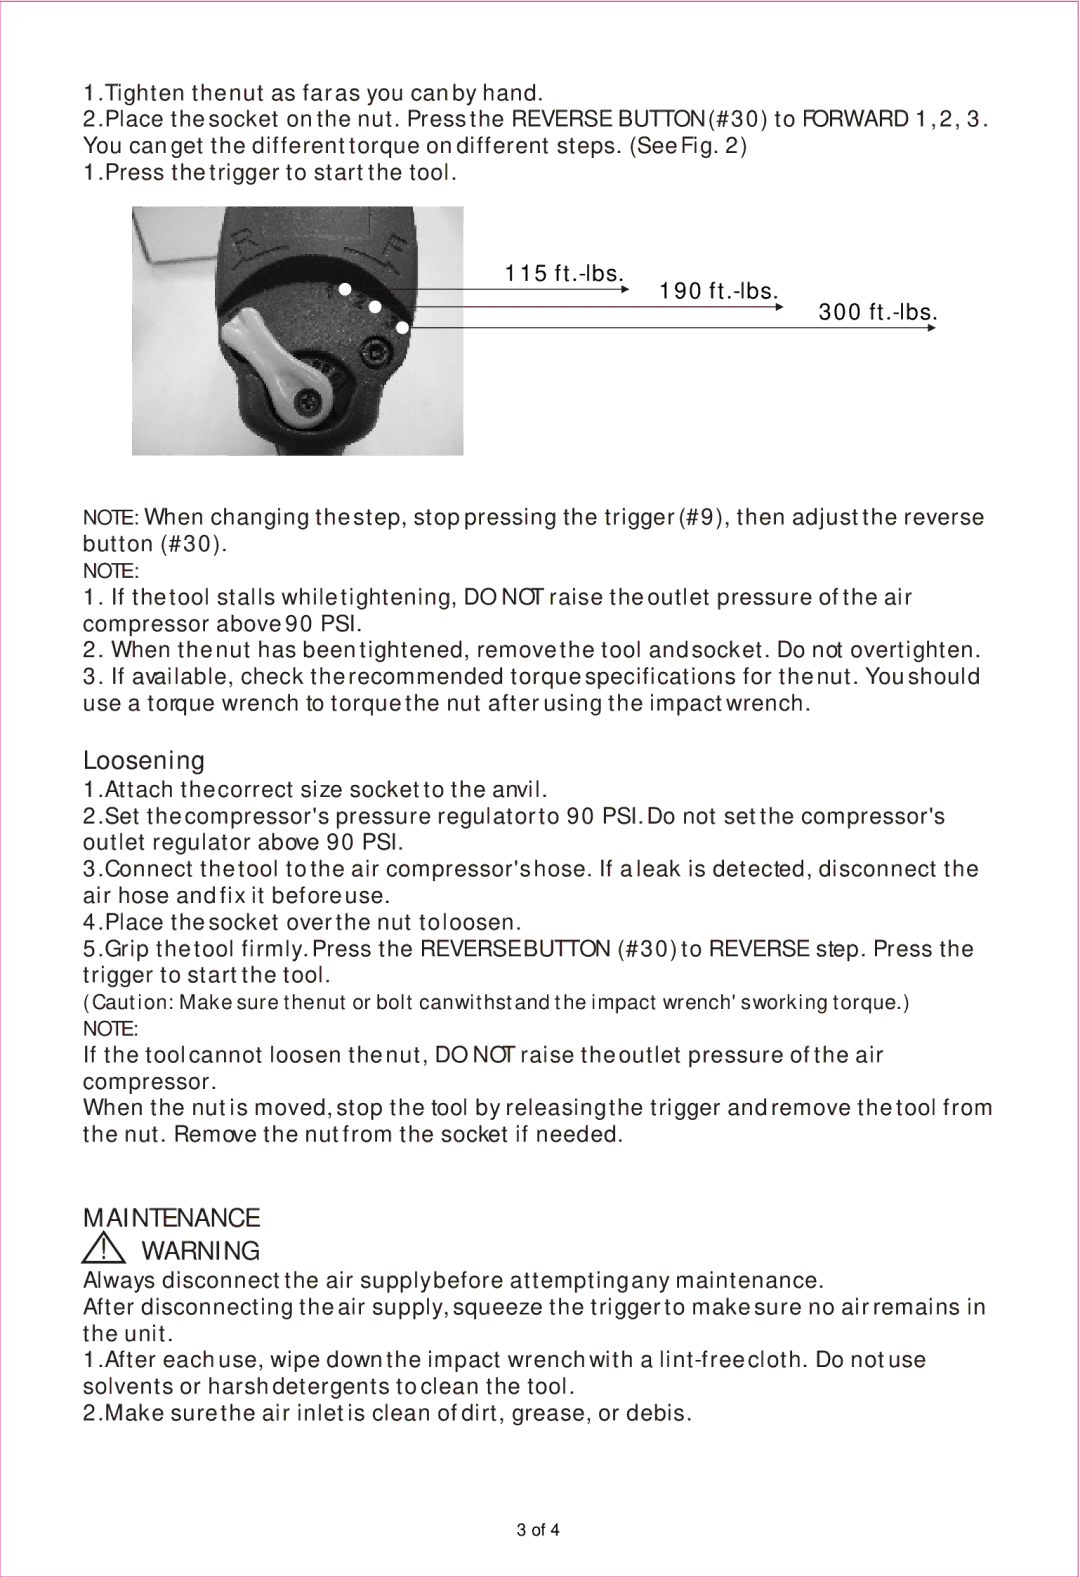
2.Place the socket on the nut. Press the REVERSE BUTTON (#30) to FORWARD 1, 2, 3. You can get the different torque on different steps. (See Fig. 2)
1.Press the trigger to start the tool.
115
190
300
NOTE: When changing the step, stop pressing the trigger (#9), then adjust the reverse button (#30).
NOTE:
1.If the tool stalls while tightening, DO NOT raise the outlet pressure of the air compressor above 90 PSI.
2.When the nut has been tightened, remove the tool and socket. Do not overtighten.
3.If available, check the recommended torque specifications for the nut. You should use a torque wrench to torque the nut after using the impact wrench.
Loosening
1.Attach the correct size socket to the anvil.
2.Set the compressor's pressure regulator to 90 PSI. Do not set the compressor's outlet regulator above 90 PSI.
3.Connect the tool to the air compressor's hose. If a leak is detected, disconnect the air hose and fix it before use.
4.Place the socket over the nut to loosen.
5.Grip the tool firmly. Press the REVERSE BUTTON (#30) to REVERSE step. Press the trigger to start the tool.
(Caution: Make sure thenut or bolt canwithstand the impact wrench's working torque.)
NOTE:
If the tool cannot loosen the nut, DO NOT raise the outlet pressure of the air compressor.
When the nut is moved, stop the tool by releasing the trigger and remove the tool from the nut. Remove the nut from the socket if needed.
MAINTENANCE
!WARNING
Always disconnect the air supply before attempting any maintenance.
After disconnecting the air supply, squeeze the trigger to make sure no air remains in the unit.
1.After each use, wipe down the impact wrench with a
2.Make sure the air inlet is clean of dirt, grease, or debis.
3 of 4