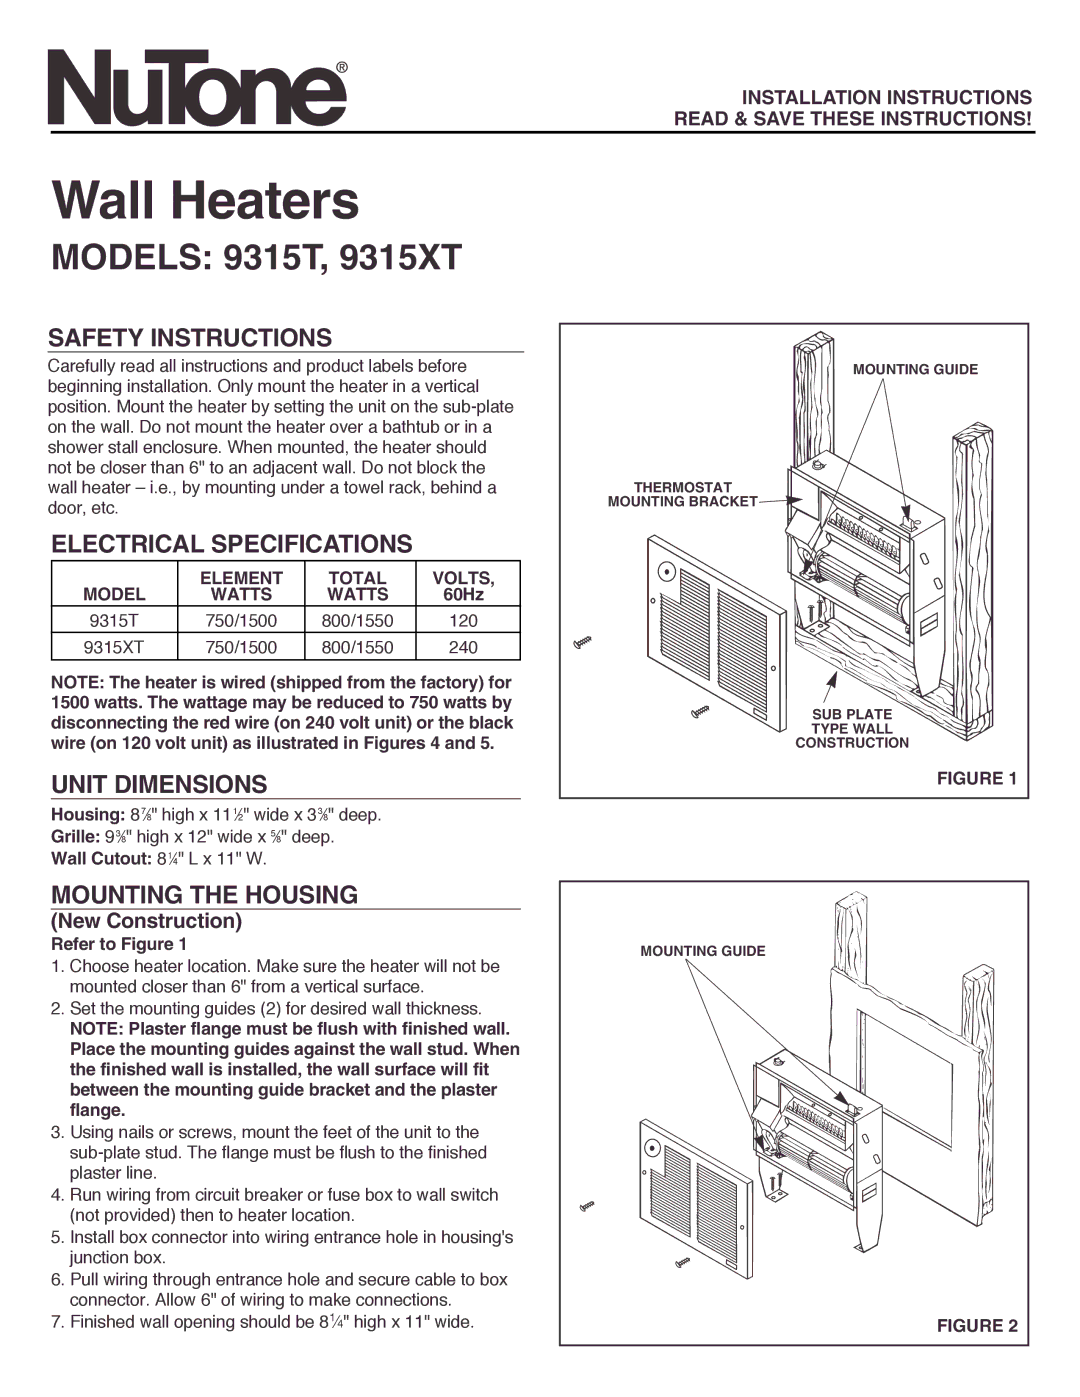
9315T, 9315XT specifications
NuTone has long been a reputable name in the home improvement industry, particularly known for its ventilation products. Among its extensive line of innovative offerings are the NuTone 9315XT and 9315T ceiling exhaust fans. These models are designed to enhance both functionality and aesthetics in home bathrooms and other humid spaces.The NuTone 9315XT and 9315T are equipped with powerful motors that ensure effective air circulation while maintaining a quiet operation. This feature is crucial for spaces where peace and tranquillity are paramount, such as bathrooms and powder rooms. With a CFM (cubic feet per minute) rating designed for optimal airflow, these fans efficiently eliminate excess moisture, preventing mold growth and providing a more comfortable environment.
One of the standout features of the NuTone 9315XT model is its sleek, modern design. The fan's grille blends seamlessly with ceiling finishes, ensuring that it adds to rather than detracts from the room's aesthetic. The 9315T, while similar in function, offers a slightly different design orientation, catering to varied consumer preferences. Both models are easy to install, making them suitable for professional and DIY enthusiasts.
In terms of energy efficiency, both models are designed to operate with minimal power consumption. They are compliant with the latest regulations and standards, ensuring homeowners not only benefit from improved ventilation but also contribute to energy savings in their residences.
For those looking for added convenience, these models can be integrated with wall switches or home automation systems. This feature allows users to operate their exhaust fans with ease, enhancing the overall experience of the product.
Furthermore, both the 9315XT and 9315T models boast durable construction, designed to withstand the rigors of humid environments. The high-quality materials used in these fans ensure longevity, reducing the need for frequent replacements and repairs.
Overall, the NuTone 9315XT and 9315T ceiling exhaust fans offer a blend of power, efficiency, and modern design. Whether for new construction or renovations, these fans serve as a reliable choice for enhancing indoor air quality while also elevating the decor of any space. With their combination of stylish aesthetics and advanced technology, they continue to stand out in the competitive market of home ventilation solutions.

