Program TV Stations
The unit must be powered on.
•Press the “TV Button” to turn on the TV
*Either a “C” or an “A” will appear in the LCD, along with the current channel selection for three (3) seconds
*If the channel is changed, it will display this way
•Press the “Priority Call / Set Button” and hold for three (3) seconds to go in the auto program mode
*If in “AIR Mode”, the tuner will scan from channel 2 through 83
*If in “CABL Mode”, the tuner will scan from channel 1 through 125
TV Use
The unit must be powered on.
•Press the “TV Button” to turn on the TV
*Press the “Channel Up / Down Buttons” to manually tune to desired TV stations
*Press the desired channel selection on the keypad to go directly to that channel
Camera Use
The camera will make the Chime Tone at the Master as the button on the camera is pressed
• Press the “Door Button” on the camera
Note: the first time the unit goes into TV mode it will automatically perform a TV program channel scan. It is recommended to program the TV input mode and cor- rect the TV antenna or cable TV before entering TV mode, afterward the user will need to initiate the auto program mode.
•The homeowner will answer by pressing the “Door Button”
*Communication between the main unit and the camera is established and will be terminated at the main unit by pressing the “Door Button” a second time
Resetting the Monitor
A master reset can be performed by pressing and holding the “ON/OFF Button” for five seconds. A series of dashes will appear on the LCD display. The monitor will default back to the factory default settings.
Camera Volume
Adjustment
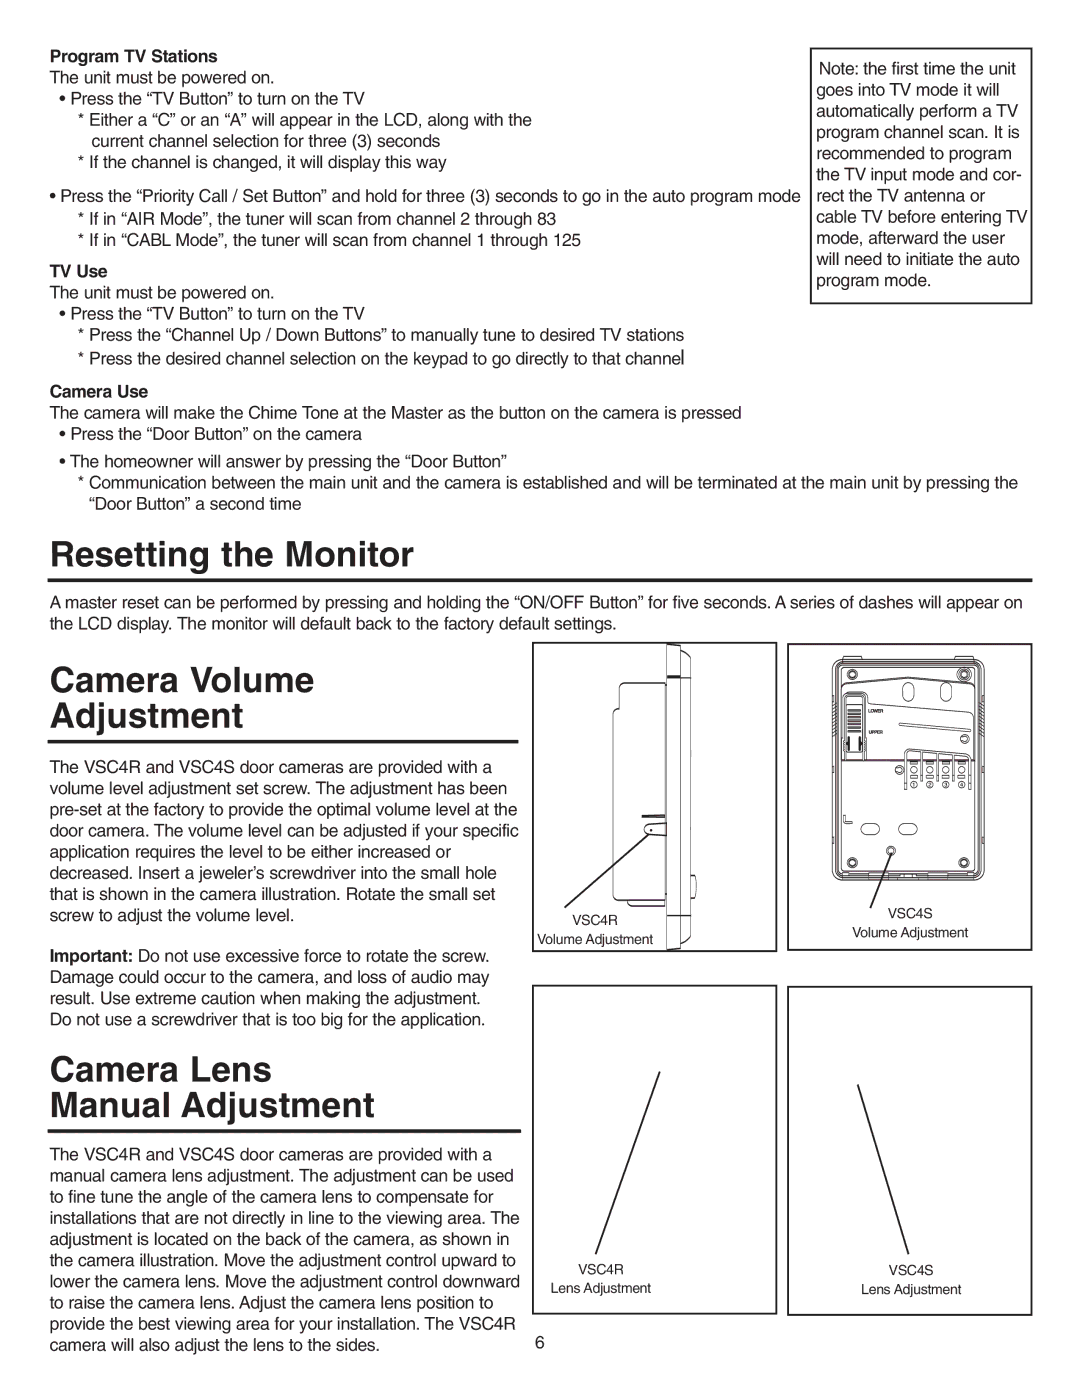
The VSC4R and VSC4S door cameras are provided with a volume level adjustment set screw. The adjustment has been
Important: Do not use excessive force to rotate the screw. Damage could occur to the camera, and loss of audio may result. Use extreme caution when making the adjustment. Do not use a screwdriver that is too big for the application.
Camera Lens
Manual Adjustment
The VSC4R and VSC4S door cameras are provided with a manual camera lens adjustment. The adjustment can be used to fine tune the angle of the camera lens to compensate for installations that are not directly in line to the viewing area. The adjustment is located on the back of the camera, as shown in the camera illustration. Move the adjustment control upward to lower the camera lens. Move the adjustment control downward to raise the camera lens. Adjust the camera lens position to provide the best viewing area for your installation. The VSC4R camera will also adjust the lens to the sides.
VSC4R
Volume Adjustment
VSC4R
Lens Adjustment
6
VSC4S
Volume Adjustment
VSC4S
Lens Adjustment